
Recycle Packing Slips to Make Quick and Simple Homemade Stickers


Sometime over the summer I was going through a parcel I had ordered when I noticed the packing slip contained a section that appeared to be a sticker. On closer examination I realized that the whole bottom half of the sheet was a single sticker containing only a bit of printed text with the rest of the sticker remaining blank. I quickly grabbed my scissors and trimmed away the printed text so I was left with a plain white sticker. I remembered a preprinted sticker coloring kit I truly enjoyed as a kid so I thought of my kids and started a pile of plain stickers as more orders came over the next several months.
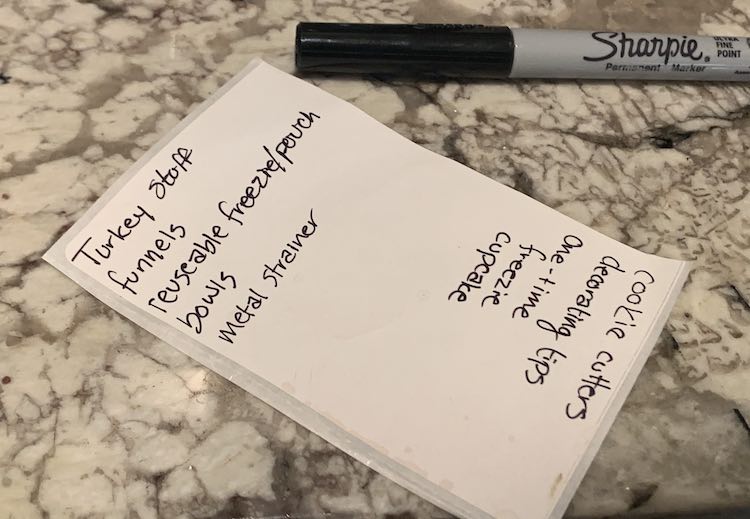
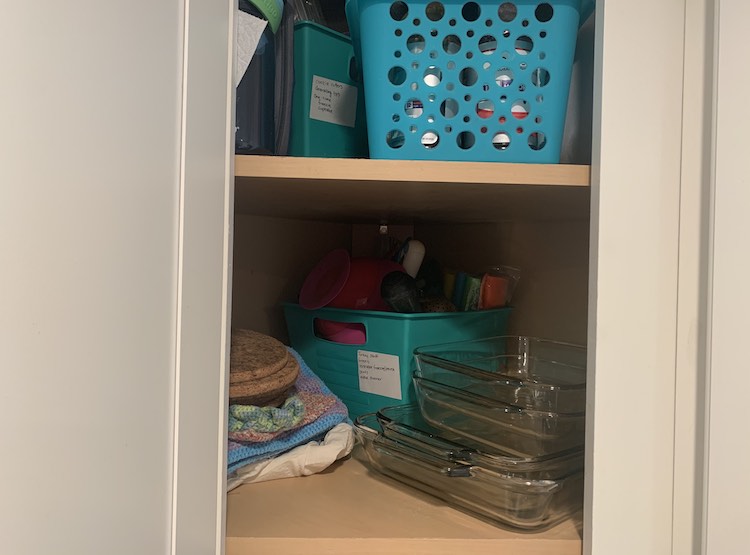
Over the following months I kept forgetting to tell the kids about the stickers but with each parcel that arrived I made sure to check the packing slip to see if it also contained a sticker and if so if there was a large enough empty section to justify cutting it out to save. Each one was carefully placed with my pile of saved stickers in the corner of my kitchen counter. That sticker stash ended up being useful while reorganizing one of my kitchen cupboards a couple months ago. I had already purchased and used some small plastic bins from the local Dollar Tree to organize my cupboard but found I had kept forgetting what was in each of the bins in the back. I knew I needed a better solution so after re-organizing everything in the cupboard in a way that made sense for our current stage I found myself turning to my sticker stash to create a label on the front of the bins so I could easily read what was in the bin without having to take it out each time. Over the last couple months my cupboard has gotten progressively messier as I use it and add more items in but those labels help me keep that area under control and make me smile when I notice it. It was a perfect quick solution for what I needed; although, since I haven’t tried to take it off I can’t say whether it might leave behind sticker residue if I had to switch the label out with a new one.
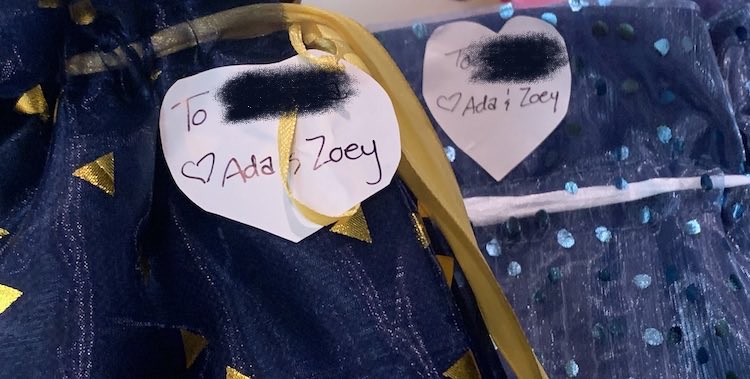
Later I was wrapping birthday presents for two of our friends and realized that I wasn’t quite sure where our gift labels were and wasn’t even sure if I wanted to use them since they were probably Christmas-themed. Normally if we’re wrapping the gift with wrapping paper I just write the name directly on the paper with a sharpie so I don’t have this issue. This time around I was using gift bags, saved from previous Amazon gifts for my kids, and I realized I needed some way to label them. I ended up going back to my sticker stash, chose a large enough sticker, wrote out the customary to and from on one of the stickers twice, and then cut out the two labels making sure to make them heart shaped. One of the labels didn’t appear to stick well to the mesh bag so I ended up sticking it to the ribbon and then the bag hoping the difference in fabric would help it stick for longer.
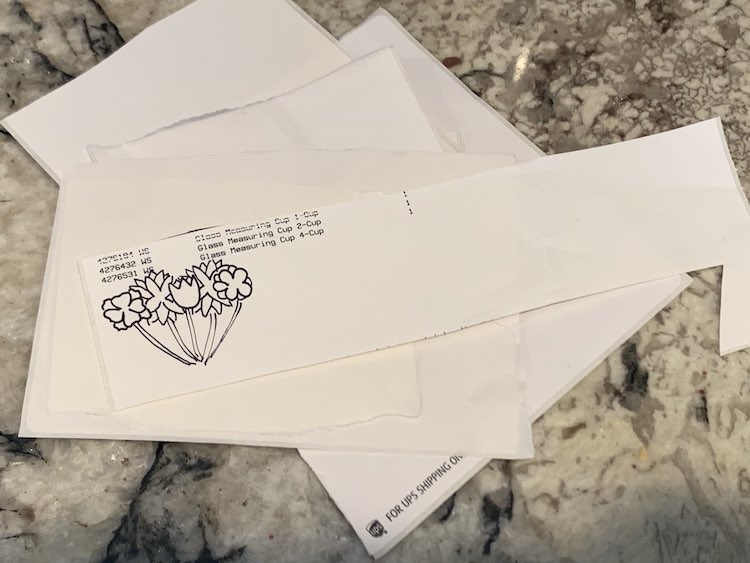
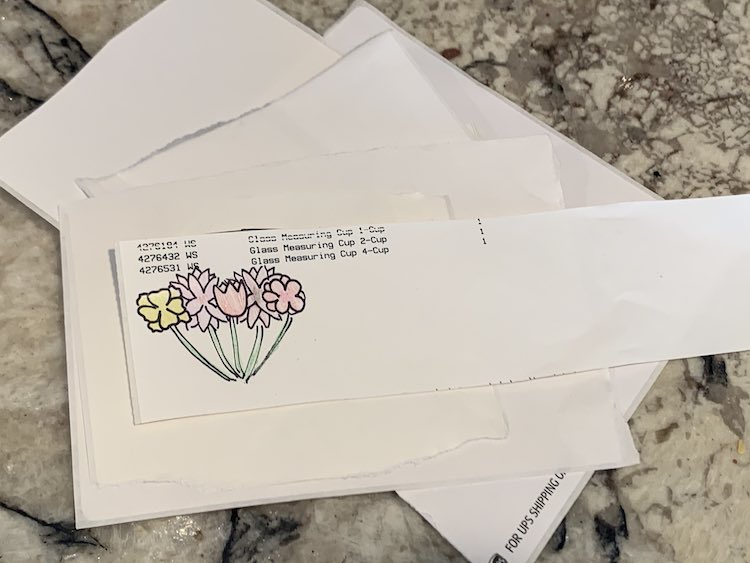
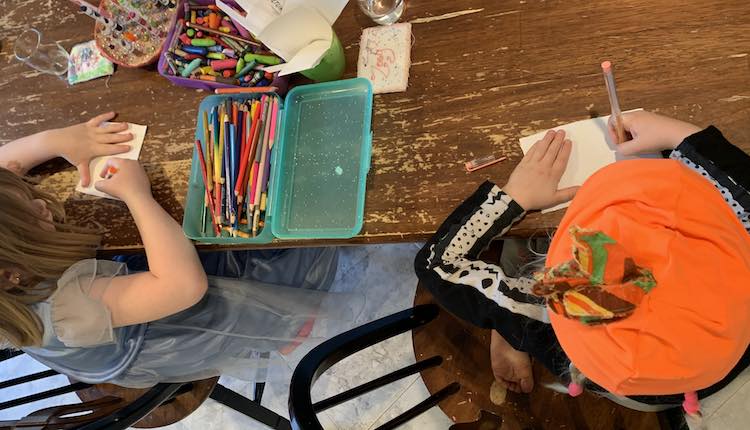
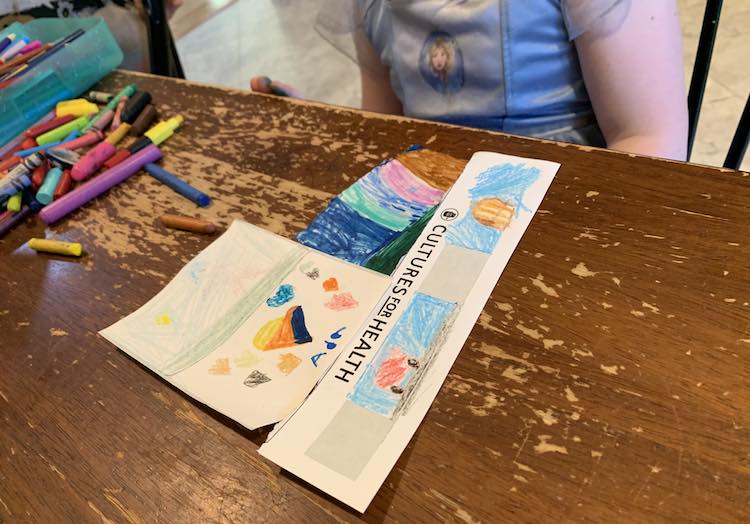
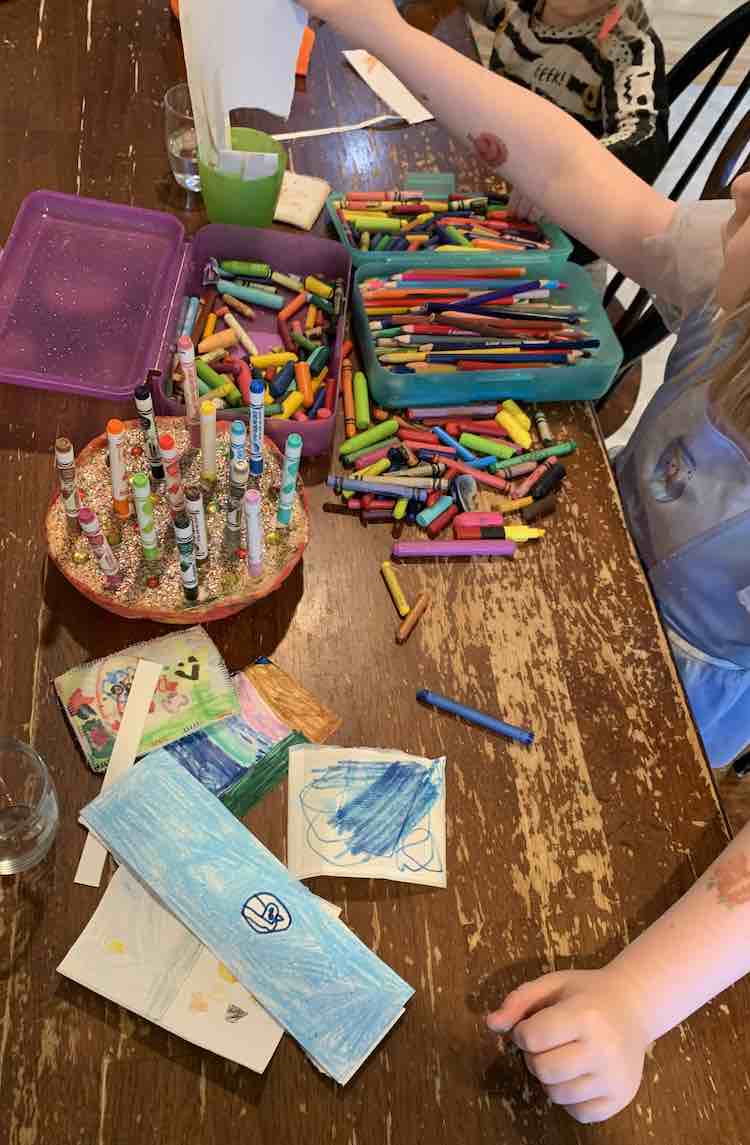
And now onto the main reason I saved the plain section of so many packing slips: stickers! Before showing the kids these blank stickers I grabbed one and, using my fine tipped black sharpie, quickly drew an image of flowers and then colored it in with my pencil crayons. I then waited until one day when the kids were wanting more iPad time and I simply asked them if they wanted to design their own stickers. They got so excited! I went to grab the stickers while they grabbed their art creation tools; mostly markers, pencil crayons, crayons, and gel pens. I showed them the flowers I made and explained how I could next cut out the sticker or add more around it. Both kids excitedly grabbed a sticker sheet and got to work. Going in I pictured them drawing smaller things on the sticker sheets before cutting them out so the stickers would be small and custom-shaped to whatever they drew…. they didn’t do this. They ended up grabbing a sticker sheet and coloring over the whole entire thing. Zoey focused on decorating one or two sheets before being done while Ada excitedly announced her finished count as she filled each sticker in with colors before deciding she was done after designing six. Looking back I just realized that I don’t know where Ada chose to put her stickers once she was finished but I later saw the plastic cup of plain stickers along with Zoey’s designed artwork sitting and waiting for the girls on their extremely messy art table. I can’t wait to see what they design on the leftover blank stickers and I also can’t wait to see their creations once they remember they have colored stickers again. I love how it was an extremely simple art project that was so incredibly surprising and novel for the girls.


Discovering the blank sticker sections on my packing slips was a welcome surprise and I loved seeing the joy on my kids’ faces when they were designing their own stickers. I’ve since decided to continue keeping an eye out for any blank stickers in my future parcel orders because I’d love to see what they come up with when designing their very own stickers in the future.
If you want to color your own stickers but you don’t want to have to draw your own designs or wait for packing slips you could always order your own. I haven’t yet tried but I’ve done a quick search on Etsy and saw that you can order preprinted stickers from several different storefronts. If you’re looking for something more open ended you can always buy blank labels or sticker sheets to design yourself. If you make sure the sticker sheet is your proper printer size you could even print out a coloring page or something for you or your kids to color.
I hope this helps you come up with something new to do with your kids or have another creative outlet for you. I’d love to hear what you created or hear about any other cool things you may have found to upcycle so feel free to share in the comments below. I hope your week is going well and you’re having a great day.
If you’re interested in getting any of my future blog updates I currently come out with a new one every Wednesday and share them to my Facebook page and Instagram account. You’re also more than welcome to join my email list located right under the search bar or underneath this post.