

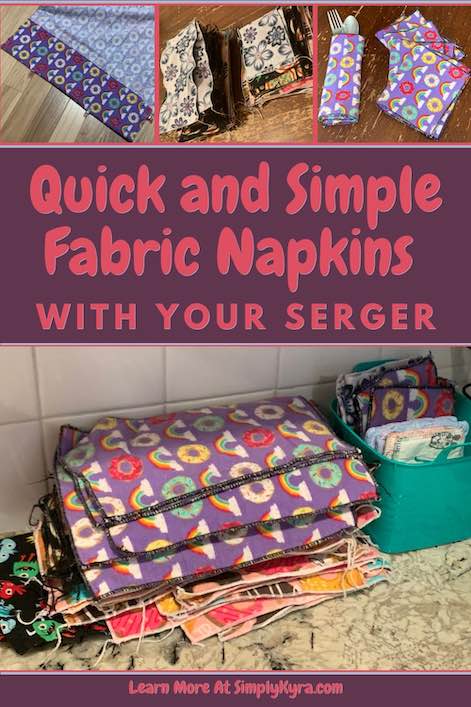
Quick and Simple Fabric Napkins with Your Serger

For the last year or so I’ve been wanting to make cloth napkins for our kitchen so we’d stop using paper towel at the table. Back in February the 52 week sewing challenge, that I take part in, challenged us to sew something for our kitchen. I jumped on the chance and after dabbling with the idea of making unpaper towels finally decided to switch to the much simpler napkin. That week I chose to make a more time-consuming version, using my sewing machine, that I didn’t absolutely love so over the next couple weeks I came up with the idea of using a rolled hem to finish the edges and create simple double-sided napkins. Over April the sewing challenge pushed me to play again by trying out my serger’s rolled hem function which, surprisingly, didn’t need a special foot and I fell in love with these resulting simple napkins. I ended up adding to my collection the following week and then went on to buy four yards of thin flannel specifically to make even more and sewed them up in June. I haven’t tried making these napkins on my sewing machine’s rolled hem foot yet as I love the simplicity of having my serger cut the fabric for me although I’m sure you could if you were willing to spend a bit more time cutting the fabric to size first.
My First, More Complicated, Version
I wanted to include the way I sewed my napkins, using my sewing machine, back at the beginning of February in case you wanted to sew a more clean and decorated way version. To make them I used some of my leftover cotton woven fabric and cut each pair of squares to different sizes ranging from 6 1/2 to 12 1/2 inches. I didn’t save what tutorial I used but I looked around and found a similar one on Crafty For Home if you want different pictures to follow around with. Looking for the tutorial made me come across Home Made Lovely who made her napkins single layered and hemmed them with mitered corners. I’m sharing this specifically because the top of the post shows the proper napkin sizes in case you wanted to keep to convention with yours.
For each of my napkins I made that week I cut out two matching squares and placed them right sides together so I could sew around the outside, leaving a space, and then turned them right side out. I next used my iron to press them flat while making sure the opening’s seam allowance stayed tucked in. I then topstitched around the entire napkin using a decorative stitch, because why not, making sure to close the opening on my way by. I did this, conveyor belt style, on all the napkins I cut out. The kids absolutely loved them at supper that day and, immediately, requested more.
The kids absolutely loved these napkins but they were time consuming and I had only made enough to get us through one or two meals. I also found these to be less absorbent than paper towels so I knew if I wanted the napkins to replace most of our paper towel use I’d have to use a more absorbent fabric and find a way to speed up the process so I could make more of them in a smaller amount of time. For the kids makeshift napkin I normally just split a skinny paper towel into two so I also knew I could easily make these napkins smaller for our day to day use and then they’d take up less storage room. I debated how to accomplish all these tasks and when April rolled around the weekly sewing challenge asked me to use a challenging notion so I decided to experiment making napkins with a rolled hem.
My Simple Napkins
Up to this point I had only ever sewn a rolled hem while using my sewing machine and a rolled hem foot whenever I made a Peppermint Swirl dress for my kids. This meant when I saw the challenge for the fifteenth week was to sew with a challenging notion I decided to try out the rolled hem foot on my serger and then swiftly discovered that there was no special foot and it was more of a settings change. I ended up going ahead and making a couple small napkins using thin and soft flannel, to try it out, before sewing up a different project so I could still accept the challenge that week. The following week was to sew something green or Eco-friendly so I decided to make more napkins using up the rest of that fabric.
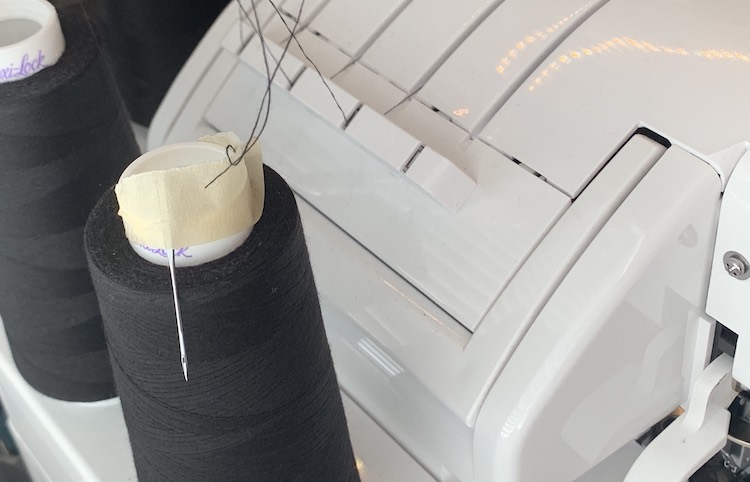
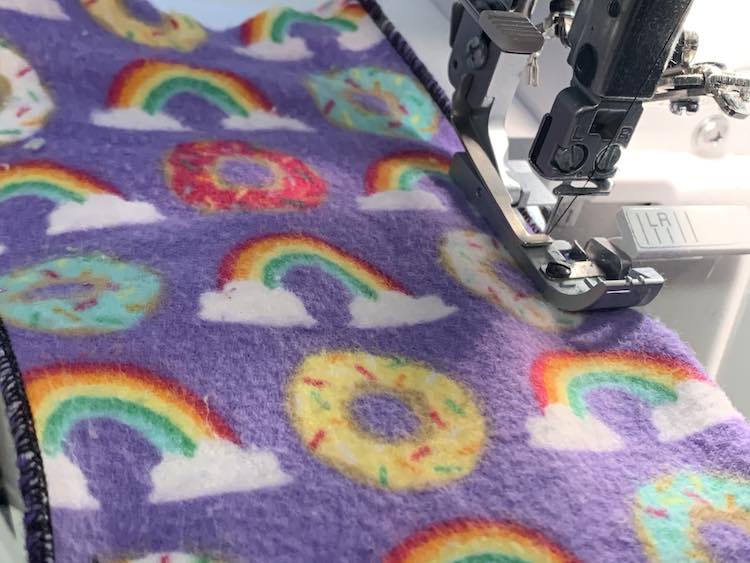
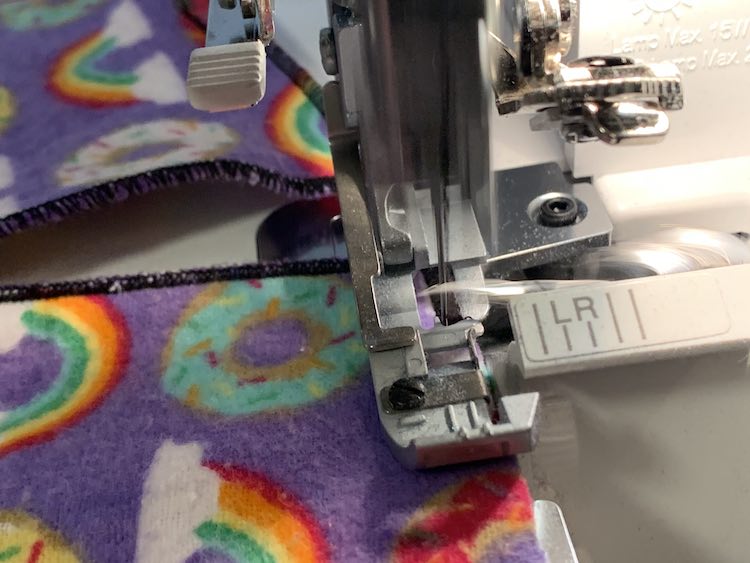
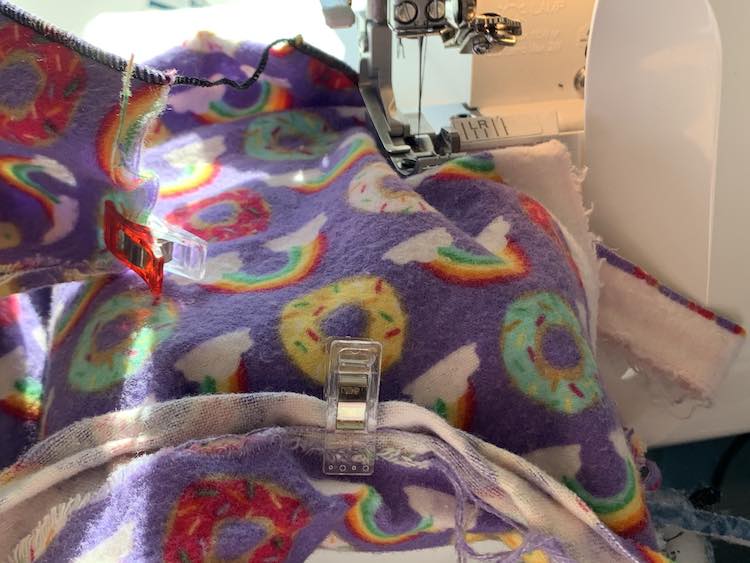
If you’re making these I realized that there wasn’t a rolled hem foot for my serger and instead used the three thread narrow settings to generate the rolled hem. To do this I used just the one needle, removing my left needle, with the altered stitch settings. I wasn’t able to find my serger’s instruction and reference guide, at that time, so I googled my serger brand and model so I could download the PDF from the company website making it so much easier to search, using control/command-f, rather than paging through the physical book. For my Babylock Imagine I needed to switch the stitch selector to D, set the stitch length to the rolled hem range at 1.5, and finally set the stitch width to 3.5 M.
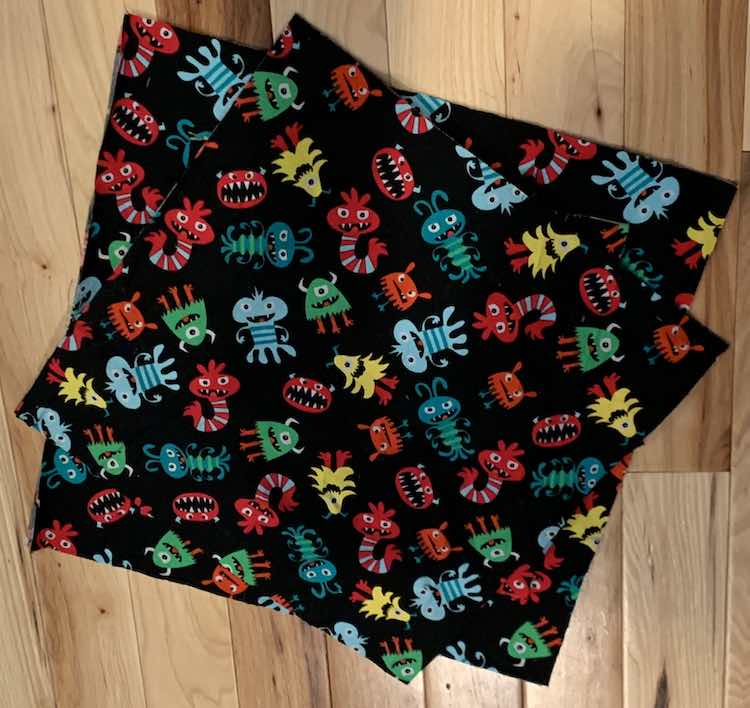
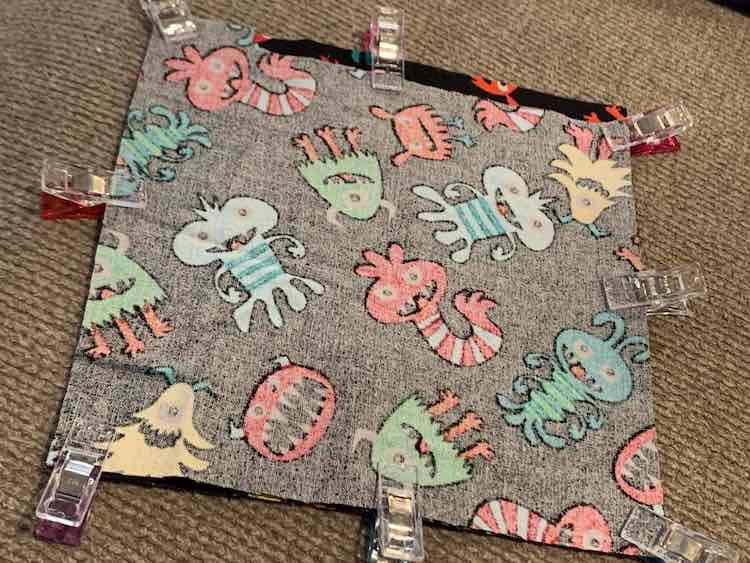
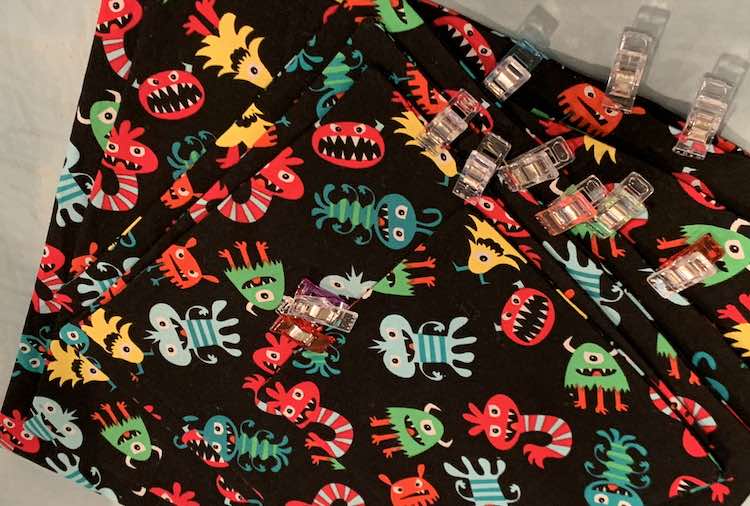
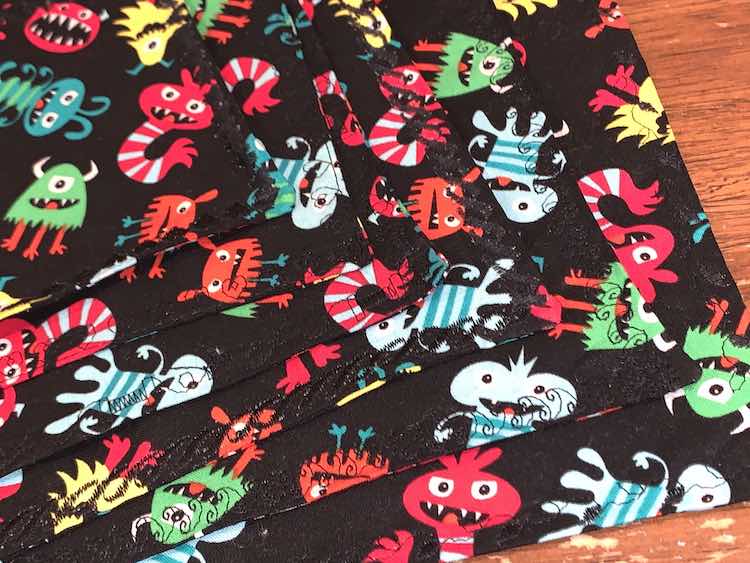
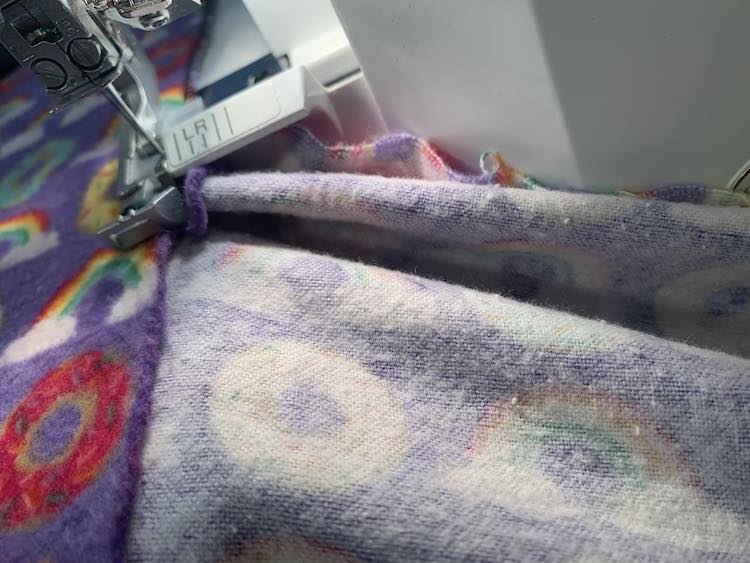
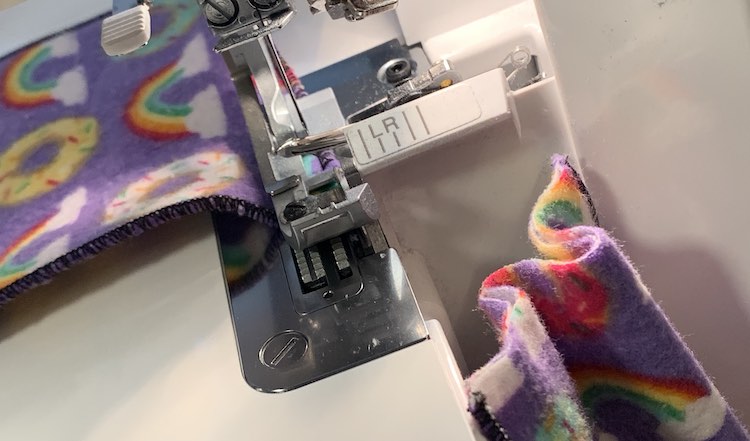
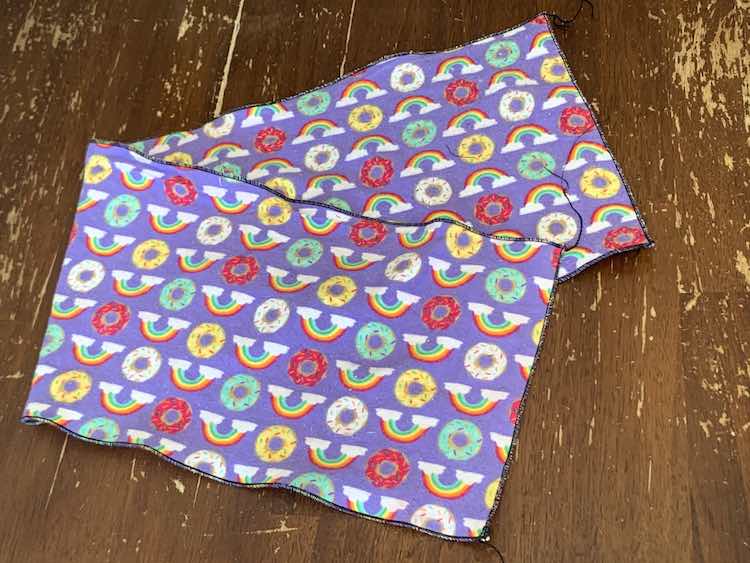
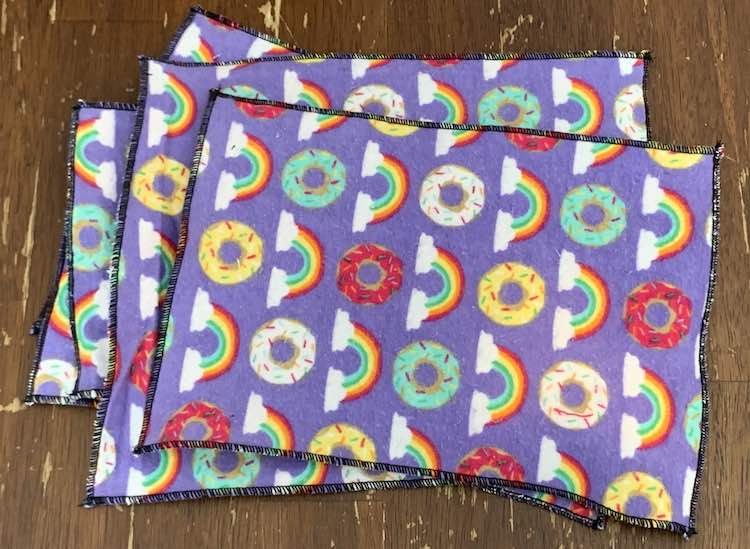
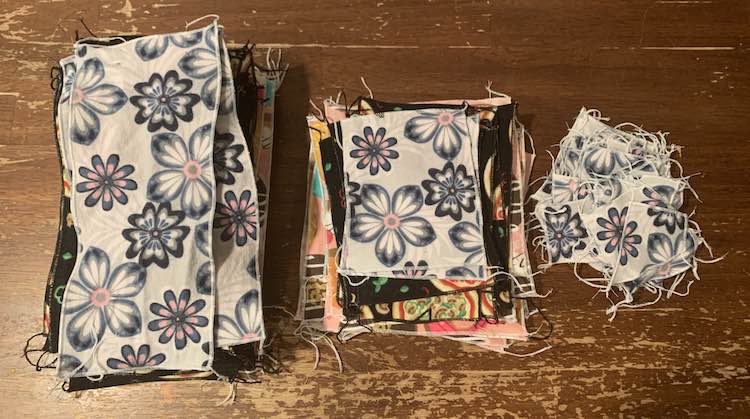
This was mostly just a test run to see if the flannel, instead of cotton woven, and technique would work as I quickly realized it wouldn’t fit the challenge, use a challenging notion, so I wanted to sew something else that week too. I took my super snuggle flannel, leftover from Joann’s, and folded the end over before clipping it in place. I then sewed along the fabric so the blade would just cut off the tighter edge and the excess fabric before finishing it off with the stitches. Once I was done sewing that side I flipped it around and sewed down the fold, being careful not to trim too much off, resulting in a strip of two pieces of fabric, wrong sides together, sewn on either side with both short ends open. I then turned my fabric and used my serger blade to cut the long rectangle into squares and finished both sides so I’d had several small square napkins. I attempted to tie off my serger threads but there was no easy way to untangle them so I finally decided to just trim them off… and I was done.
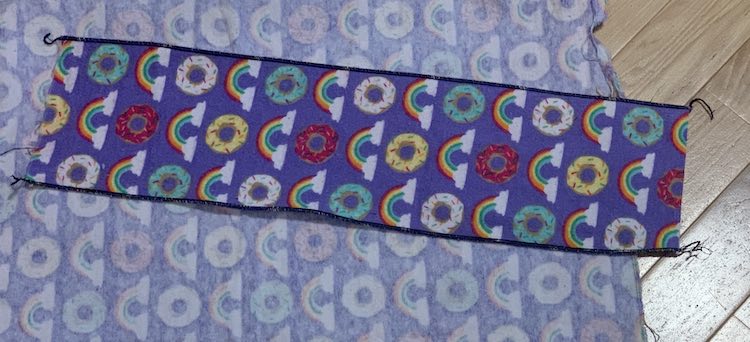
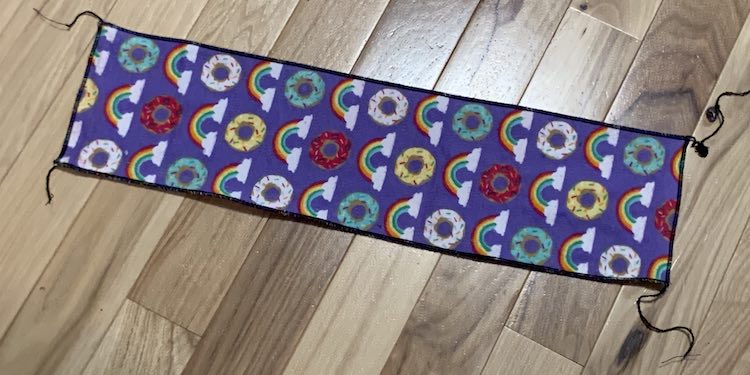
I absolutely loved the resulting napkins! The thin snuggle flannel was softer and more absorbent than using the cotton woven and by using the three thread narrow stitch on the serger they were so easy and simple to cut and sew in one step. They were a bit small but I knew I found my method for all future napkins and since the next week’s challenge was to sew something green or Eco-friendly I waited until the following week before making more with the rest of my fabric scrap. I only had one square-ish piece of the fabric left so I folded it in half, making a wider napkin than before, and sewed following the same steps as before.
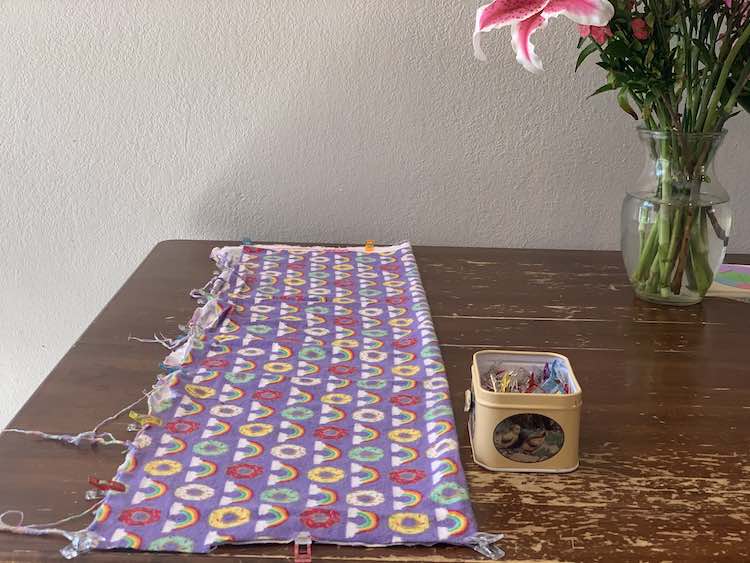

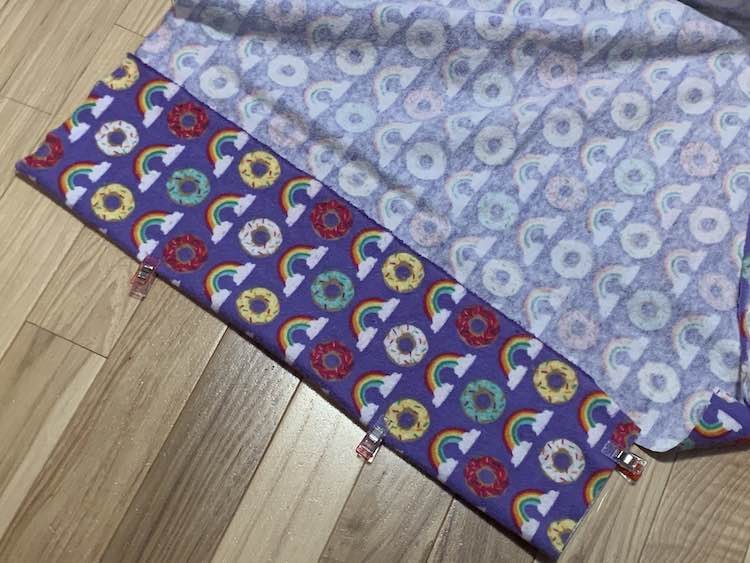
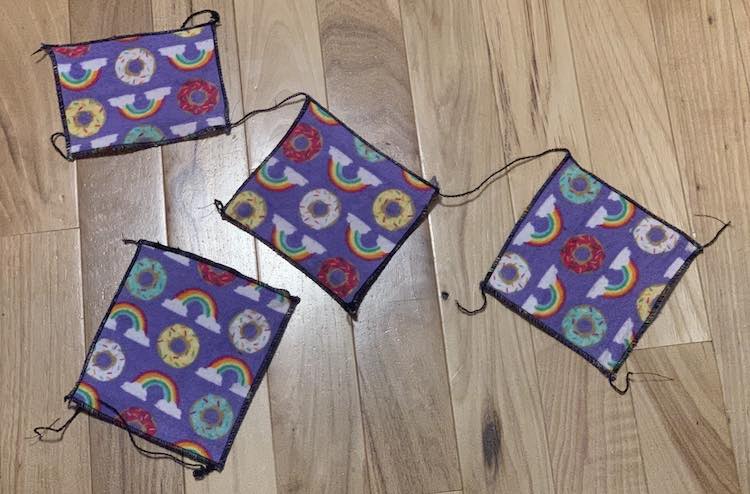
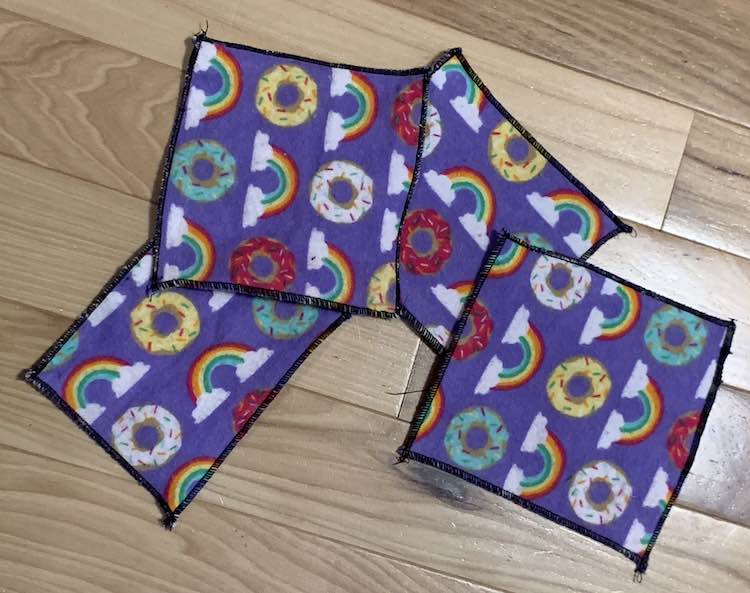
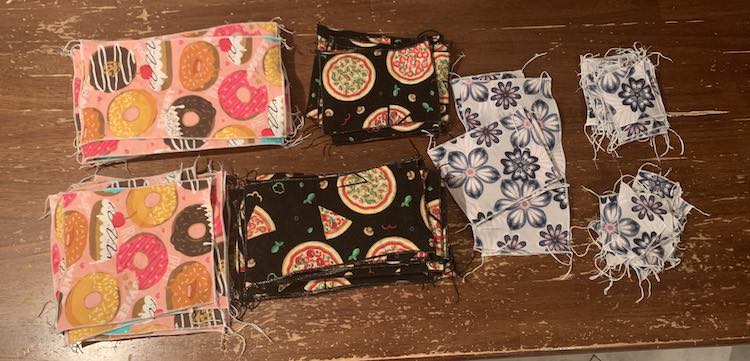
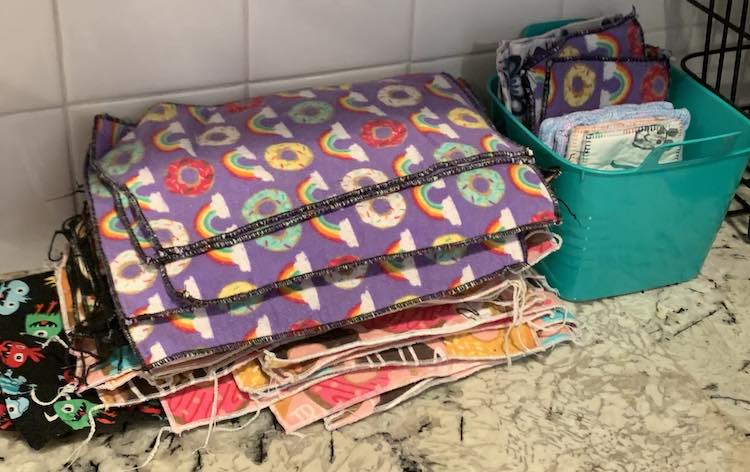
I absolutely loved these napkins. They were the perfect size for us and worked amazingly. I knew I wanted to make more so when I went on the Joann’s website to buy snuggle flannel fabric for the girls’ nightgown I decided to buy a couple yards of some other choices to make more napkins so we’d have more than enough to last us between laundry cycles. This was during the end of March and beginning of April so my online order took awhile to fulfill and I kept finding another email from Joann’s telling me that yet another choice I made became unavailable. When I finally got my order I was able to make a dress for Ada, but not for Zoey, and my prettier heart fabrics had all been cancelled. I did; however, get my two food-related fabrics, apparently they weren’t as popular, so when week 23 of the challenge came around, sew with a unique stitch, I decided to create more napkins. I had bought two yards of donut fabric and two yards of pizza fabric and used every bit of both to add to my burgeoning napkin stockpile. Like before I followed the same steps but made sure to make my first folds, determining the width of each napkin, larger than the first time and attempted to make each fold more consistent until I was limited by the amount of scrap I had left and folded the remainder in half for that one more strip of napkin. I also had a bit of flowered snuggle fabric leftover from something else so I made napkins with the main bit of the fabric and with the leftover scraps I ended up using the same process to make little face cloths. For the face cloths I took a single piece of fabric, not doubled up, and stitched along each edge and since it was a weirdly shaped fabric remnant some of the resulting cloths became truly weird polygons.
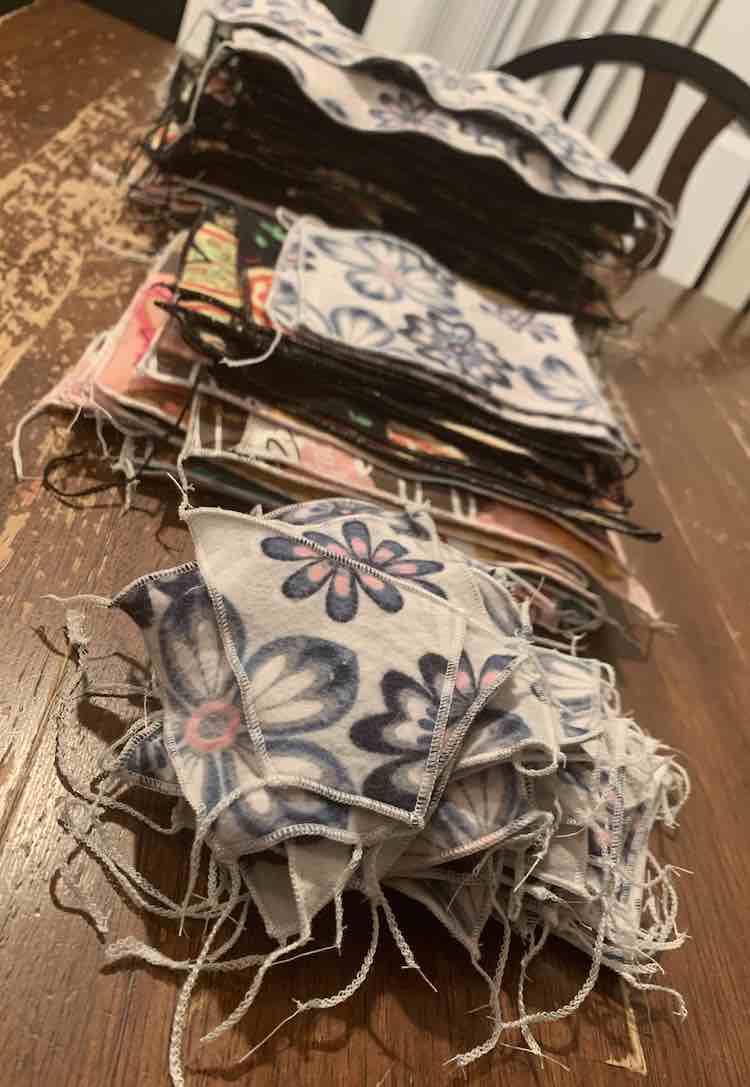
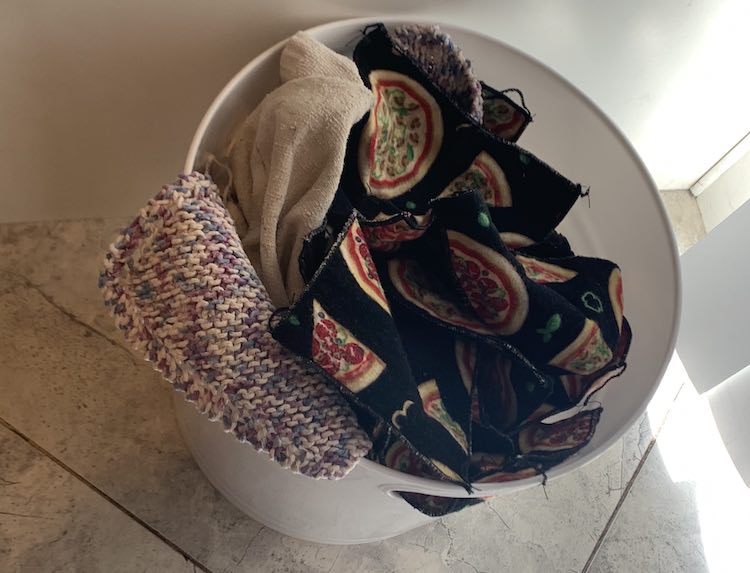
I absolutely love our resulting napkins from these weeks. It’s now the beginning of July and the napkins still make me smile when we use them and, bonus, we’re using way less paper towel too. I keep them in a small stack on our kitchen counter so they’re easy to grab whenever a meals ready and simple to put back after I wash them. Before sewing the napkins I had bought a small plastic pail, from the Dollar Tree, and kept it on the counter in the corner of our kitchen to hold the dried dishcloths, hand towels, and kitchen towels while they waited to be laundered. Since I’ve sewn the napkins the pail now lives on the floor so the kids can easily clean up their dirtied napkins by themselves by putting them in the pail and I wash them with the other kitchen cloths. And as an added bonus whenever the kids spill, a small bit of, water I just get them to grab something from the pail to sop it up with and let it dry before putting it back which saves even more paper towel and immediate effort on my part.
And that’s it. The hardest part of this whole process is switching your serger to a three thread narrow setting and remembering how to switch it back when you’re done. I love how simple this stash buster is and can see saving up my larger scraps to make napkins and having each napkin remind me of other items I’d previously made with them. Or you could buy fabric specifically for this project like I did finding any available food-related snuggle flannel fabric.
Have you made napkins before? Or did you create something more complicated like snappable unpaper towel (Etsy link to a search)? I’d love to hear about what you made so feel free to share in the comments below. If you’re interested in any future updates feel free to check out my Facebook page, Instagram account, or join my email list located on the top left side of the page under the search bar, if you’re on a wide screen device, or underneath this post. Hope you’re having a great day.