
Simple and Washable Name Tags For Your Kitchen Table

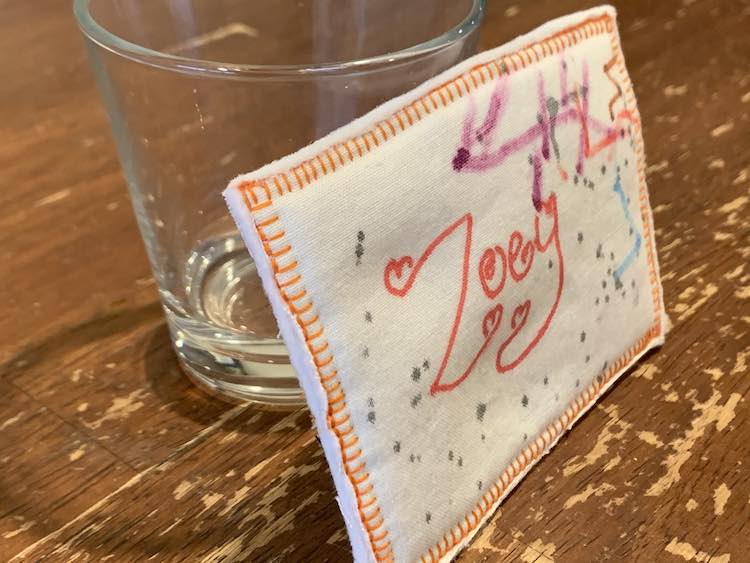
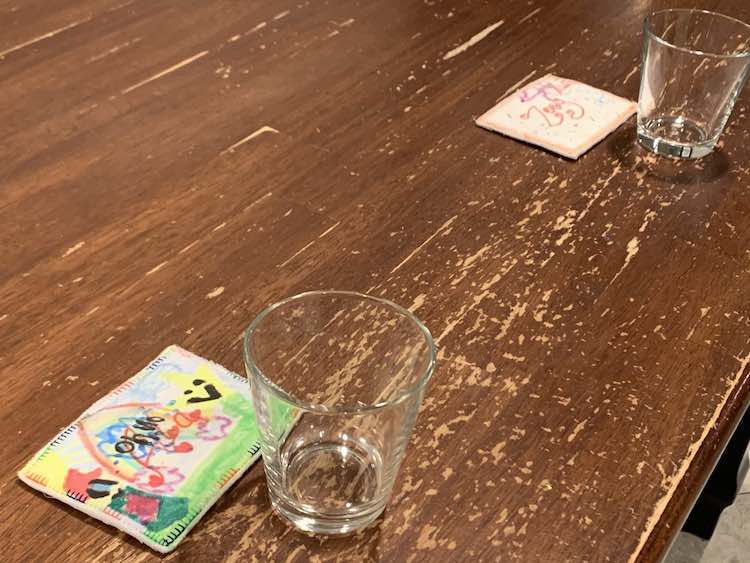
Is one, or more, of your kids sick and you want them to be sure which water glass is theirs so there is less chance of them swapping germs? Why not create simple name tags? Makes it simple to remember who is sitting where and whose glass is whose. After using a fabric marker to write the girls’ name on the cut woven fabric I released my fabric markers to the girls so they could color their own making it a perfect activity to do together while allowing them the ownership of the design on the tag so they could be proud of the finished name tags.
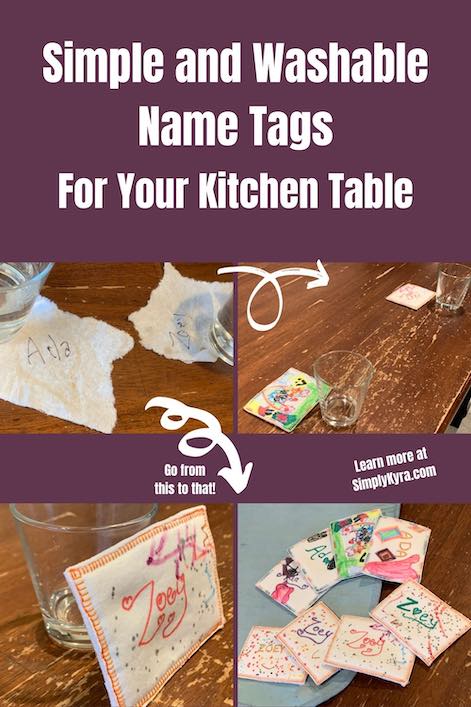
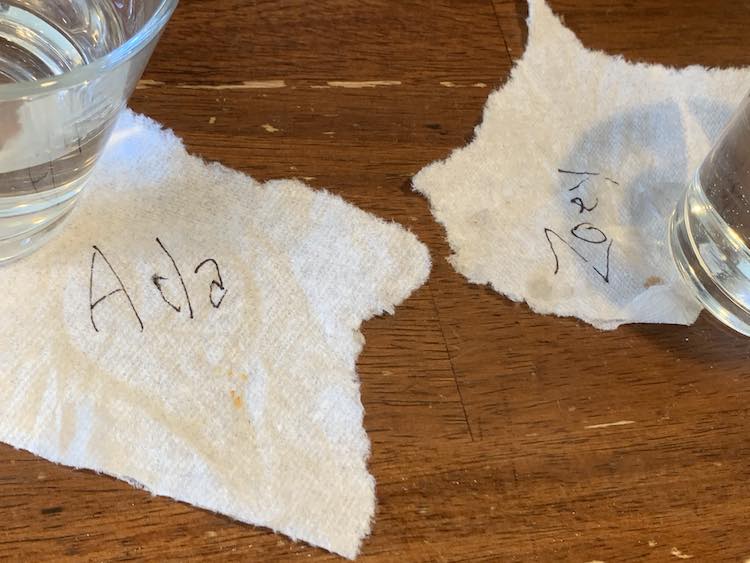
For a while now Matt and I have been sitting at either end of our kitchen table with the kids along one of the long sides of the table. This, of course, meant that Ada and Zoey started fighting over who got to sit next to daddy. We solved this my letting them take turns and alternated days which seemed to work… at first. Eventually, I started forgetting who sat where the day before so at breakfast I’d have ask the girls and hope they agreed on where they sat and thus where they should sit today. A couple months ago Ada got a fever and I didn’t want them to use the wrong drinking glasses so I grabbed some paper towel and made them quick make-shift name tags with a sharpie. Of course whenever they spilled on these name tags I’d have to make a new one as they now ‘needed’ them. A couple weeks ago after scrawling Zoey’s name on her new name tag scrap I got berated about how I drew her ‘o’ and reminded about it the next day morning, after I had fixed the letter, so I figured I needed to come up with a more permanent, less wasteful, and way simpler solution and these washable name tags were born. When we first started using these last week I planned to use each one until they got dirty and then switch the name tag to a new one so the old one could be washed with our laundry. I figured making four each would offer a large enough buffer that we wouldn’t run out. With the threat of COVID-19 and Ada coming down with the flu I’ve already started switching the name tags and washing them much more frequently than I had planned and they’ve held up great.
I considered sewing the name tags right sides facing and turning them right side out to topstitch but I also wanted to add fusible fleece, that I had on hand, to the top and bottom layers to make the name tags sturdier and thicker which would’ve made this too bulky to turn right side out. Thus I decided to simplify and make these wrong sides together from the get go.
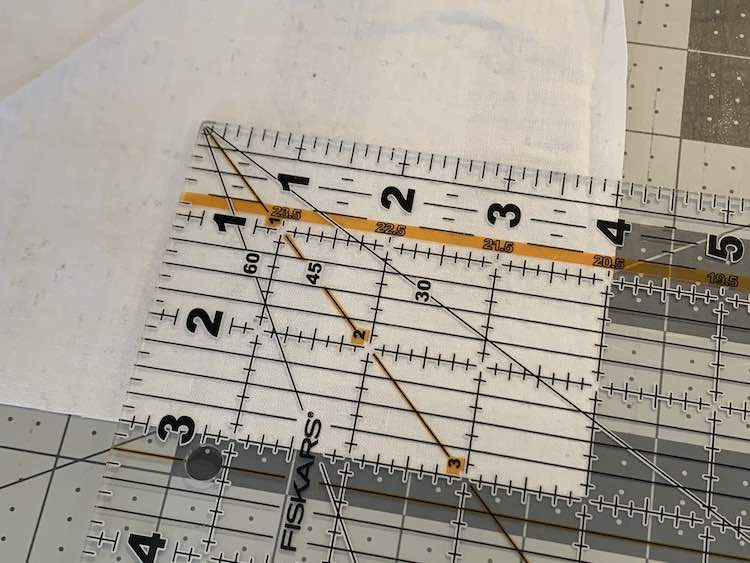
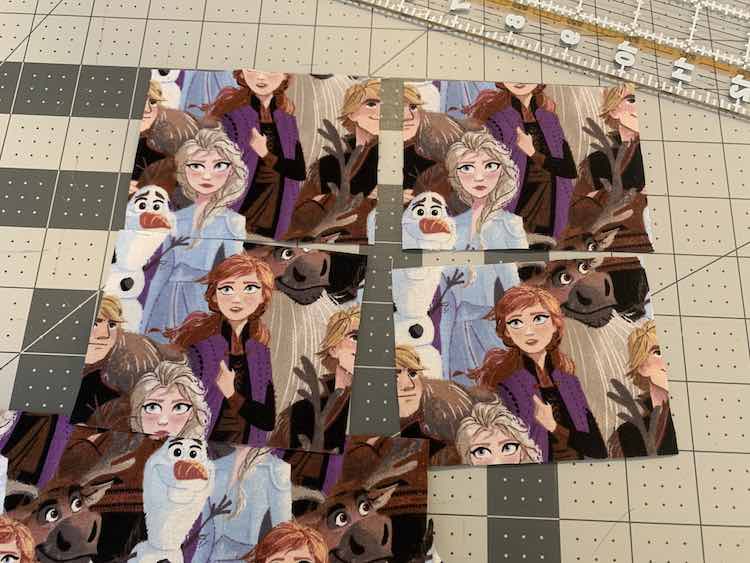
I chose to make four name tags for each kid so I ended up creating a total of eight name tags in all. Once I figured out the size I wanted I got to work cutting out eight pieces of white woven fabric for the top of each name tag before choosing some interesting scrap fabric to cut out eight more backs. I made them all the same size cutting them to be four inches wide and three inches tall.
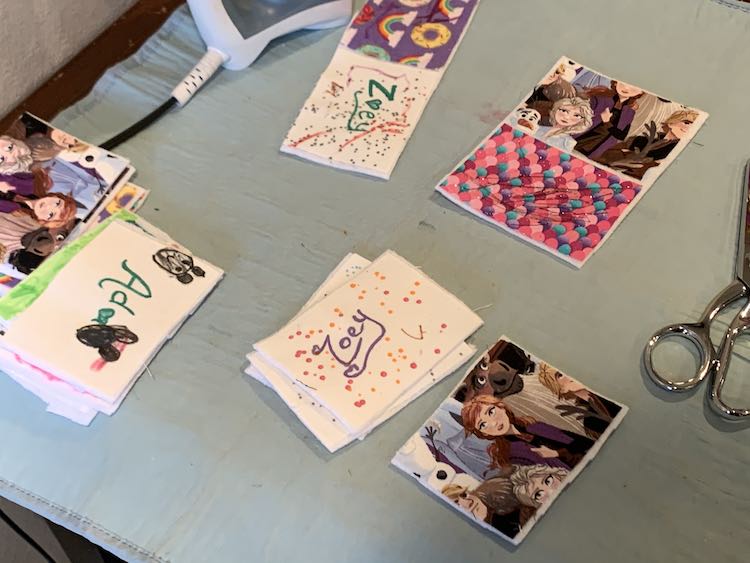
After cutting out the squares the next step was to add the girls’ names to each one. I laid out all eight of the white rectangles and used a different fabric marker color, and font, for each pair of name tags.
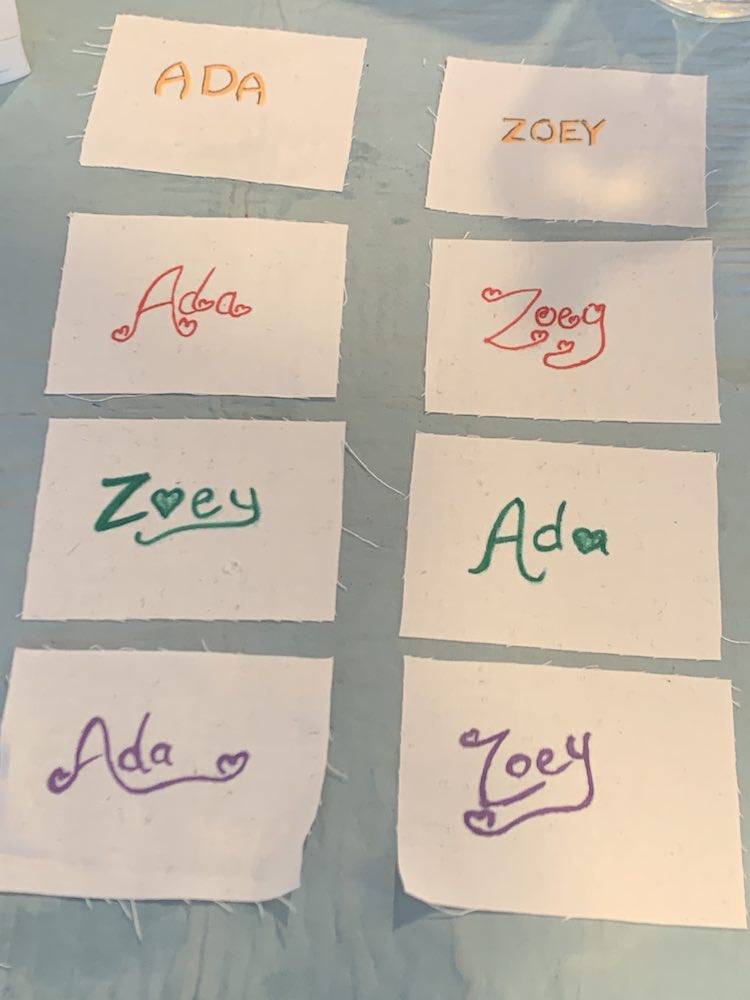
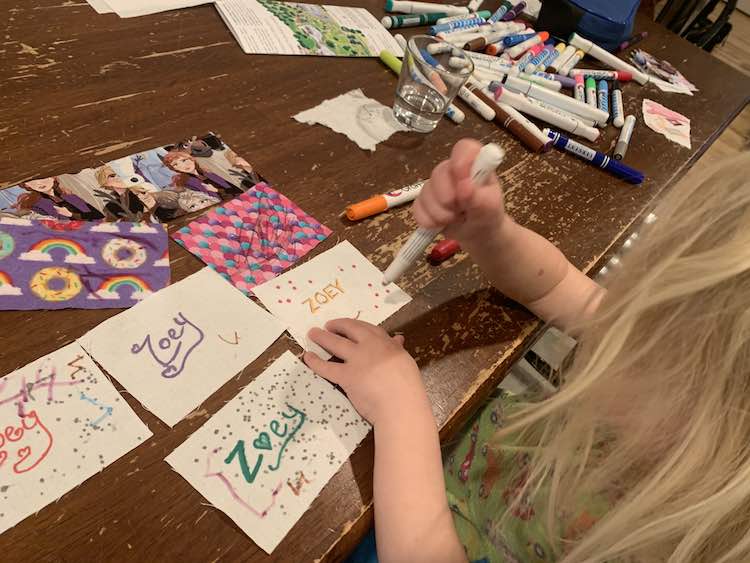
After writing their names I used my iron to set the ink so the names wouldn’t bleed into the girls’ artwork. I then divided up the backs and tops before explaining to Ada and Zoey that they’d get to choose which back went with which front and that I’d have to sew around the outside so anything close to the edge would get hidden. Otherwise could do whatever they wanted. They ended up designing them over two days before Ada decided she was done. Zoey was basically done the first day but added a bit more the next day when Ada worked on hers.
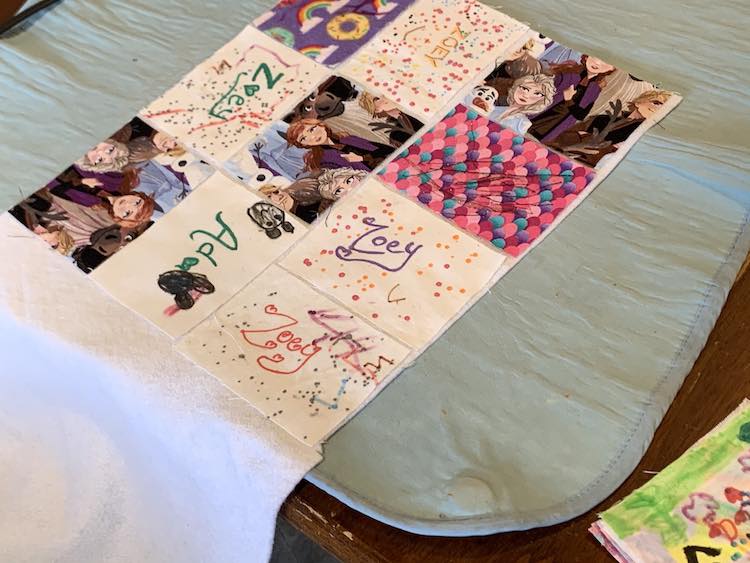
Once the kids decided they were done I laid out all the squares on my fusible fleece and, after adding paper towel to protect the iron from the glue, fused the fleece to the woven squares. Originally, I was going to set the ink on the squares first but I forgot so I was extra careful to try to heat set the ink during this process. Once they were attached to the fusible fleece I took my scissors and carefully cut each one out separating them and put each one into piles based on whose name tag they belonged to and if they were a back or front pieces.
Once the pieces were prepped it was time to choose which ones should get paired up together and which way they should each be turned before being sewn together. I ended up taking Ada and Zoey, separately, and we went over which backs should go with which fronts and in which direction they should be while I clipped them together with my sewing clips to make the sewing go more smoothly later on. We then went through my sewing box of thread so they could choose which color thread I use to sew their name tags together. I simplified it by allowing them to choose one color that would be used on all four of their name tags. Zoey went first and I showed her the multi-color thread sure that she would choose her new favorite color, rainbow, before she went through my colors, studiously ignoring the rainbow thread, and chose a neon version of her old favorite color orange. In contrast Ada methodically went through all the colors until I eventually told her she had to choose as my thread was getting unrolled with her rifling through the box whereas she then ignored all the colors she’d been going through and gravitated to my baggie of multicolored thread instead.
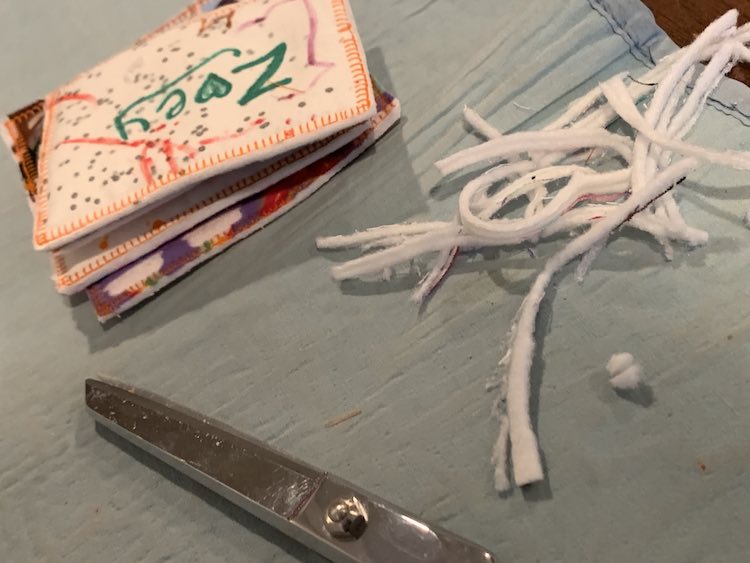
After changing the thread in my sewing machine I carefully sewed around each label, making sure I sewed through all the layers, using a blanket stitch so it would look pretty and cover a wider area than the simple straight stitch. Once they were done I trimmed the excess fabric making sure to not cut through any of the stitching.
And they were done! They were so quick to make as the longest part was waiting for the kids to color them all. So simple and I love how they turned out.
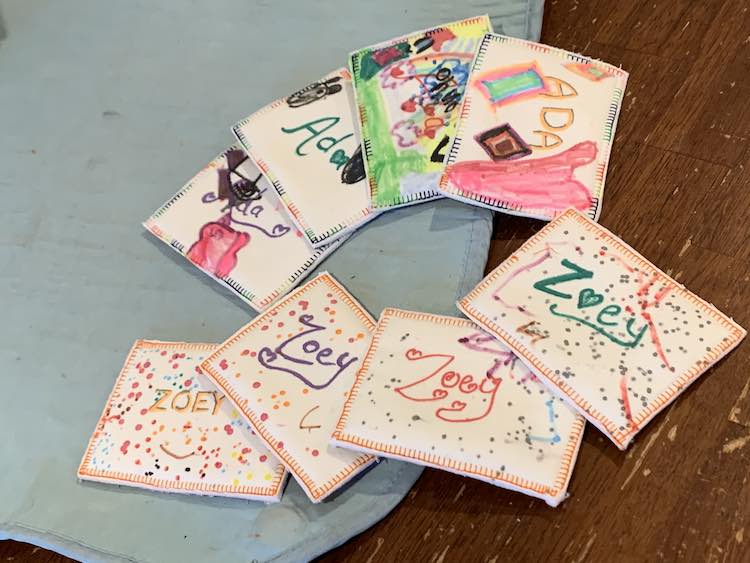

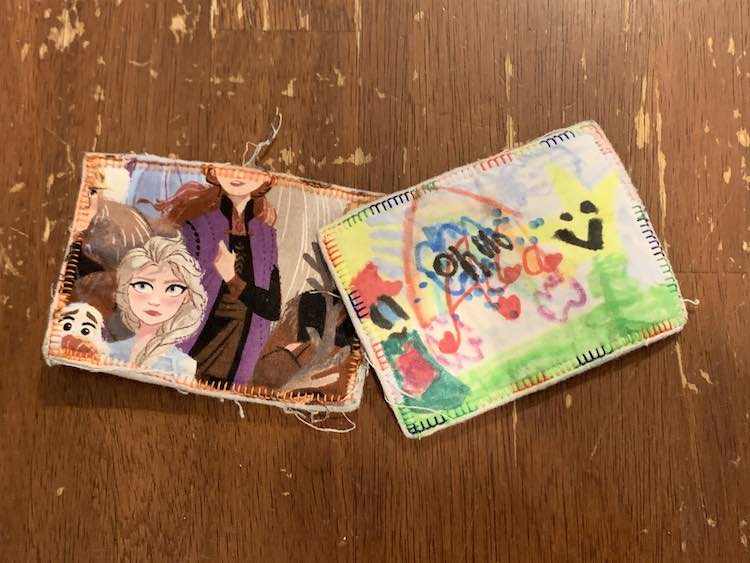
I found this was a quick sewing project and I love that the kids had a hand in designing their name tag and choosing what thread color I used. This did mean that one of Ada’s name tags is, basically, name-less as she colored her picture overtop but we know that one is Ada’s so it still works. I could see making both sides with white fabric if your kids want to color either side. I could also see using their favorite fabric scraps and if they’re unique to each kid you don’t even need to add their name. This project could also be a good excuse to stitch their names onto the fabric if your machine has the capability to monogram (my bead counting quiet book page also used monogramming). Being so quick with minimal sewing I could see this also being a good project if you want to hand sew or embroider something small.
Are you looking at making your own name tags? I’d love to see yours if you make these. Or if you made a different type of name tag what did you use and how did they turn out? Are you making these for a different purpose and if so what? Feel free to share in the comments below, through my Facebook page, or on Instagram. I hope your week is going great.