
Kids' Simple Quilt

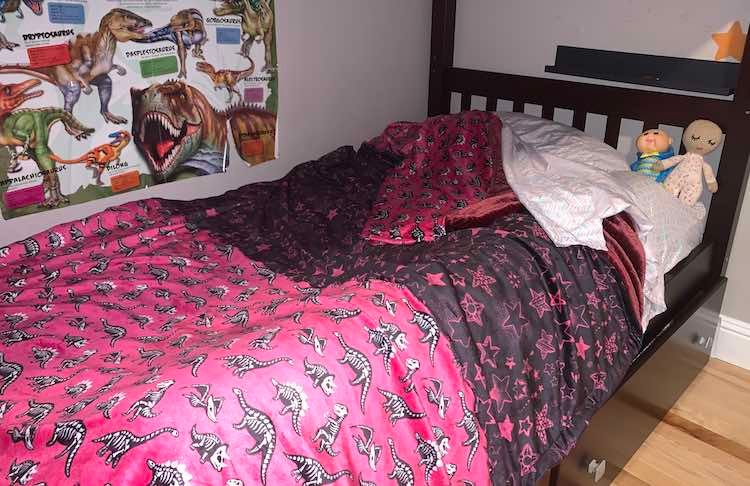
For the last year I’ve been debating getting Ada and Zoey a new blanket for their bed. Ever since they upgraded to toddler beds they’ve been using blankets my friend Anna crocheted for them when they were babies. The blankets are incredible and so adorable. They were so cozy when the girls were small but Ada’s been outgrowing hers and I wanted something warmer that would last both of them awhile. I’d been keeping an eye at Costco, over the summer, but their blankets were all for queen and king-sized mattresses only and when I found the throws, or afghans, they all seemed too wide in one way and too short in the other for a twin-sized mattress. I had almost given up hope I’d find something and was debating just buying an actual quilt when, back in the beginning of November, Moon Beam Textile Company had a sale on their fluffy fabric and I found the perfect stars and dinosaur fossil fabric that looked like the colors would match together. I bought six single cut yards of the fabric expecting to have a yard or two leftover and be able to sew it up similarly to the toddler toppers I bought previously through Fabriculous. When it arrived I was ecstatic that the pinks and blacks matched but was then disappointed to find it was single sided, so I couldn’t sew up a single layer for the blanket, and my calculations were wrong so I’d need most of it for a single side using three single yard cuts for each girl. I wanted to share with you how I ended up from this to the creation of these two cozy, and maybe a tad too warm, blankets.
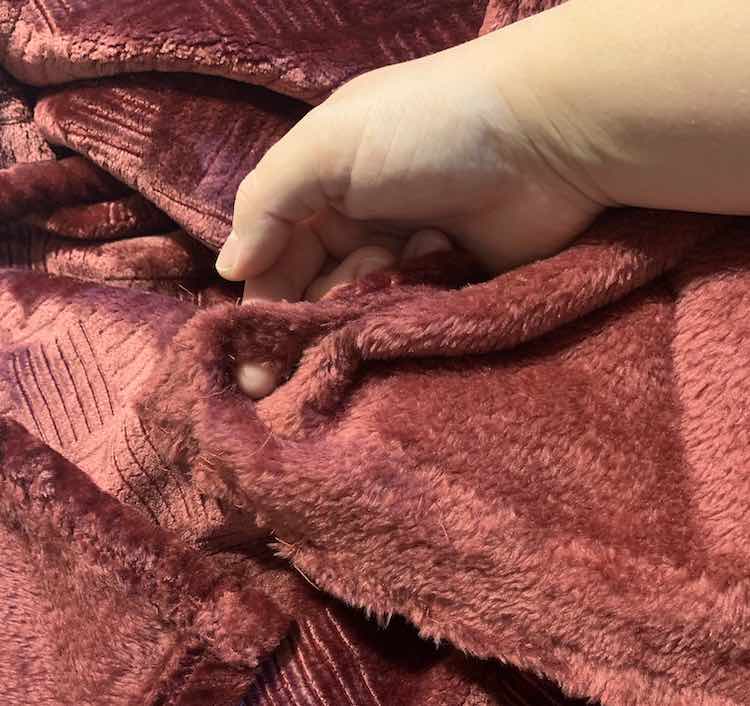
My only previous experience with cozy fuzzy fabric at this point had been a fabric remnant at Joann’s and the toddler topper from Fabriculous so when the fabric (230-240GSM 100% polyester minky) arrived I was disappointed to see the fuzziness was confined to just the one side and the reverse was definitely less cozy. Though in their defense I spotted the sale right before heading to bed close to midnight so I didn’t take my time reading up on their fabric choices. I had done enough quick calculations before ordering to think I had more than enough to make two blankets and maybe have one or two yards leftover to add to a shirt or hoodie. With the change from expectation I realized I wouldn’t have enough to make a double-sided blanket and I had originally calculated wrong and would need three yards for a side rather than two. At first I wasn’t sure what to do but then decided to check out the throws at Costco one more time since it had been awhile since I’d last checked. I wanted a throw that was bigger than a twin mattress (39″ wide by 75″ long) since I could always trim it smaller if needed. I ended up finding a Mônte & Jardin embossed velvet throw for $16.99 each that was large enough to cover the kids’ beds at 60 inches wide and 80 inches long. The do not iron and do not dry clean message on the label made it so much better.
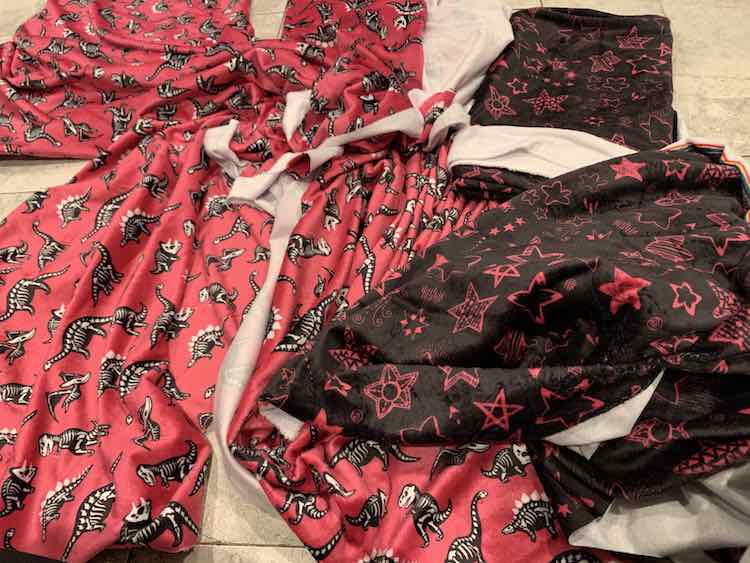
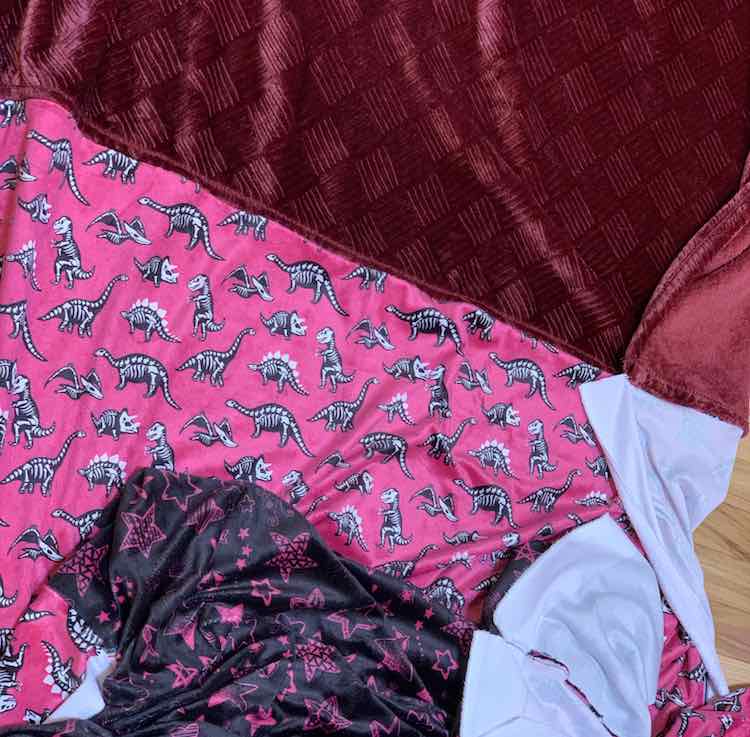
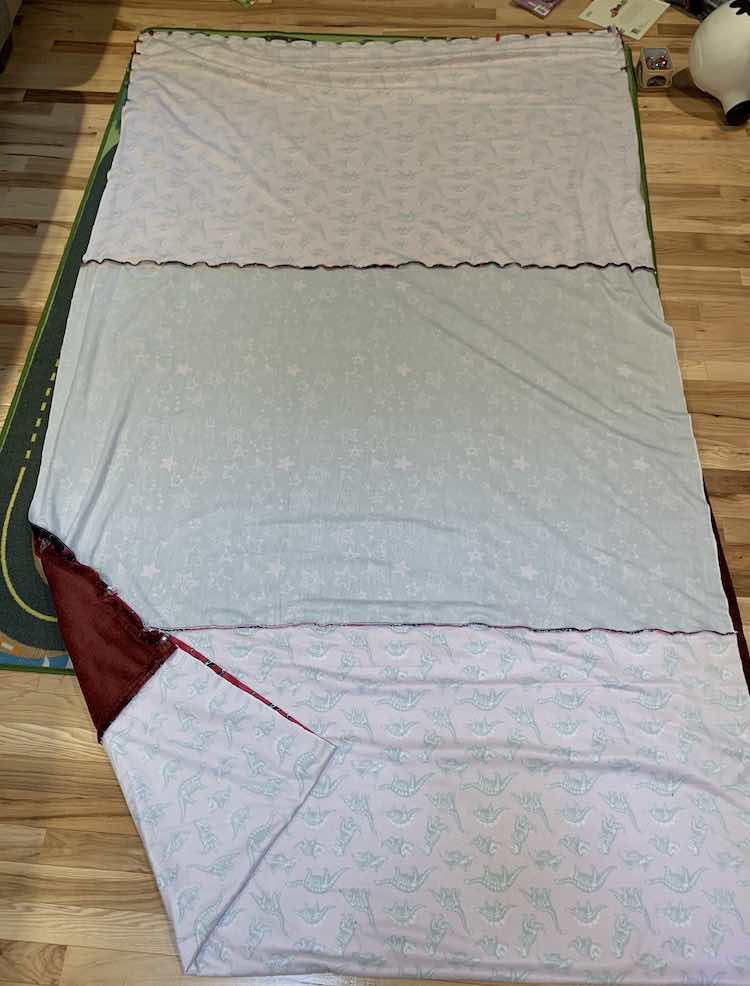
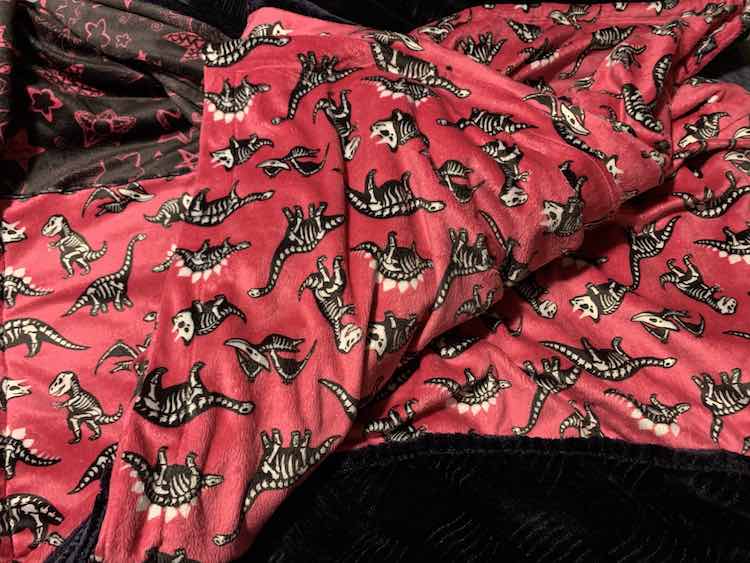
Once I had the Costco throws prewashed, as a precaution, I was ready to start. I knew sewing three of the single cut yards together would probably be too large for the bed but figured that would be a good place to start as joining only two yards would be too short. I started by clipping and sewing the dinosaur yardage to either side of the star fabric making sure the dinosaurs on either end of the blanket were facing the same way. This meant my 6 cuts of fabric become two long blankets.
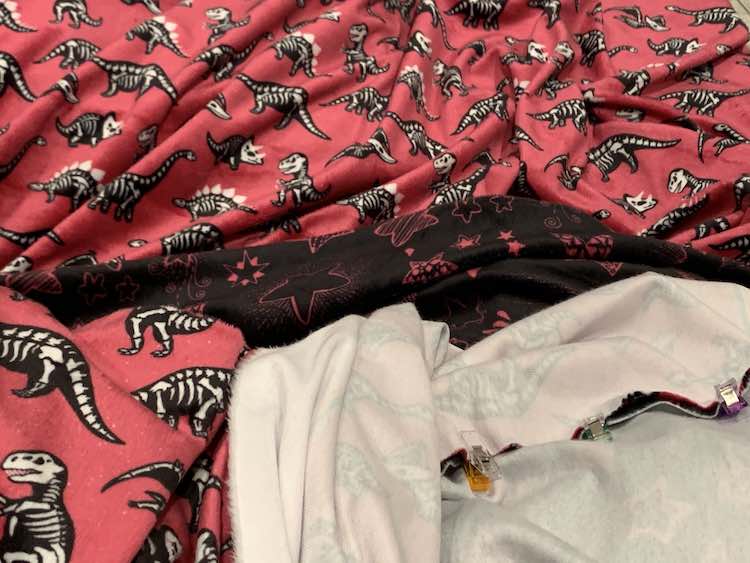
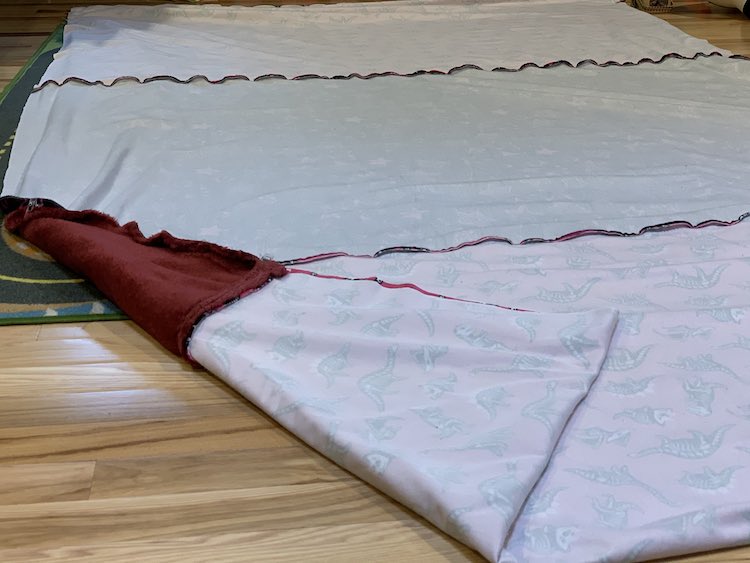
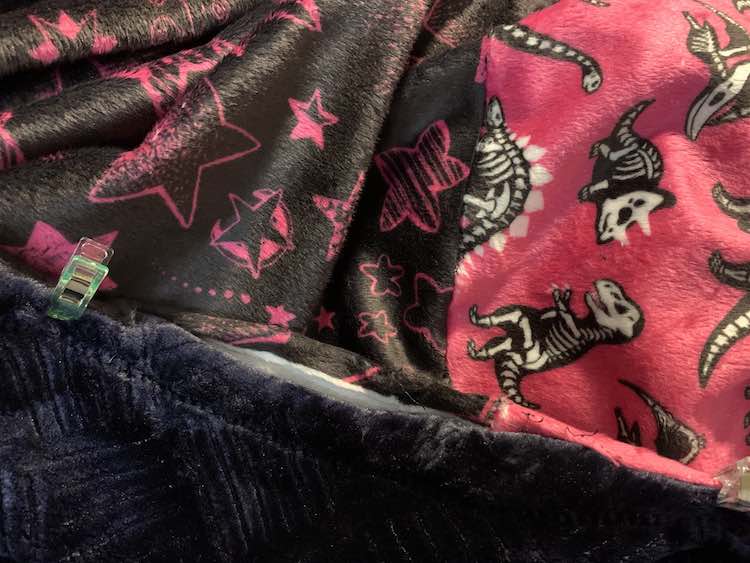
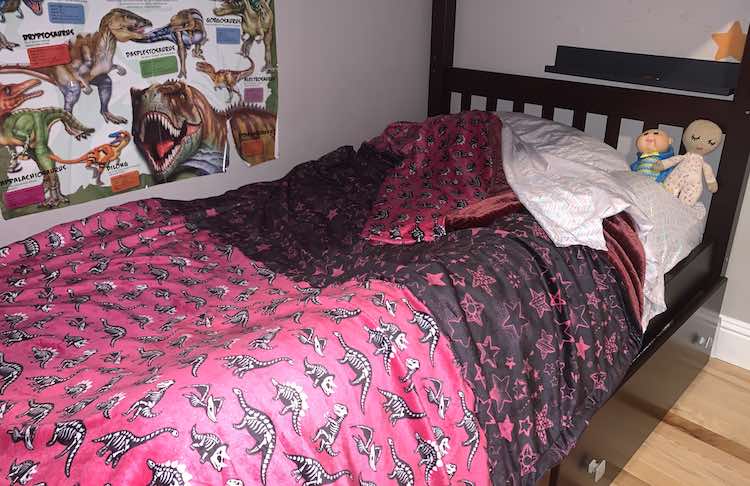
My next step was combining the dinosaur star fabric with the Costco throw to create the ultimate blanket. I debated seam ripping the throw’s edge to make it thinner but as I started seam ripping the one end I had trouble seeing the thread amongst the fuzz and found, or created, a hole so I decided to leave the throw as it was instead of opening the edges. I needed space to work so I laid the throw on the ground and then laid the sewn yardage overtop to discovery they were both the same width, using the printed edge on the dinosaur and star fabric, but the newly created blanket was longer than the Costco throw. At this point I decided to sew the blanket keeping the throw’s width, minus the seam allowance, since I know the kids will bunch their blankets up anyway and if the blankets last long enough for single beds, after the current bunk beds, the sides of the blanket can drape over the sides of the bed. I then considered trimming the excess length from the sewn yardage but decided, instead, to fold over the end of the dinosaur fabric to create a double-sided top which elongated the finished blanket to be longer than the throw’s eighty inches. To do this I clipped the top of the dinosaur starred fabric to the top of the throw, right sides together, making sure to line up the top corners of the throw with the edge of the printed fabric. Since it was so wide I started by clipping the corners and the center before adding more clips to fill in the empty spaces between. I then sewed the two together essentially making a (two) really incredibly long blanket(s).
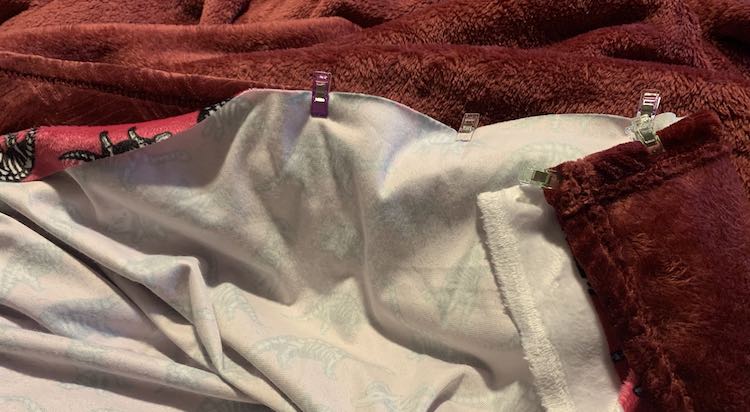
Now that the top was sewn together it was time to lay it out and do the other three sides. I found it easiest to grab the four corners and line up the ends on top of each other, right sides together, and then lay out the rest of the blanket. This let me find the new center of the blanket as the dinosaur starred fabric was longer than the Costco throw. After making sure the blanket was flat and all the points were lined up between the throw and the printed edge of the dinosaurs and stars I used my sewing clips to attach the fabric together. This did take a lot of clips so I had to clip one blanket and sew it before I had enough clips to attach the second blanket together. Once each one was clipped I then sewed along all three sides leaving a space to turn it right side out. I wanted to leave the opening on a section where the throw was attached to the dinosaur or starred fabric so the fuzziness of the throw could hide my stitches so I ended up starting at the top of the blanket (where the dinosaur fabric is folded over), sewing down to someplace in the throw area, backstitching, jumping forward, and then sewing the rest of the way down the side, bottom, and finally up the other side until I reached the folded dinosaur edge again.
Once the edges were sewn I turned it right side out. I was careful to use my chopstick to push into each of the four corners making sure they stuck out properly. While turning both blankets right side out I ended up ripping the hole bigger and may have also caused another minor hole in the blue throw, that I found later on, which I closed up while hand stitching the main hole closed. The fluff did a great job hiding my stitches on both blankets.
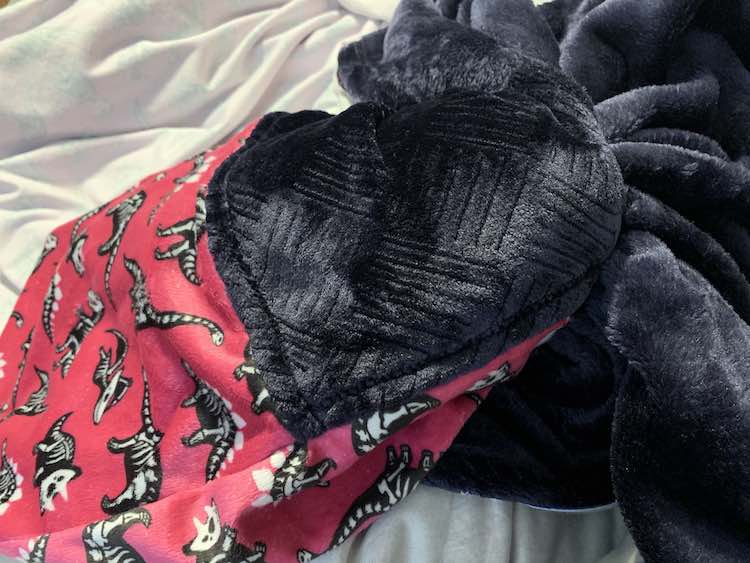
Once the blanket was sealed shut I went around the outside making sure the edge was folded in the right spot while adding the odd clip to keep it in place. I then topstitched all four sides, about an inch from the edge, to hold the edges in place. I had considered hand tacking the two layers of the blanket together at this point but I’d been hiding this sew by waiting until after the kids went to bed and knew that I still had to sew more for them so I decided to leave the blankets as they were for now. I have already noticed Ada using the center of the blanket as the layers separated when she pulled on it but so far it hasn’t bugged me enough to tack it… for now. If you want more information about hand tacking I found DIY Network’s How to Make a Double-Sided Baby Blanket a helpful starting point before I decided not to pursue it yet.
I was done and my kids had two really cozy blankets for Christmas day! We actually got back from LEGOLAND® on Christmas Eve and before bed Ada was lamenting at how cozy the beds were there and the awesome large pillow and blanket they had. While Matt was distracting the kids in the bath that night I quickly swapped their toddler-sized pillows with our guest pillows and the next day they got to open blankets. It was perfect timing. Even though the fabric I ordered wasn’t what I expected, I should’ve looked for more information about the fabric type, I’m so glad I ordered it as I love how the girls blankets turned out.
I hope this helps you whether you’re debating buying material to make blankets, figuring out how to make do with fabric you bought already, or just reading along. Feel free to share what you’re planning, making, or made in the comments below, on my Facebook page, or through Instagram. I hope you’re having a great day.
Did this save you time?