
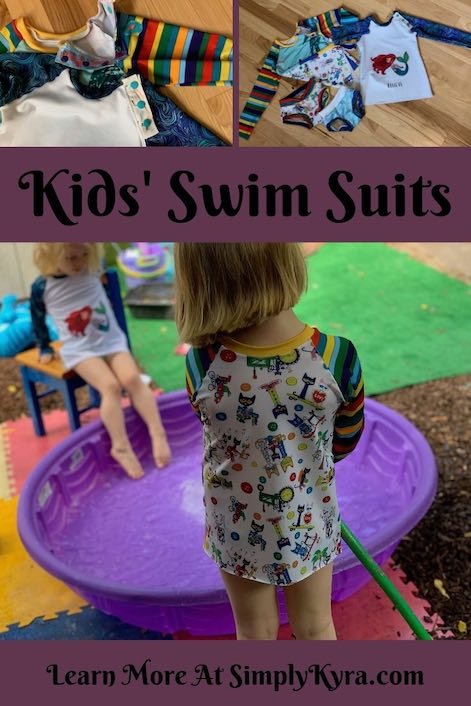
Kids' Swimming Suits - Second round with an extra year of experience.

Last summer I sewed up my first swimming suit. It was for my kids rather than me which I thought would be far easier to sew since there’s less fit issues with kids. Once I started looking into it though I realized I wanted the kids to have long sleeved rash guards to better protect them from the sun. Both girls have larger heads, I’ve had to return a swim suit set at Costco last year, and I was worried that even if the shirt fit once I sewed it up it might not last long if the neckband was too small. I knew I wanted to sew Stitch Upon a Time’s Kid’s Scrundlewear for their swim bottoms yet couldn’t find a good rash guard pattern for their top… until I came across a tutorial for adding a knit placket to a raglan top. I chose to use that tutorial to hack the Ellie and Mac’s Unisex Raglan and sewed it up with swim fabric using interfacing in the shoulder seam. It was my first time sewing with swim fabric as well as my first time adding snaps to knit fabric so I made some mistakes and was grateful when I finished it, that it fit, and that the kids loved it.
If you’re interested in seeing my first attempt I posted an overview of the suits including links (Sew a Rash Guard Swimsuit Top Using Your Favorite Raglan Pattern) and then followed that up with ‘The Lead Up to Sewing My Raglan Swimsuit’ that covered how I chose the fit of the shirt, planned out the colors, and used magnets to test out the placket before deciding to go with snaps.
Just a quick heads up. This is still an informative post but I've since posted an update with a comparison of the swimming suits I've made over the years and some tips I've since learned. Check it out here: An Upgrade on My Girls’ Home Sewn Swimsuits
Seam allowance: I used the seam allowance included with each pattern. The Kid’s Scrundlewear swim bottoms had a seam allowance of half an inch. The placket and any alterations to the raglan included the same quarter inch seam allowance used in that pattern. If you’re hacking a pattern with a different seam allowance you may want to alter the size of your placket to correspond with your seam allowance.
I hadn’t sewn another snap placket since the first set of swimming suits and once I realized that the girls had outgrown their swim top I knew I needed to come up with a better placket since both of Zoey’s snaps had popped out of the fabric recently. I knew I liked the raglan top and swim bottoms I hacked last year but since I had to sew up a different snap placket I started putting off how to figure it out. I had heard more about interfacing on a SewHere podcast, including that they prefer using fabric instead of store bought interfacing, so I had debated using woven fabric instead of interfacing to stop my knit swim from stretching and help keep my snaps attached but I hadn’t thought further on that.
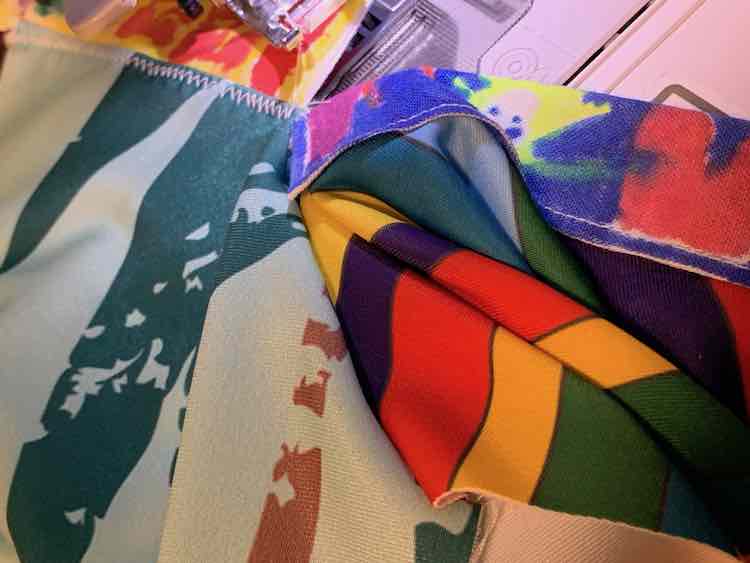
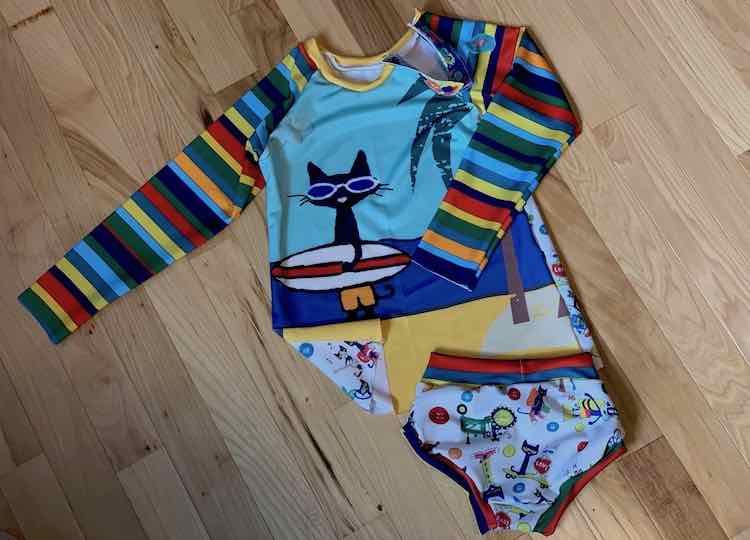
When Whimsy Baby Customs had a swim preorder that included Pete the Cat I knew I had to jump on the fabric. I had the girls pick their favorite panel and ordered a matching meter of fabric to coordinate. Unfortunately, since it was a preorder I was justified putting off deciding how to make the snap placket once again. When the fabric arrived I prewashed it before slowly started figuring out the girls’ new sizing, tracing their new pattern pieces, and cutting the fabric out. Once I started becoming worried they’d grow out of their already cut swimming suit before I finally finished sewing it, and didn’t want to waste such awesome fabric, I started trying to figure out how to adjust the snap placket. I looked up my post from last year and realized the link to the tutorial I followed was no longer active… so I put the suits off for another week before uncovering a better tutorial for my snap placket: Made For Mermaids – How to add a snap placket to a romper. This method was simple to understand and, additionally, was made with woven fabric and didn’t call for interfacing like the tutorial I followed before. I used their directions with one extra fold near the end. Since I added mine to a raglan sleeve I’ll post what I did below.
Creating The Snap Placket
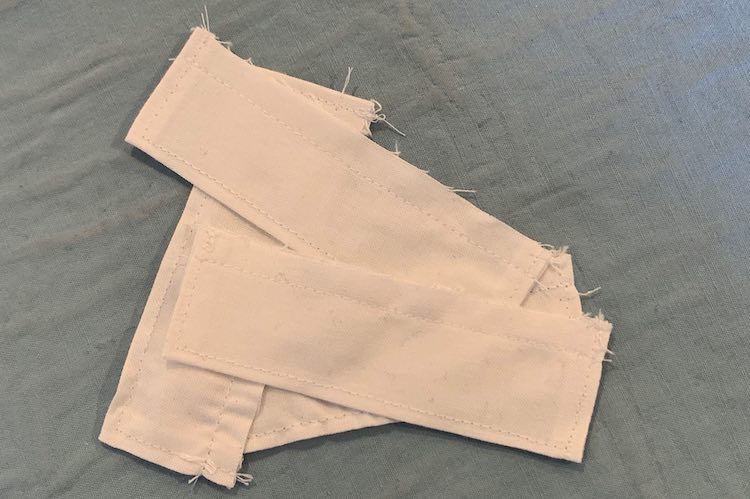
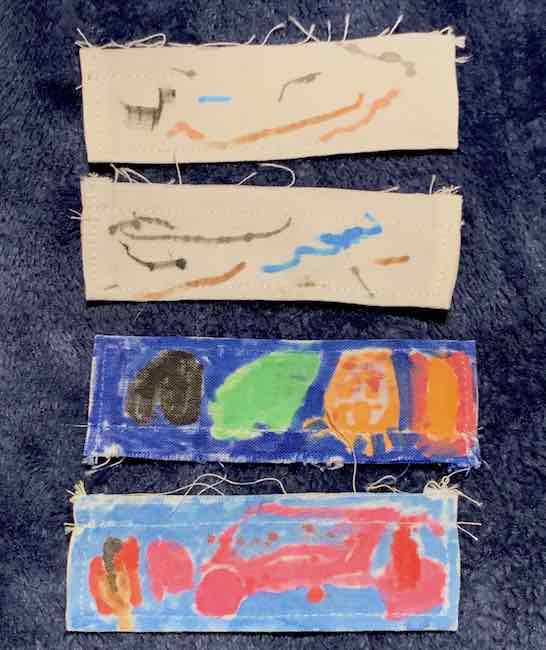
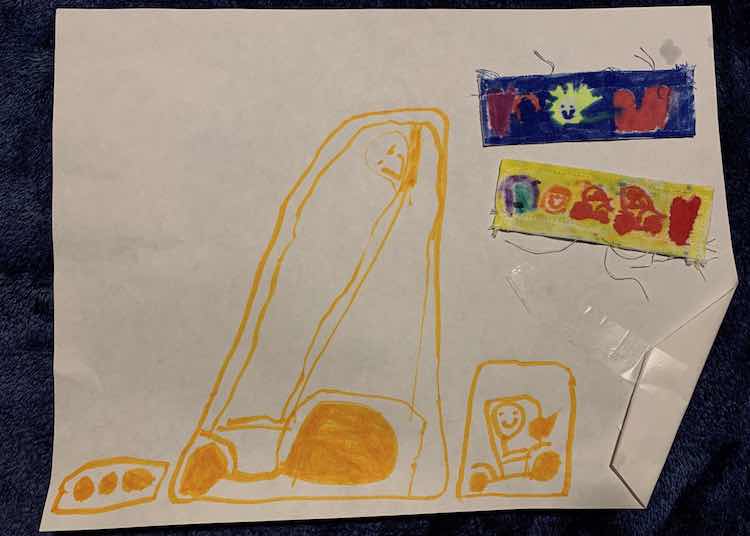
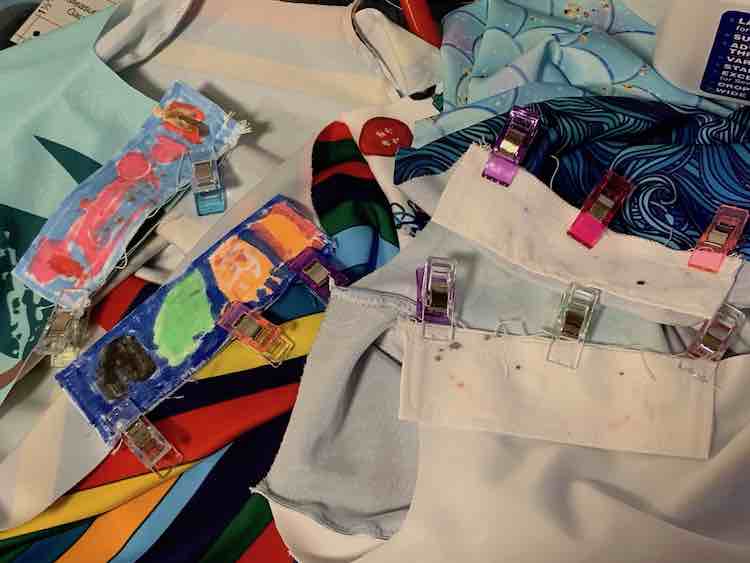
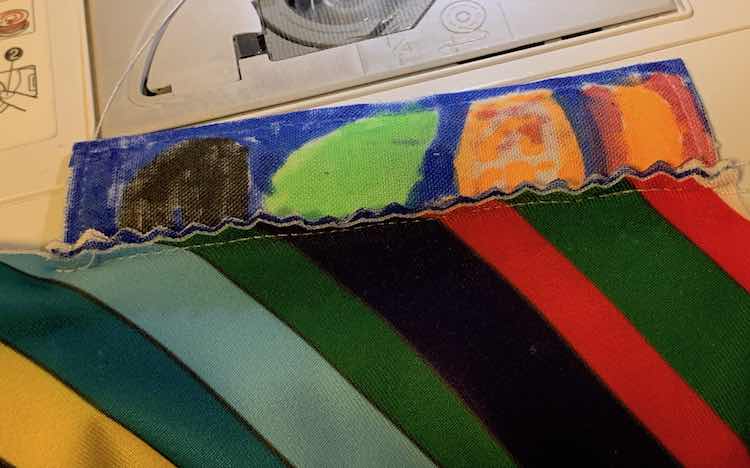
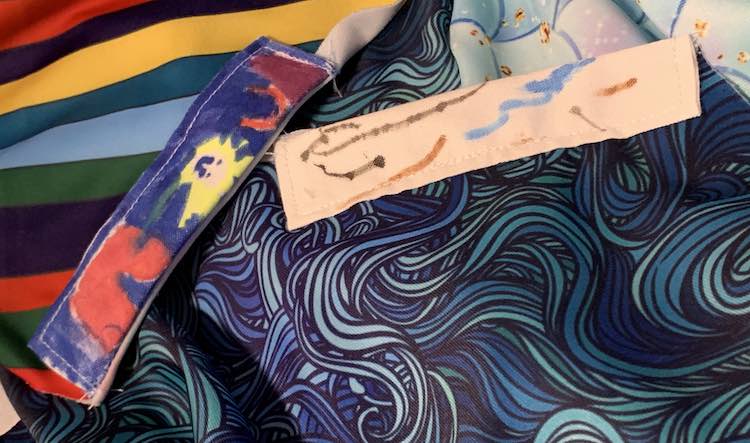
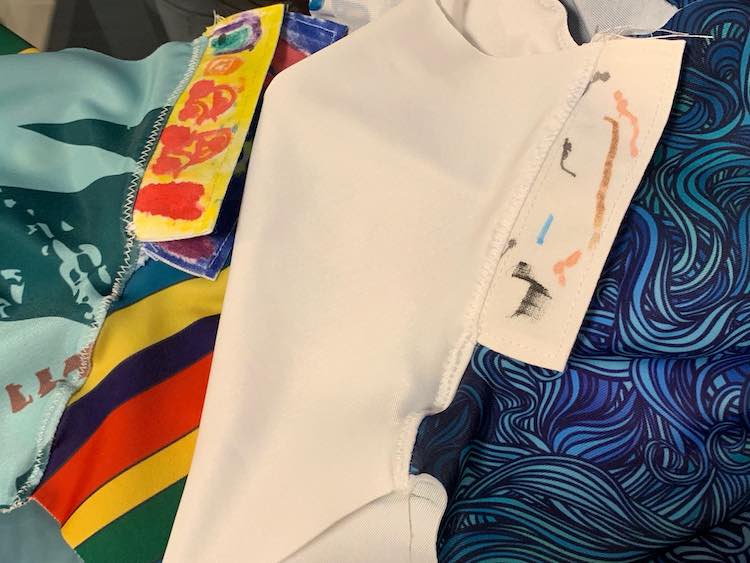
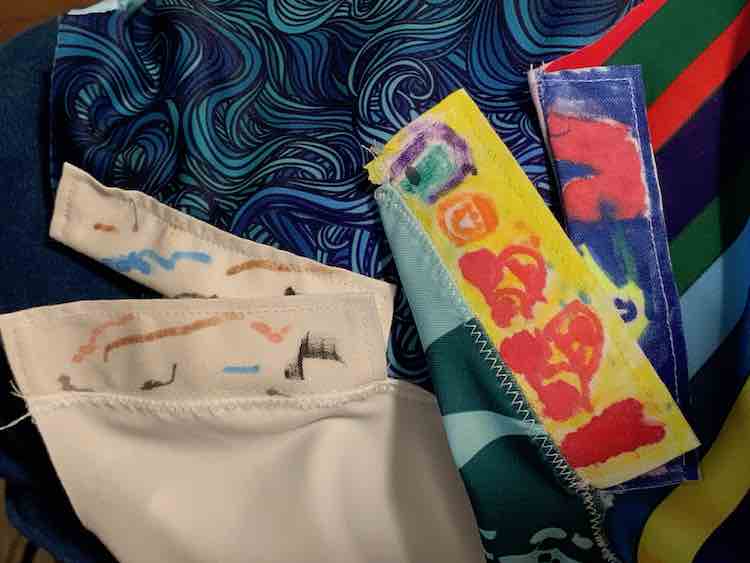
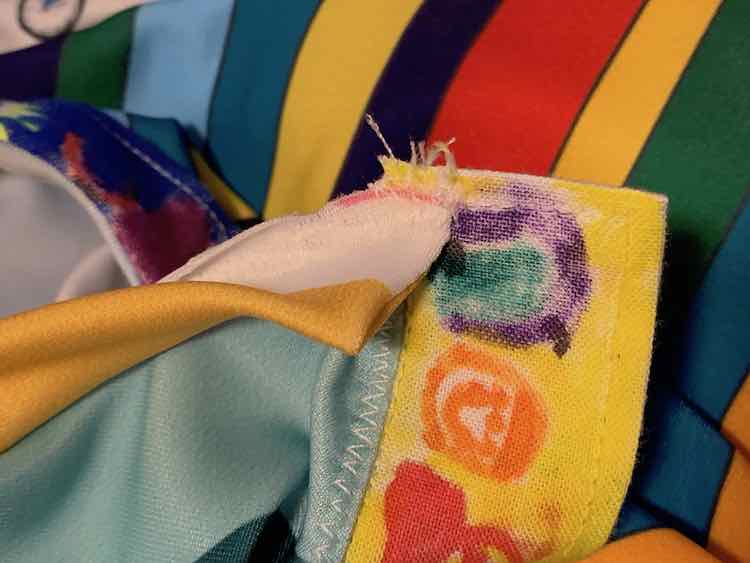
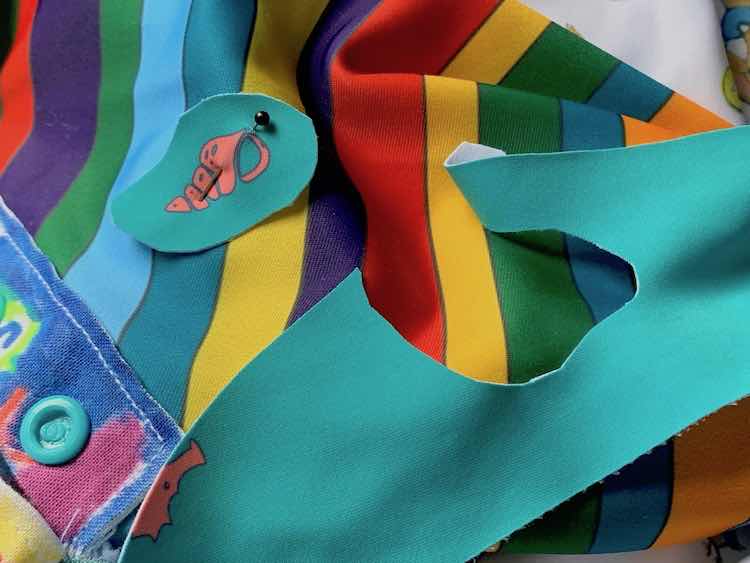
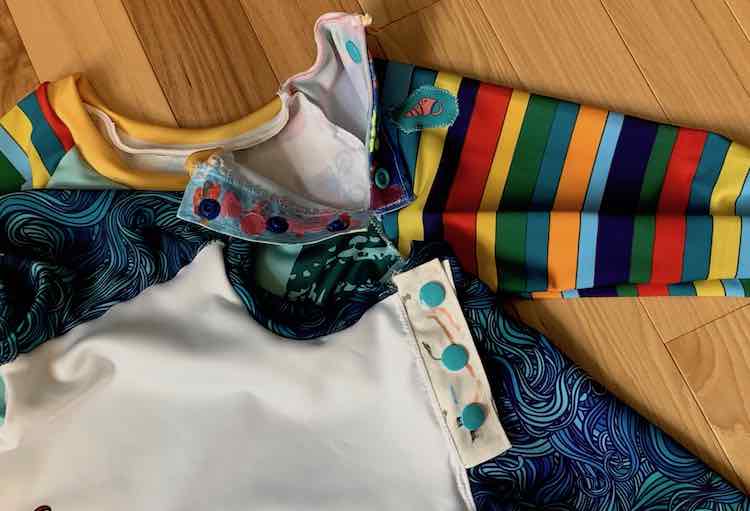
For the snap plackets I was considering using some leftover sparkly mermaid scale fabric I had used on Zoey’s dress but when I asked Ada she told me she’d prefer red fabric. I couldn’t remember if I had a red woven fabric that would work but I did have some white that I hadn’t put away quite yet from the last project. I made the snap plackets bigger than the tutorial and cut Ada and Zoey’s placket the same (4.5 by 2.5 inches) even though their swim tops are a couple sizes different than each other. I followed the tutorial to make the plackets, up to when they’re attached to the garment, and then had the kids use my fabric markers to color their placket. I reminded them that out of the four sides one will be completely (always) hidden, two will be hidden when the placket is closed, and the last is visible but will still have snaps blocking it.
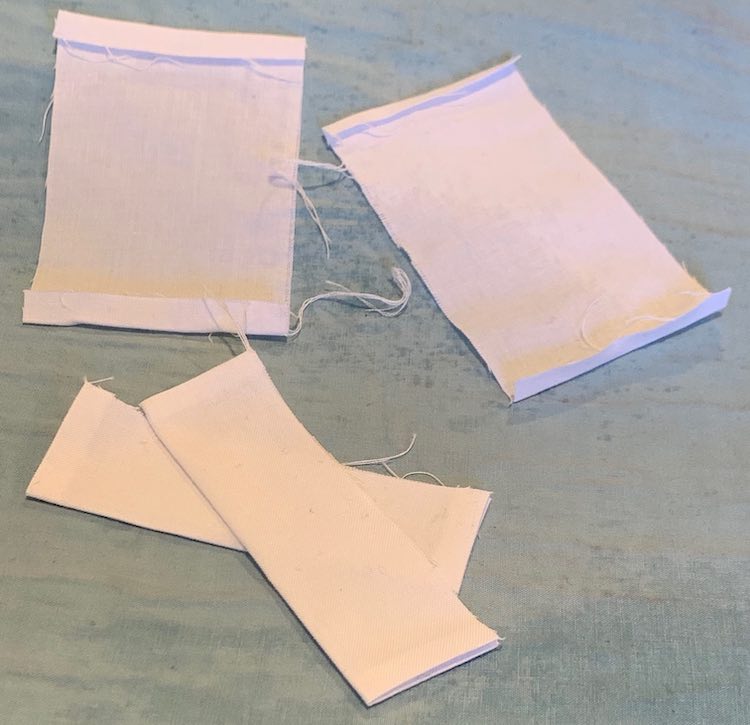
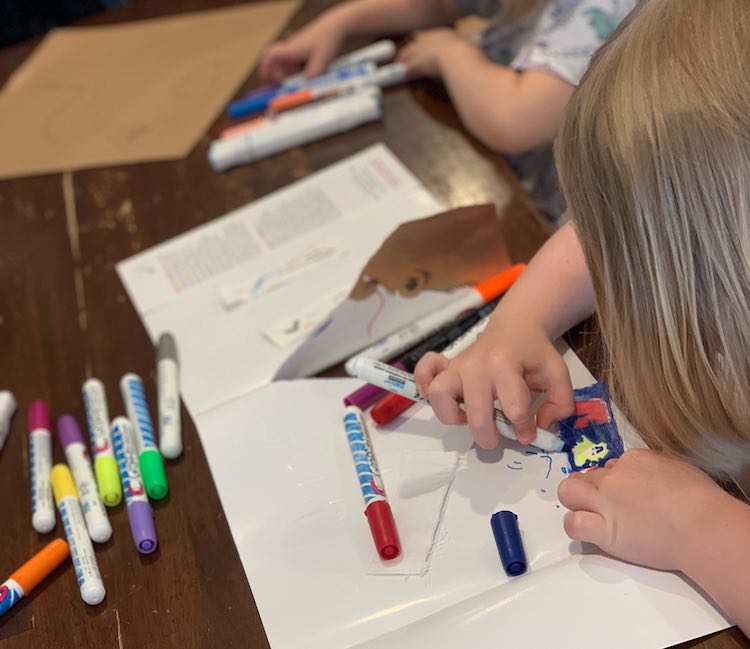
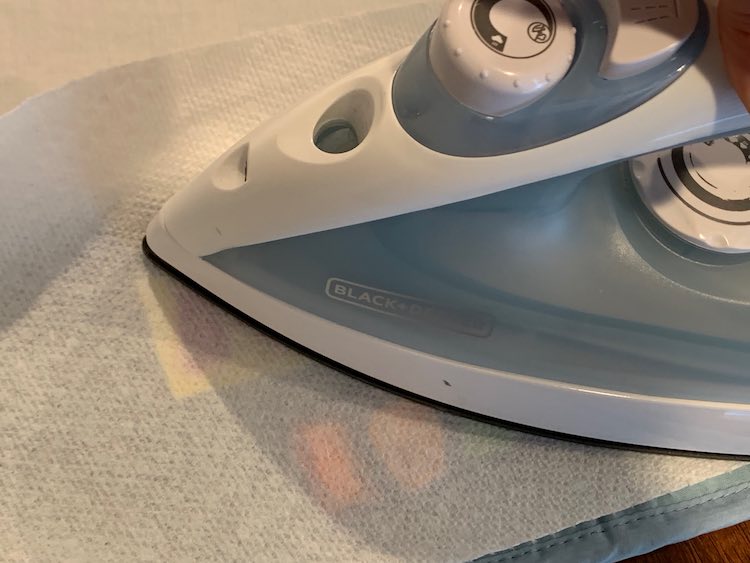
After they were done coloring I set the ink with my iron. I wasn’t sure how well the fabric marker will last if the kids swim in chlorinated water a lot but figured there was no harm trying and then we’d know in the future.
Sewing Up The Swim Top
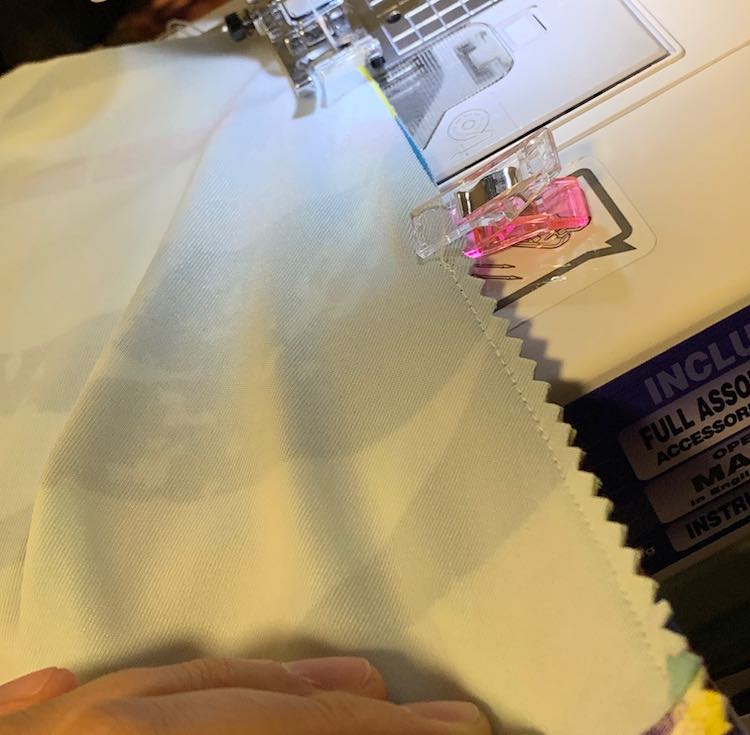
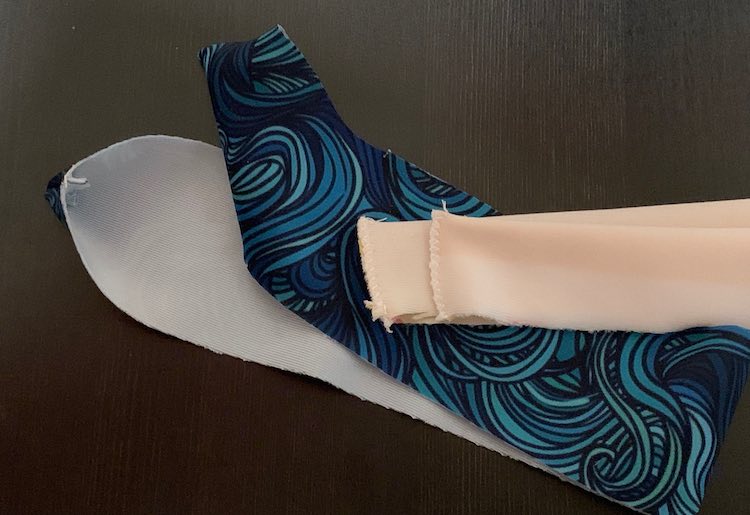
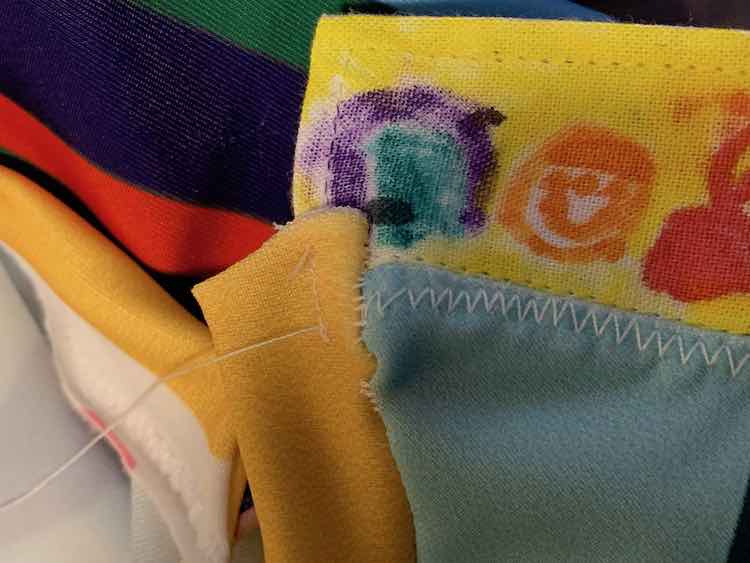
I cut out the pattern pieces for Ellie and Mac’s Unisex Raglan using my swim fabric. I then followed the pattern’s instructions to sew the back bodice to both the sleeves and the front bodice to one of the sleeves leaving the last front shoulder seam unsewn. I wanted the placket on the front bodice to overlap the placket coming from the sleeve. To do this I took the placket I wanted visible, right sides together, along the top of the front bodice’s raw shoulder edge. I then clipped the two pieces together, sewed alongside the placket’s edge, and then used my pinking shears to trim the resulting seam allowance. I left the rest of the bodice’s raw edge unsewn as it’s later going to be joined to the sleeve. For the hidden placket I lined up it’s raw edge with the sleeve keeping the right side of the placket facing the wrong side of the sleeve before clipping it in place. I did this so the sewn seam gets hidden within the fold once the placket is flipped to the right side of the sleeve. After sewing along the length of the placket I then trimmed the seam allowance with my pinking shears, flipped the placket around to cover the right side of the sleeve, clipped it, and topstitched it to hold it in place.
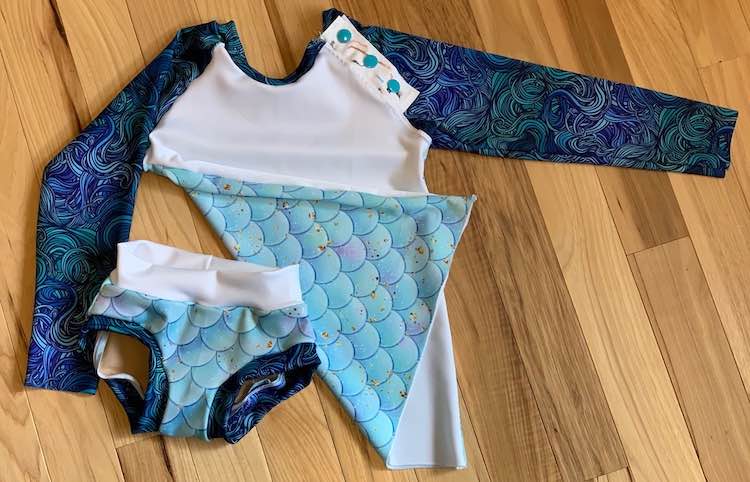
Finishing the rest of the seam below the placket is where the two shirts deviated from each other. I started sewing Zoey’s mermaid top by topstitching the placket catching the seam allowance within the stitches. I then placed the front bodice and sleeve right sides together, clipped them, and then sewed from right outside the placket to the end of the shoulder seam (going away from the placket) to finish the shoulder seam. I unfolded the seam so the right side was facing up on both parts and then topstitched from the bottom of the placket until the edge so the rest of the seam matched the placket topstitching.
I didn’t like doing the topstitching over two different times and was hoping doing it just once would be more cohesive so for Ada’s Pete the Cat top I changed how I did it. This time I ignored topstitching the top (bodice) placket and went directly to flipping it out. I then put the sleeve and front bodice right sides together and sewed them from the bottom of the placket to the edge. I then unfolded it so both right sides were showing and topstitched the seam allowances down starting at the top of the placket (with bottom placket moved out of the way) to the placket edge. When I got close to the end of the placket I lifted my needle and foot up before lining the plackets up together and continuing to topstitch down the shoulder seam.

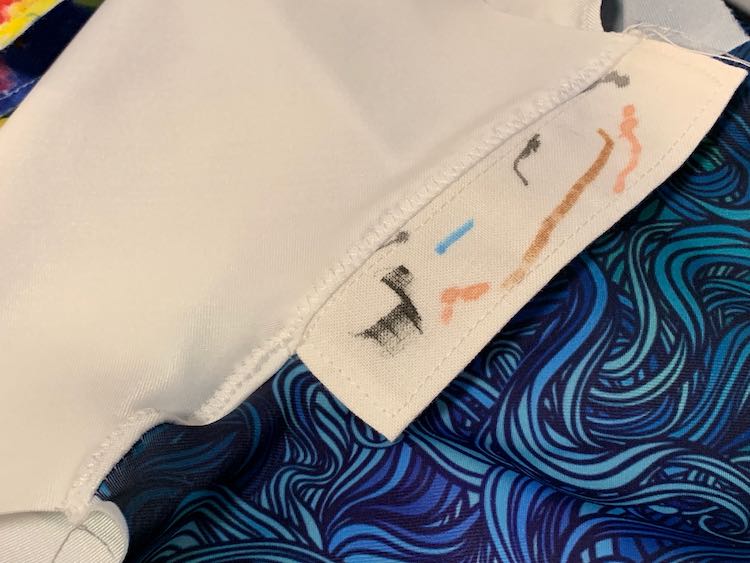
After the placket the next step was the neckband. Since the placket separated part of the neckline I couldn’t sew the neckband according to the pattern’s directions. I instead folded the neckband in half lengthwise (right sides together) before sewing either end closed. This way, once I put it right sides out, I had one neckband folded in half with the right side showing on either side and two finished ends.
To quarter the neckband I folded it in half once and then twice letting me find and clip the three midpoints. For the top I overlapped the placket using that seam as one of the points. From there I folded the neck opening in half to find the midpoint and then folded both sides in to find the other two midpoints.
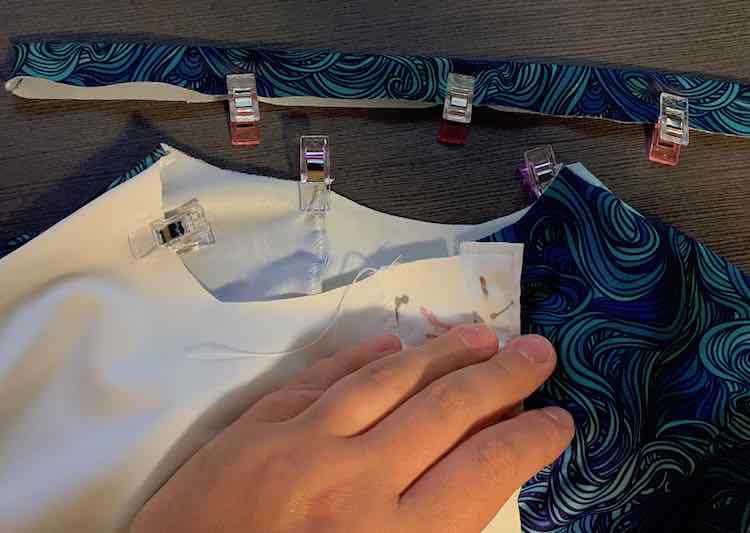
Matching the ends and the clipped points I attached my neckband to the neck opening. I then kept adding clips to the midpoints until I was happy with how attached the neckband was. I made sure to overlap the lower placket with the neckband and keep the top placket mostly uncovered. I then sewed the neckband to the neck opening.
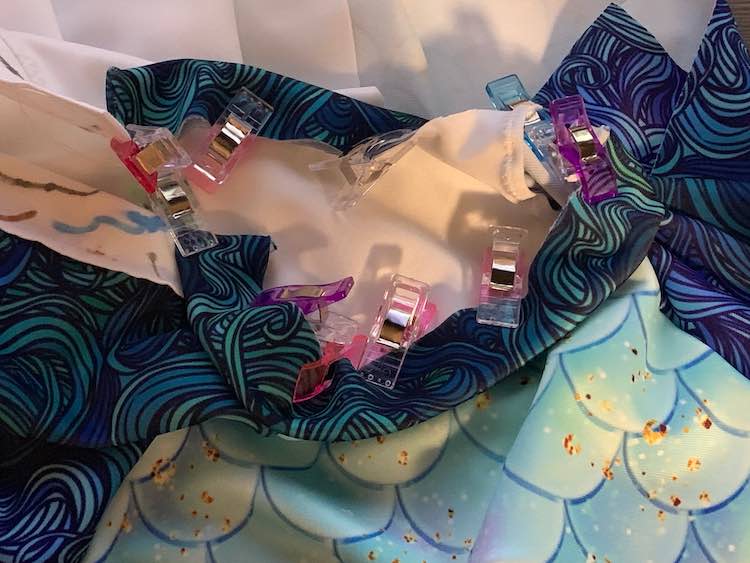
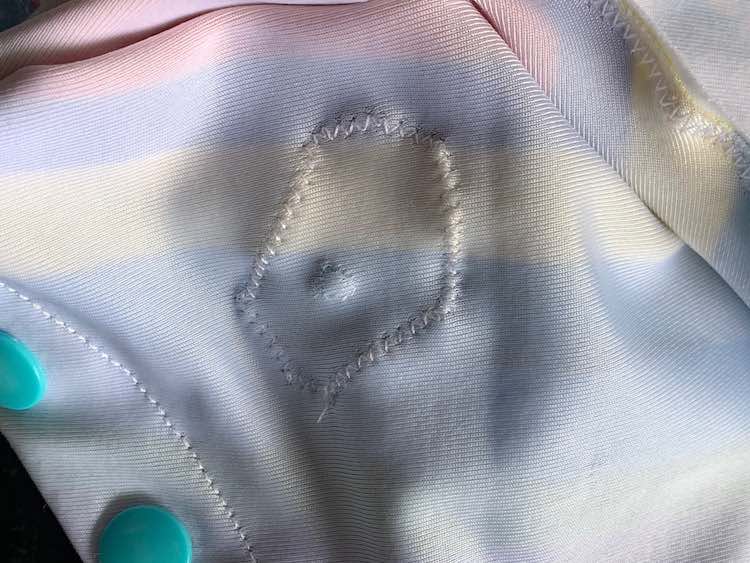
Getting to the end of the neckband it was hard to keep the band pulled as far as I needed to as I finished sewing so some of my stitches puckered a bit. After finishing and flipping the neckband up I realized the seam allowance on the top placket was a bit visible so I added a couple stitches to keep the neckband folded up and the seam hidden away.
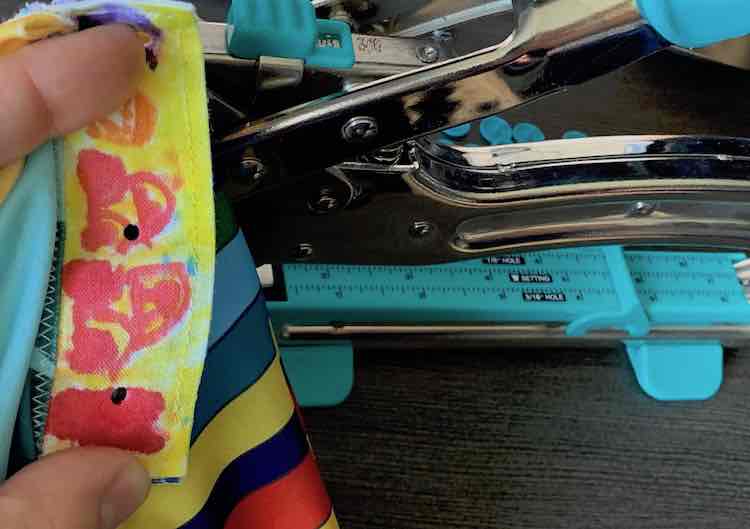
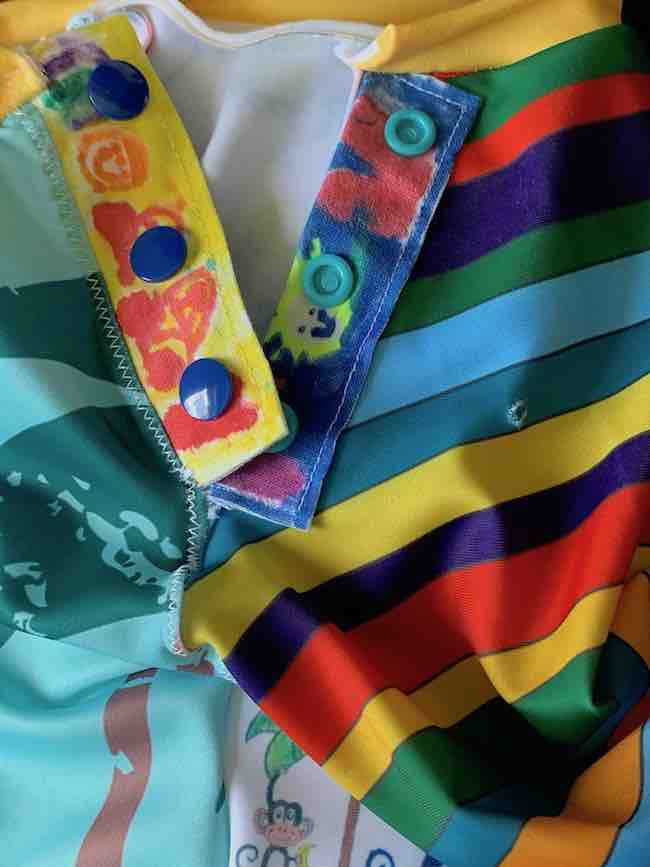
The final step of the swimming shirts was to add the snaps. I lined up the top and bottom plackets and punched three equally spaced eighth inch holes used my Crop-A-Dile II (that I bought for grommets back when I was making quiet books). I then laid out matching KamSnaps for either shirt but mistakenly used the wrong color on the bottom snaps for the first shirt. I debated removing the snaps, but since the other color slightly matched too I decided to just use the ‘wrong color’ on the bottom placket of the other shirt and let the top snaps fully match the shirt. This way I didn’t have to remove the snaps and both girls get both colors.
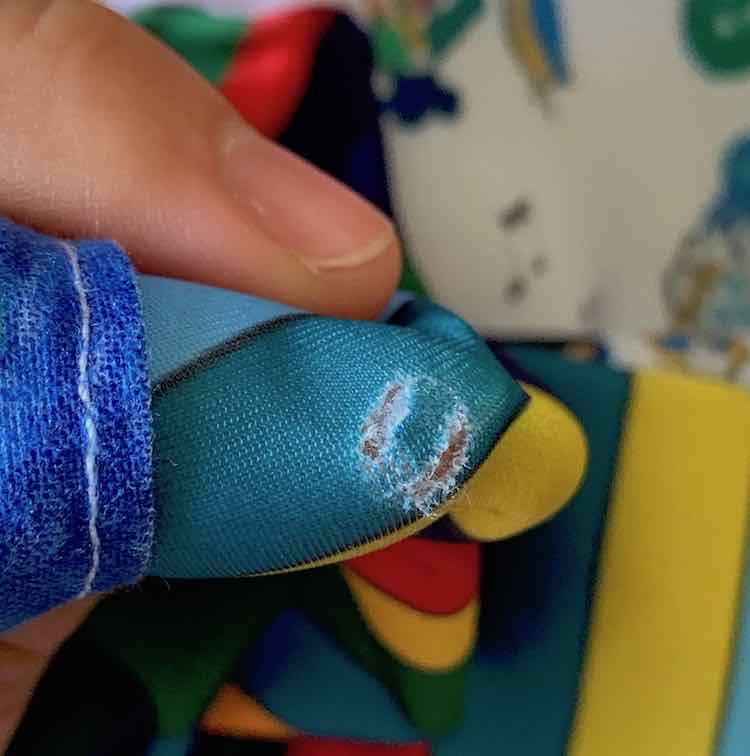
I realized while attaching the snaps that there was a hole in Ada’s sleeve from the Crop-A-Dile. Since the fabric was knit I wasn’t worried about it unraveling like a woven garment would. I didn’t want the hole to show or increase in size so I looked through my scrap fabric and found some swim with seashells on it to patch the hole. I had to laugh later when Ada got excited that she had a seashell on her swimming suit.
Since I didn’t have to worry about the fabric unraveling I decided to leave the sleeves and bottom of the shirt unhemmed. The kids had forgotten that they ordered swim fabric and I didn’t remind them what they had ordered when making the plackets as I wanted to keep it a surprise. Once I showed them the finished suits and they tried it on I liked how the sleeves fit and left them as it. The shirts are a bit long but figure I’ll still leave them unhemmed unless they get in the way in the future.
Sewing Up The Swim Bottoms
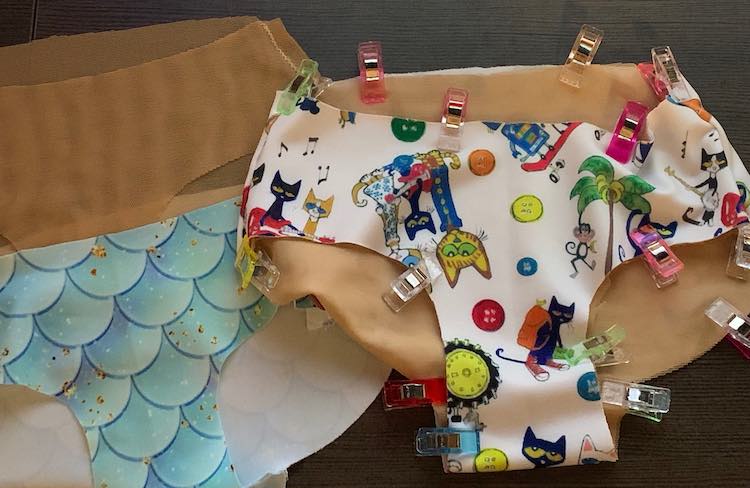
For the swimming bottoms I used Stitch Upon a Time’s Kid’s Scrundlewear again. The biggest change from the pattern were the pieces I cut. I didn’t cut out the liner piece and instead cut out two front and back pieces (one with the main fabric and one with swim lining). I then followed the directions, ignoring the smaller liner pattern piece, to attach the front and back together for the main and lining fabric. Before adding the bands I put the lining bottom within the outer bottom, keeping the wrong sides together so the seams are hidden away, lined up the edges, clipped, and basted them together along the waist and leg holes. I then followed the directions to add the waist and leg bands treating the lined bottoms as one piece.
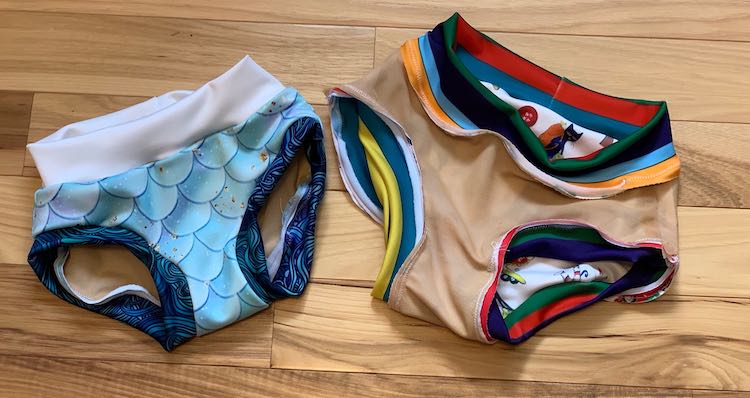
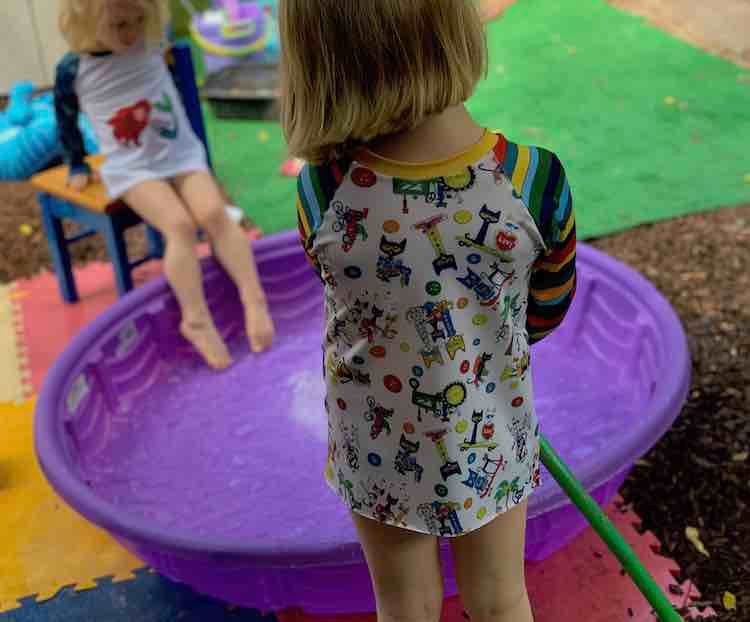
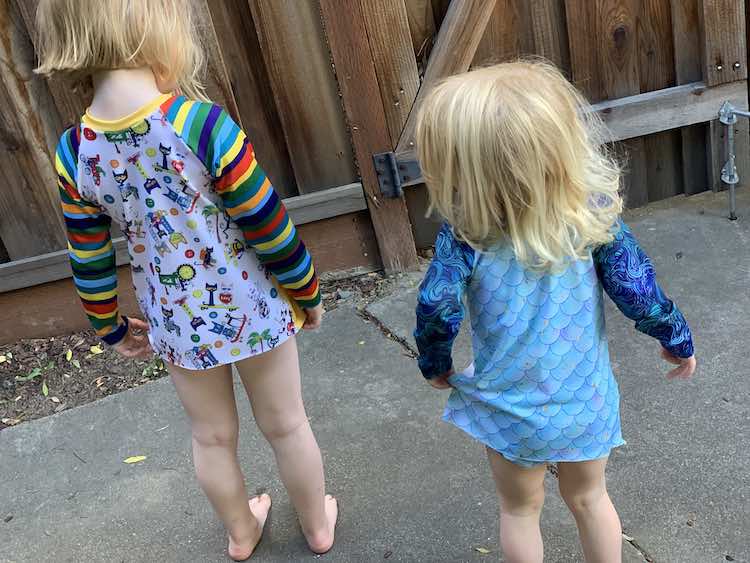
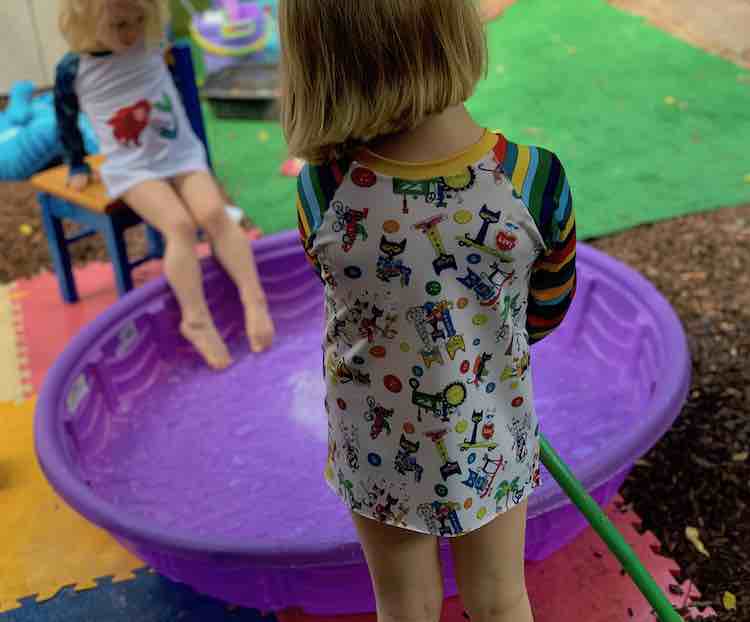
Finished Swimming Suits
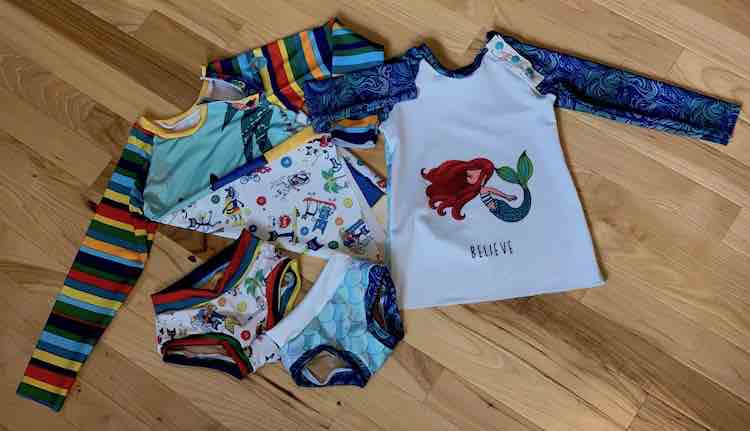
The kids loved their new swimming suits and we tried them on immediately to splash in the little pool we have.
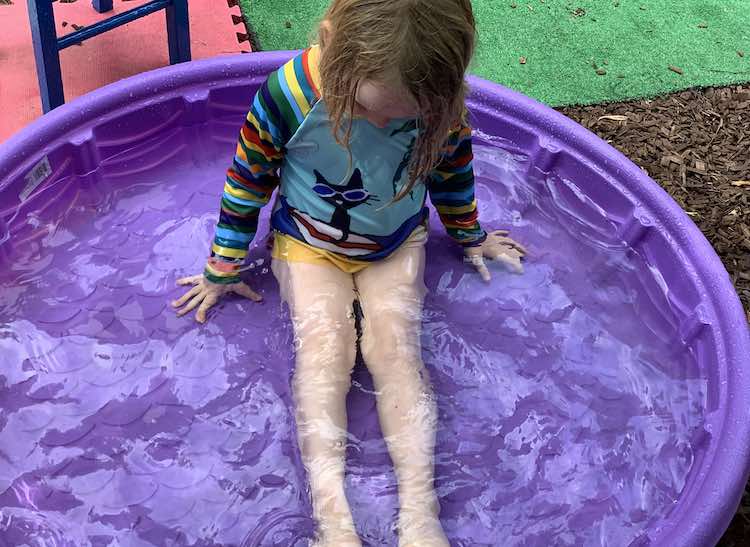
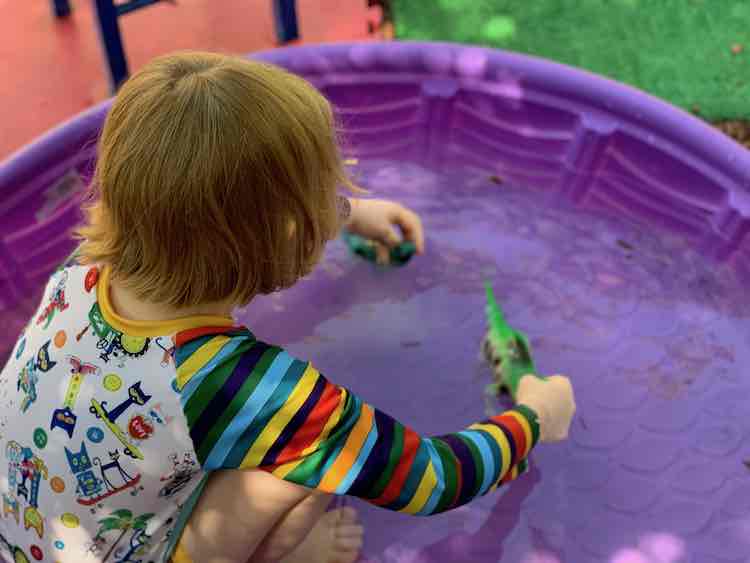
Zoey decided to go off and play with oobleck while Ada continued to enjoy the water.

Overall I’m so happy with how the swimming suits turned out and I’m so glad I was forced to figure out another way to do the plackets compared to last year’s suits. I love looking at the suit and being able to see how much I’ve improved over the last year. It’s so hard to notice the improvements when you’re normally bombarded by the mistakes you’ve made in sewing things up so I loved that these swimming suits made the improvements a bit more apparent.
I hope this helped you out if you’re planning on making your own swim suit for your child. These directions should help you take any favorite raglan pattern and turn it into a swim suit top with a snap placket. Last year I sized the kids’ shirts down in size so it would be fit tighter and not move around but this year I kept it the same size that the measurement dictated. This Ellie and Mac raglan used a quarter inch seam allowance so if your pattern uses something else or if you’re sewing up a much larger or smaller size (an 18-24 months and a 4T) you may want to adjust the size of your placket when you cut it out. I used the Kid’s Scrundlewear pattern for my swim bottoms but Stitch Upon A Time also has a kids’ boxerwear pattern, if you’re interested, that work for boys or girls. I haven’t tried that pattern but I have made the adult women and men’s boxerwear before so I trust them to be good.
I’d love to hear from you if this helped you make your swimming suit. Either way you can share in the comments below, on my Facebook page, or through Instagram. Hope you’re having a great day!