
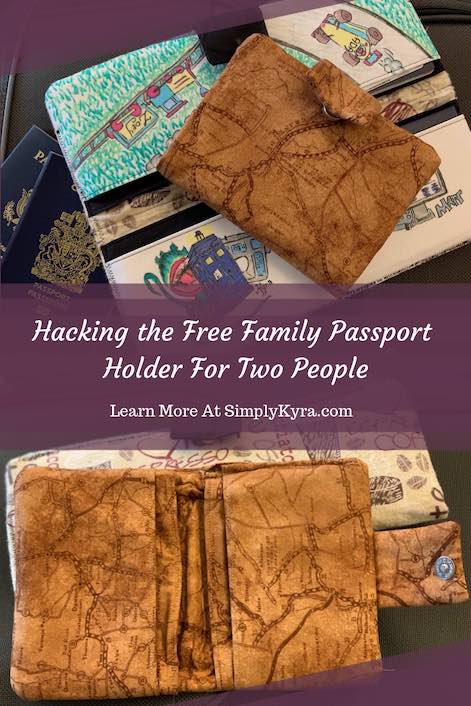
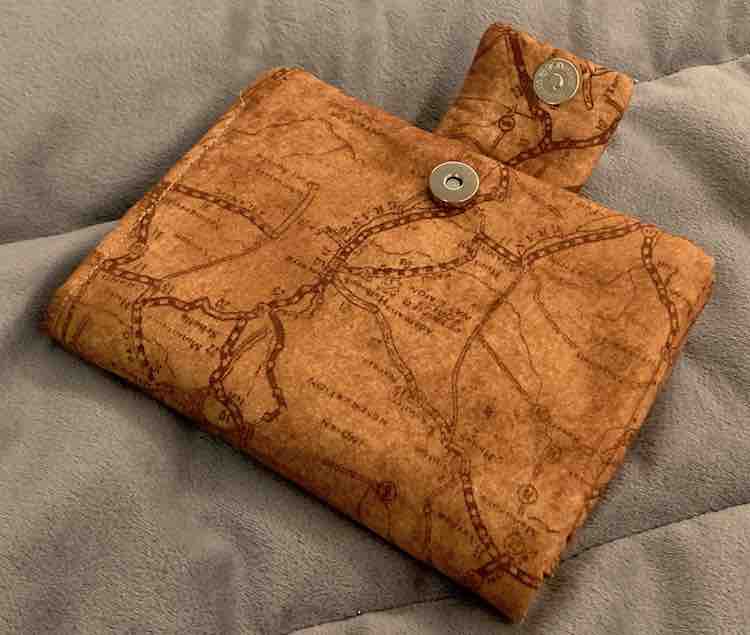
Hacking The Passport Wallet - Resizing It For Two

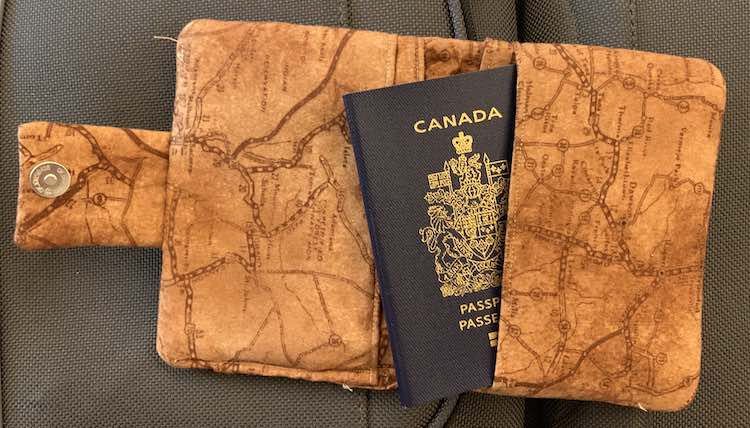
I made Rebecca Page’s free Family Passport Wallet five times already but when my husband went on a work trip alone I made yet another one and this time shorted it to only have two passport pockets. Previously, I’ve posted my first version of the passport wallet along with how I made the pockets using two different fabrics. Since I shortened the width of this passport wallet the boarding pass pocket will be the same width as your passport pocket so only do this if you don’t need the larger boarding pass pocket or are planning on leaving it out. I left the boarding pass pocket in so the final wallet had four pockets all the same width so you could theoretically fit four passports or have an extra pocket or three for receipts or business cards
If you use cut files you can even customize your passport with Rebecca Page’s free travel inspired collection (including .PDF, .SVG, .PNG, and .DXF files).
Full disclosure: I’ve had problems turning my passport wallets right side out and topstitching. I have added RFID shielding fabric and probably use a thicker interfacing than called for so this in addition to having a simple sewing machine (Brother HC1850) probably causes most of my issues. Just wanted to give you a heads up before you make your own.
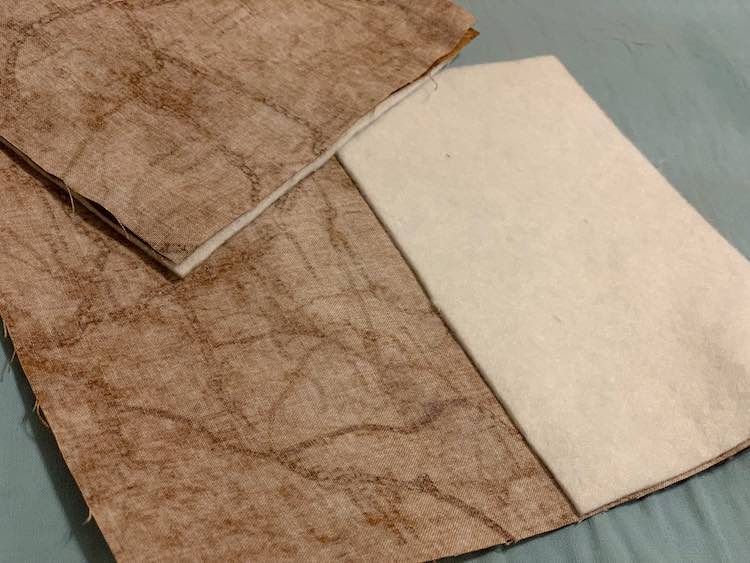
To change the pattern pieces to make a two-person passport wallet I halved the width and then added back in a seam allowance. The width of the pieces are 12 inches so I cut mine out to be 6.5 inches wide since the seam allowance is half an inch for this pattern. I kept the length of all the pieces the same as shown in the instruction’s cut chart but the width alteration affected all the pattern pieces except for the closure tab.
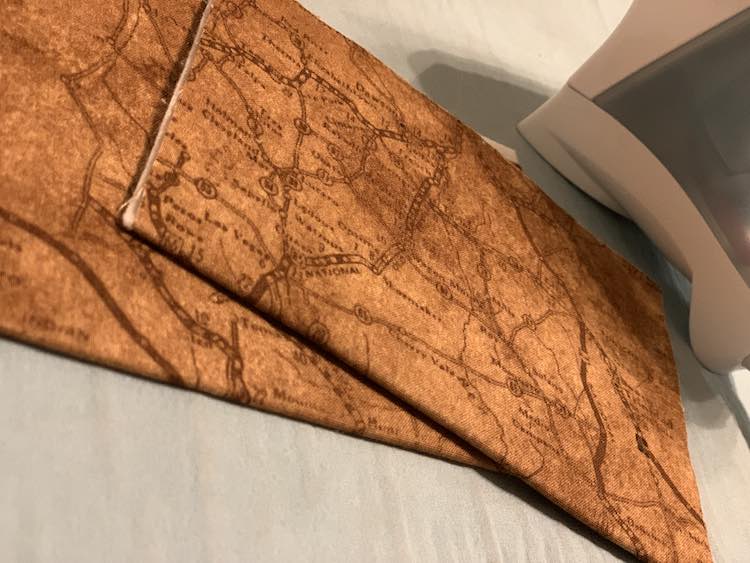
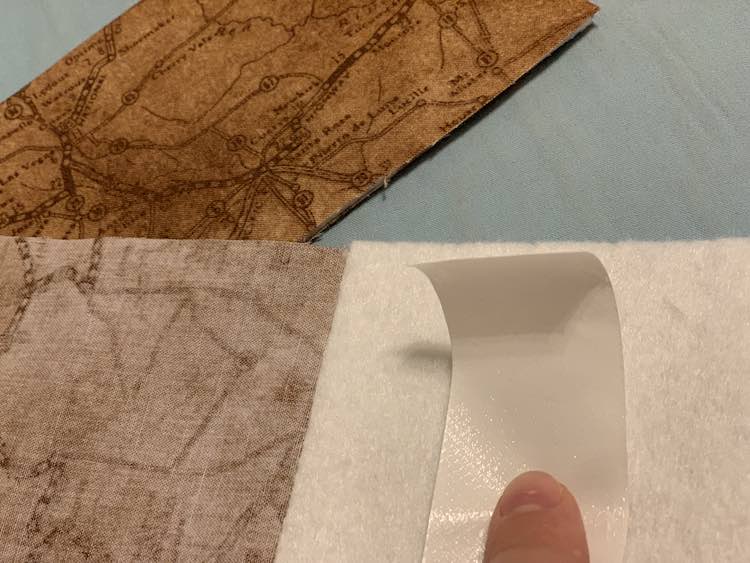
I also changed my interfacing from the pattern’s cutting chart. Since I had trouble sewing the passport wallet before with all the layers (and didn’t want to go to the shops to find thinner interfacing) I halved the interfacing for the pockets (lengthwise) so I only attached it to the one side of the pocket. After attaching the interfacing I folded the fabric in half wrong sides together and added some HeatnBond® to keep the sides together before following the directions and top stitching close to the fold. I kept the interior and exterior of the pockets the same this time around.
I skipped step 1.2 since there’s only one passport pocket so it isn’t divided and then I didn’t sew the center in step 1.4.
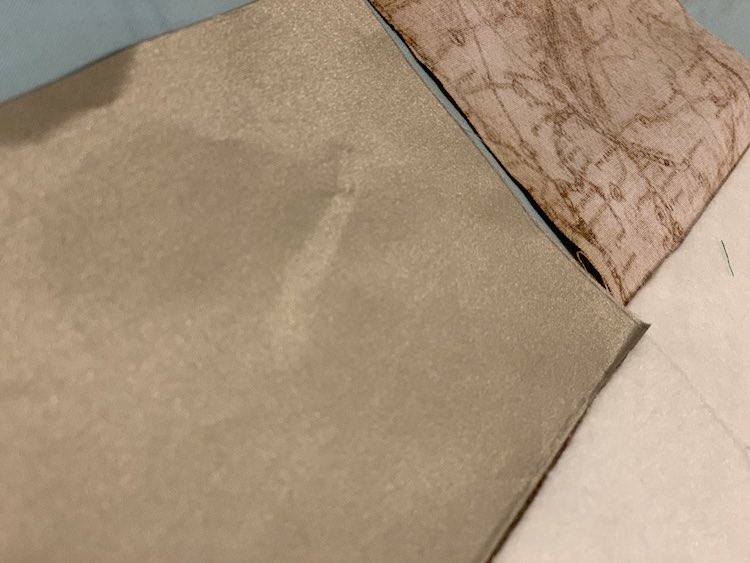
For the outer passport pocket I also included RFID shielding fabric. This meant when the pocket was unfolded there was interfacing attached to the one half and RFID shielding fabric to the other half.
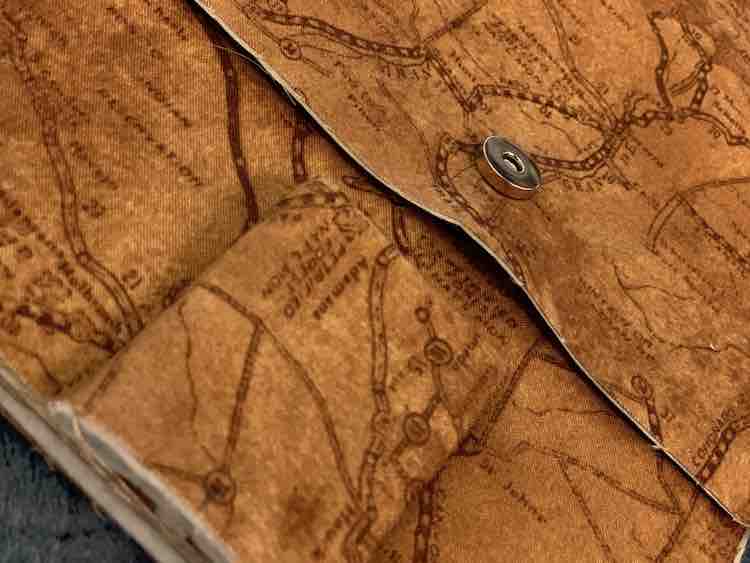
I then continued to follow the instructions for my passport wallet. When I started layering the pieces I had to center the closure tab by using the snap placement on my outer piece since I no longer have the divide on the passport pocket to line it all up.

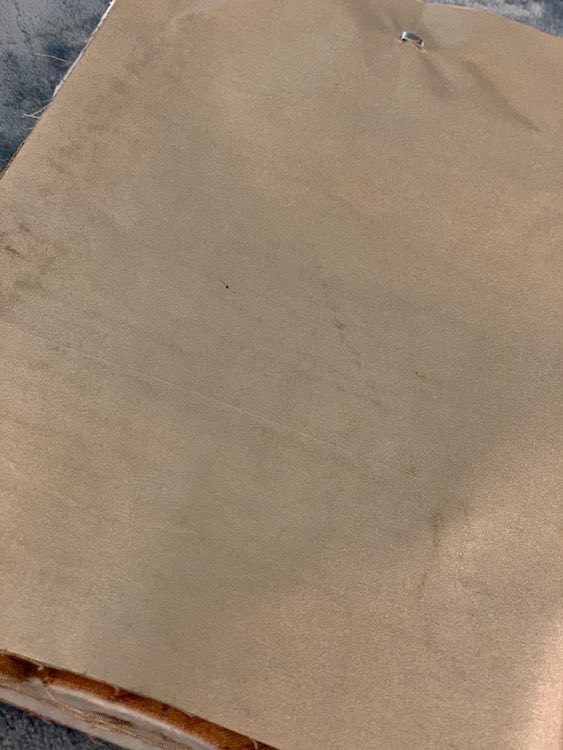
Then I finished the wallet. I had trouble turning it right side out and it was a bit too thick to topstitch on my machine so after closing the hole (used to turn it right side out) I left the passport wallet as-is. Overall I love how it turned out and Matt loved having a smaller passport wallet to carry around on his trip.

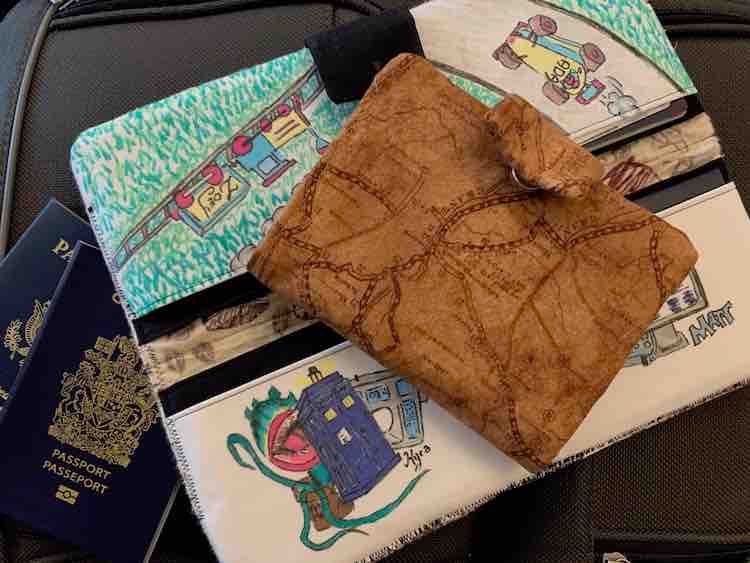
I took a couple photos of the shortened two-person passport wallet with the original family wallet I sewed up for comparison sake.

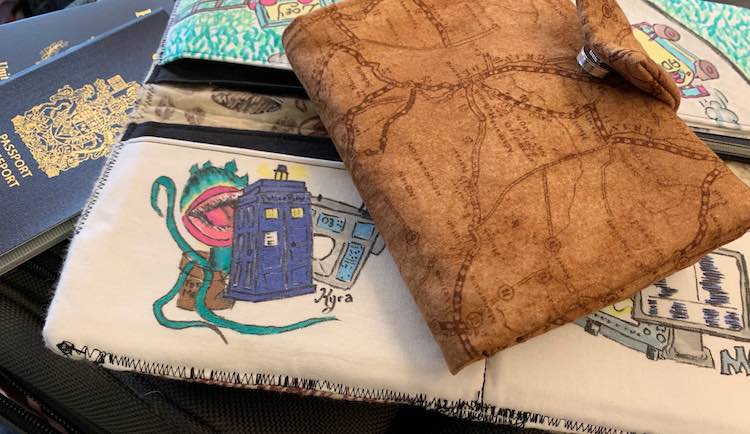
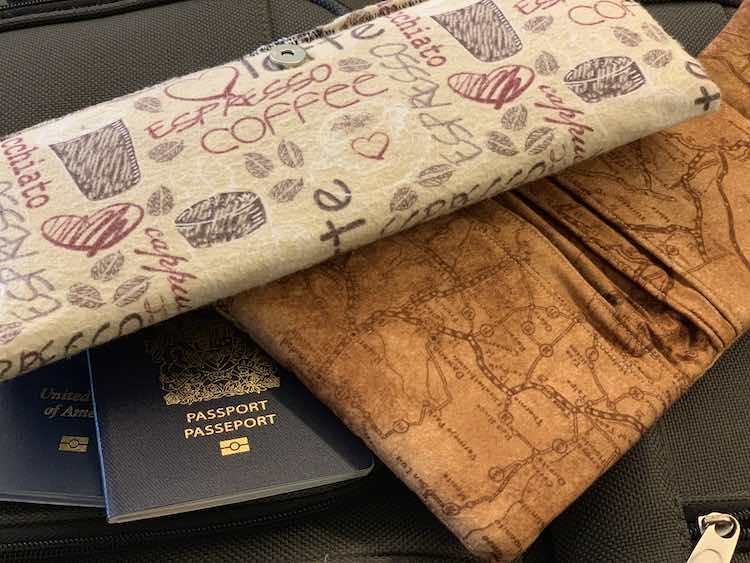
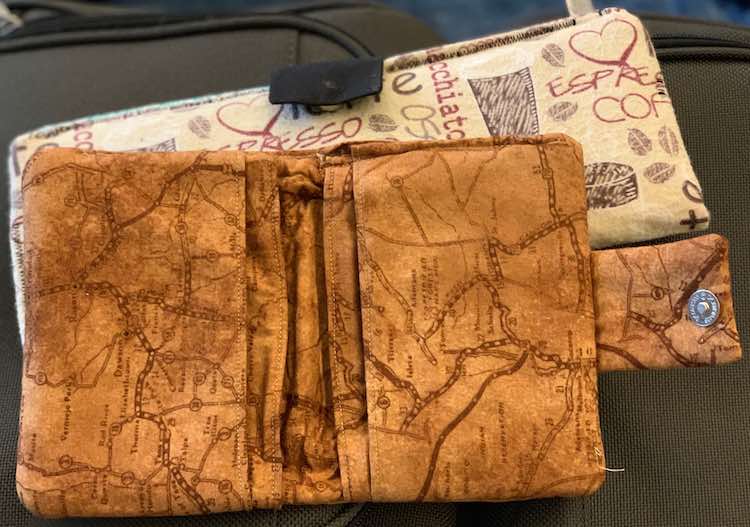
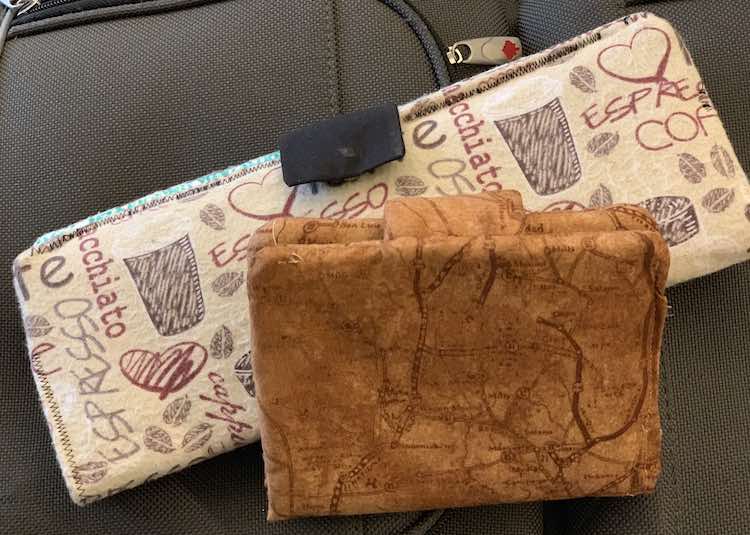
I hope this helps if you’re looking for a passport wallet that would work perfectly for your solo or couple trip but don’t want to carry around a longer ‘family’ wallet. If you know you don’t need the extra pockets and want the wallet thinner I could see removing the boarding pass pocket (or the passport pocket) completely so there’s only the two ‘passport’ pockets.
I’d love to hear if this inspired you to make your own passport wallet and if so I’d love to see it! Feel free to share in the comments below, on my Facebook page, or through Instagram. I hope you have a great sew and an awesome day.
Did this save you time?