
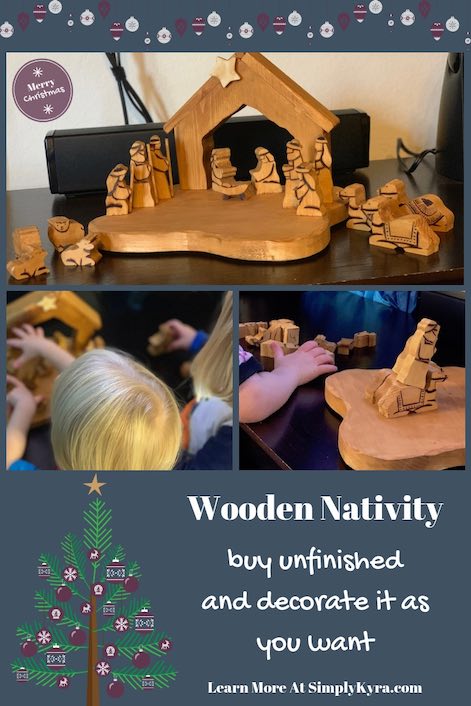
Wooden Nativity

I’ve wanted to have a Christmas nativity set for awhile now but wasn’t sure what style I wanted. Before kids I came across an incredible nativity in a Ten Thousand Villages but second guessed the price on a college-budget and wasn’t able to find another one I loved since then. Once Ada and then Zoey came along I added “sturdy enough to survive the kids” to my criteria which made it harder to find. I didn’t want the nativity to become something they couldn’t touch especially since we don’t have the space to have a large look-at only nativity along with a kid-friendly one. After Christmas two years ago I was looking at nativity scenes on Amazon in case there were any sales before deciding to look for them on Etsy. I ended up buying an unfinished wooden nativity set through RAcreationsunlimited near the beginning of 2017 since it had almost all the elements I was looking for and could finish it how I wanted.
Materials Used
- Nativity set. I bought an unfinished wooden nativity set through RAcreationsunlimited on Etsy.
- Anything you wanted to use to finish or personalize your nativity set. I used a hand-held wood burner and wood stain from Michael’s Arts and Crafts.
- Any extras you need. For example I grabbed a magnet to attach the star but I’ve seen others who used a vertical dowel (set into something) for the star too.
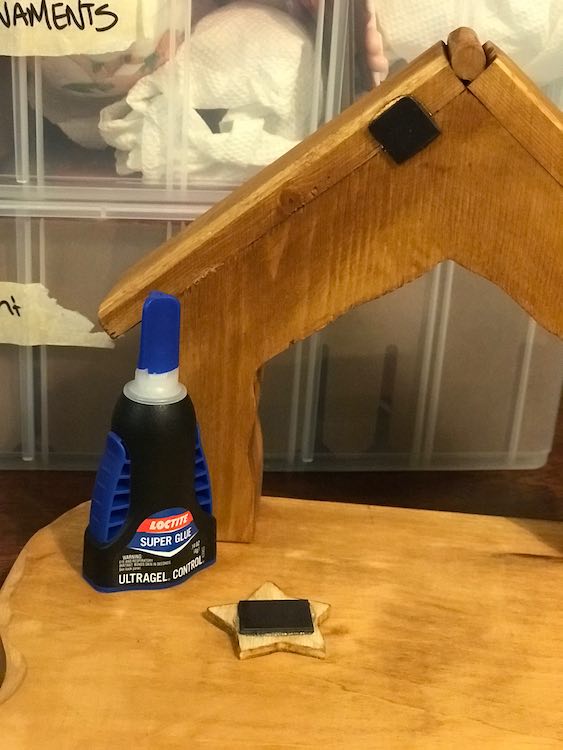
- Super glue. I used Loctite to attach the magnets to the star/creche and to attach the staffs/doweling to the shepherds’ hands (they had a notch and came with the small dowels)
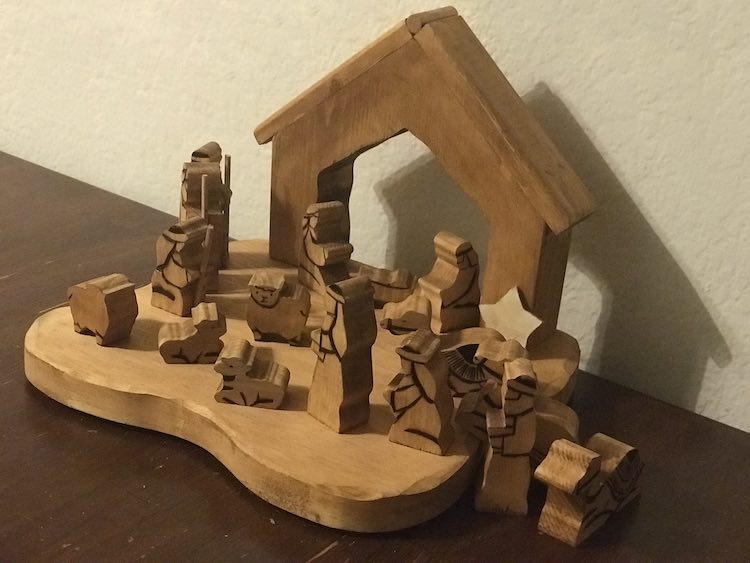
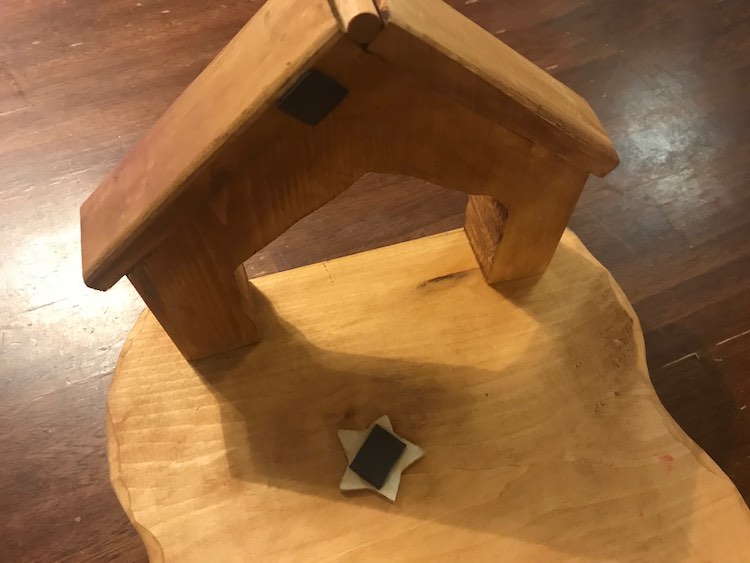
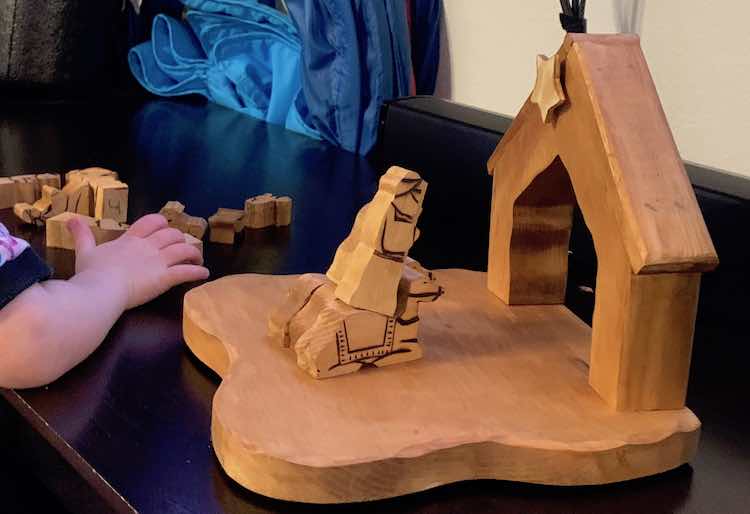
When I received the nativity set all I had to do to make it functional was to attach the creche/stable to the base with some nails that came with the kit and add some pads to the base. There were also small dowels included for the shepherds but I didn’t to leave those off until I knew how I wanted it.
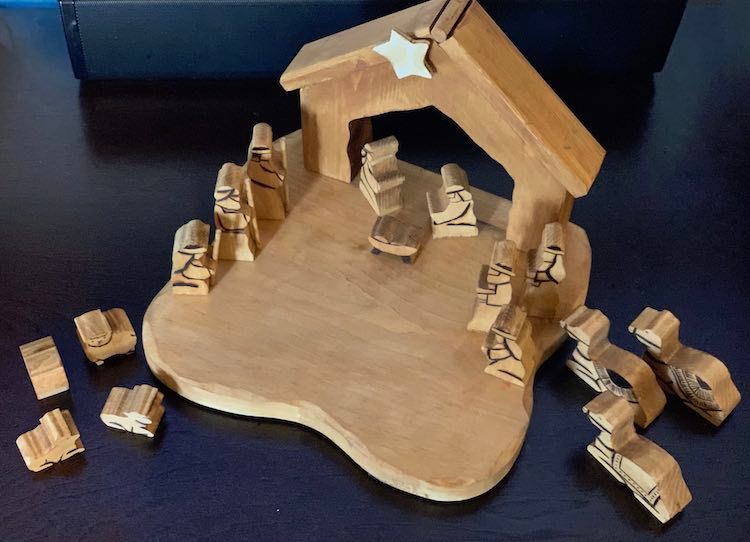
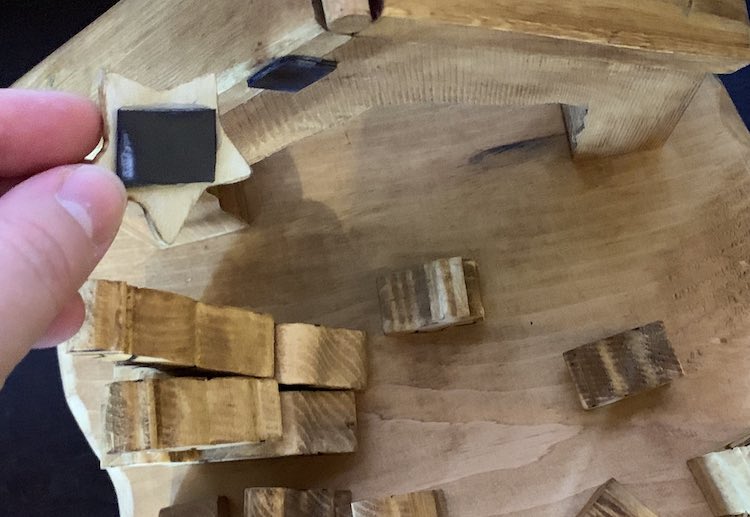
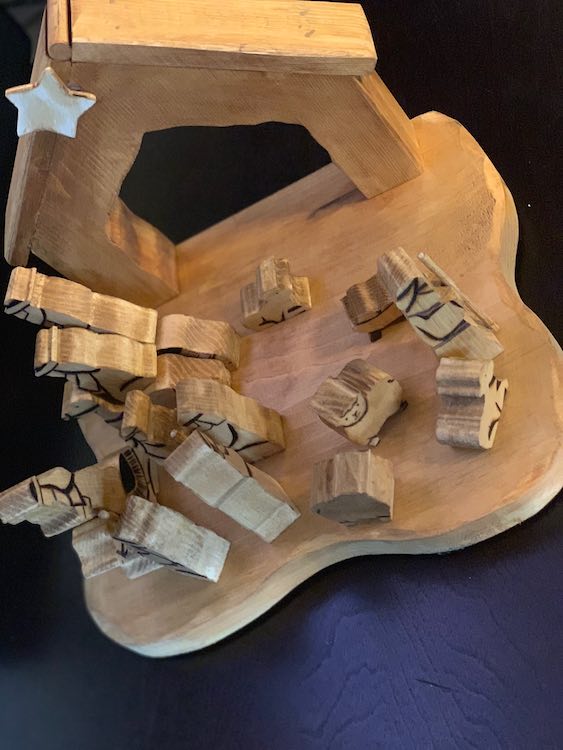
At first I wasn’t sure how to finish the pieces and debated sanding the corners and rounding the edges but decided it would be simpler to leave as is. I had considered painting them but didn’t want to overdo it as I loved the simpler nativity sets better than the more detailed ones. I wanted to keep the wooden look and instead decided to add details to the pieces by using my wood burner. I ended up working on the nativity set over several nap times on the deck while Ada played as I didn’t want the smoke detector to be set off and it was easier to trust Ada (with me there) around the wood burner than both Ada and Zoey. Each piece came with a single letter written on the bottom so it was mostly simple to figure out which pieces were which. While I was wood burning the pieces I used my phone to look up images of other nativity sets online to get an idea of how I wanted to detail my pieces while still keeping it simple. For the wise men, for instance, I tried to add an image of the gift in their hands. When it came to the star itself I wanted it to be the brightest part of the nativity scene but couldn’t bare to leave it alone so I ended up burning the edges to make the front seem lighter. Once I was done burning the pieces I still thought it was missing something, especially since I wanted to add something to the crèche itself. I think I tried to use a wood stain pen I had to stain it, but ended up going back to Michael’s to use a stain a bit better for the task. I can’t remember what other pieces I used the stain on but remember doing it outside with paper towel. Once everything was done and dried I then glued the three staffs (skinny doweling from the kit) to the grooves between the shepherd’s hands.
I wasn’t quite sure what to do with star so over Christmas last year I left it loose. I wanted the star to be up high but not permanently attached to any piece so I ended up grabbing two magnets and after confirming which way they were magnetized glued one near the top of the creche and the other one to the back of the star. I may have cut the magnets to size from a magnet strip though you could always check if you have any broken fridge magnets too. I vaguely remember first attempting this with one of those magnet ads you get in the mail but realized it wouldn’t be strong enough after I cut it to size. I ended up gluing the star the day we were packing up the Christmas stuff… so last minute, but got it ready and packed away so I didn’t have to worry about losing it before Christmas this year.

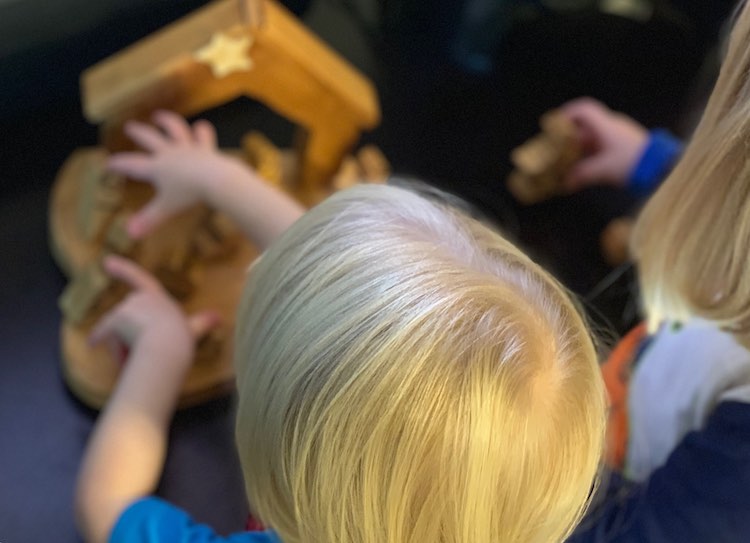
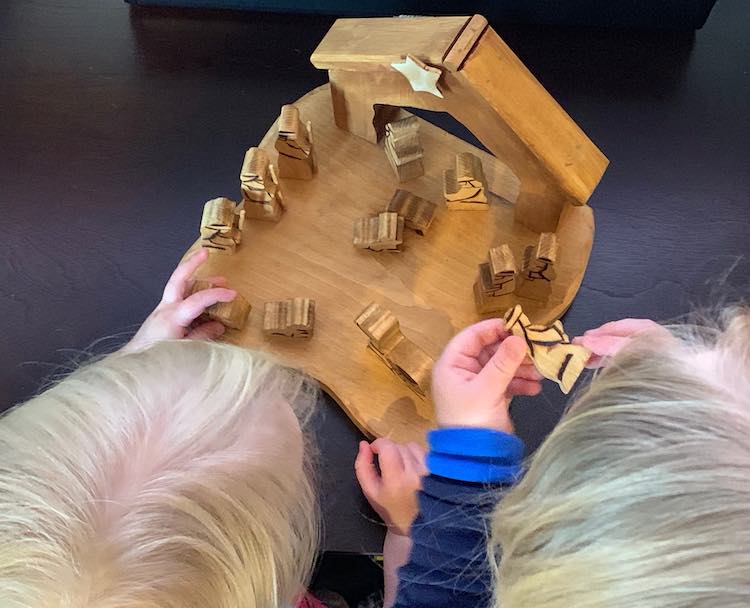
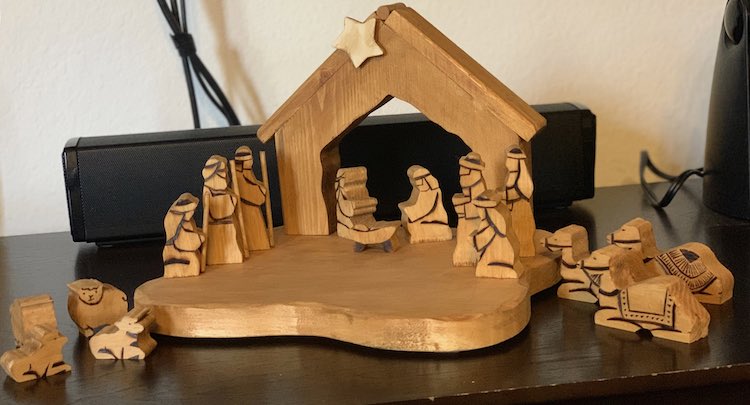
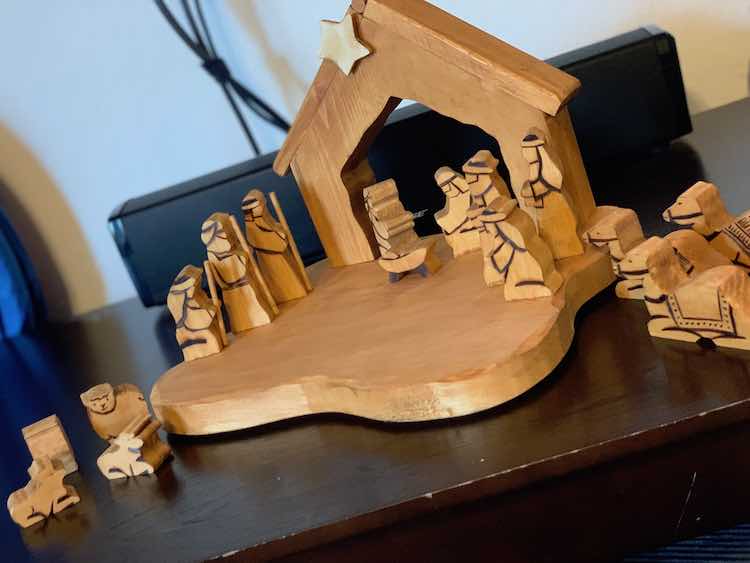
That’s it! It’s ready and you have a simple nativity that’s perfect for every year. I’ve seen other nativity scenes where they unpack each piece individually with accompanying Bible verse. I could also see reading the Christmas story in a book and pulling the pieces out of a box as you read. I didn’t set up anything like that this year so instead unpacked the pieces off to the side and doled them out to Ada and Zoey while telling them the Christmas story. I started with the creche, then Mary and Joseph, and continued through them while the kids put each piece on display themselves.
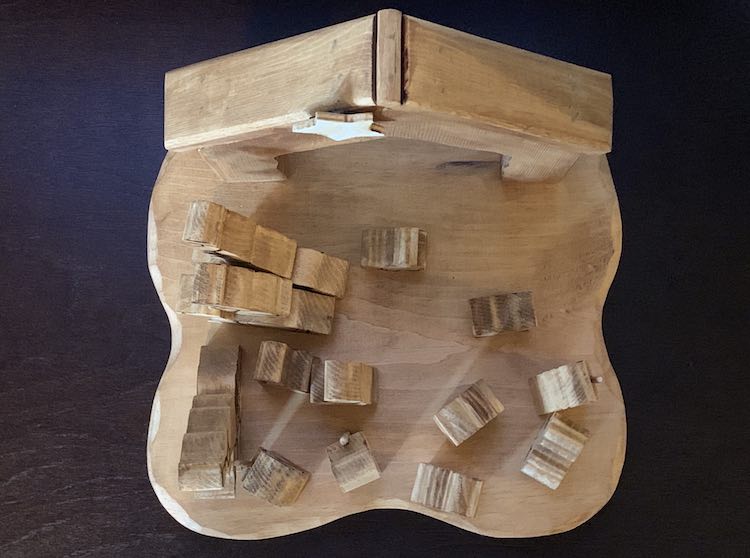
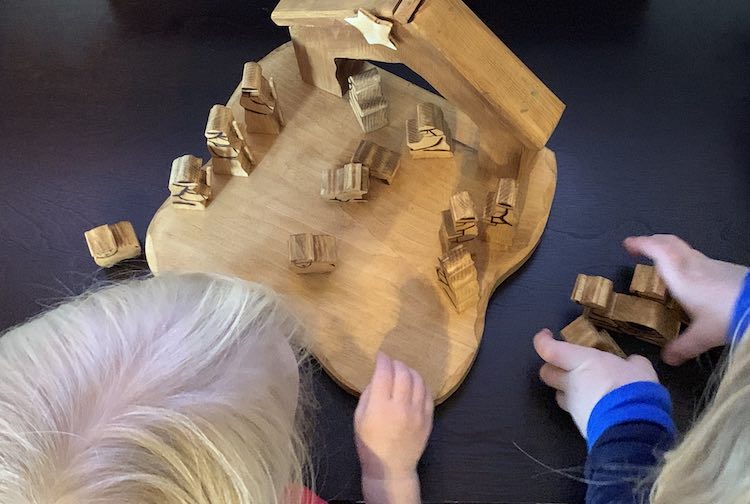
Since they set it up I noticed they like to gather all the pieces on the base. Later I laid it out nicely for photos and they later ‘fixed’ it for me.
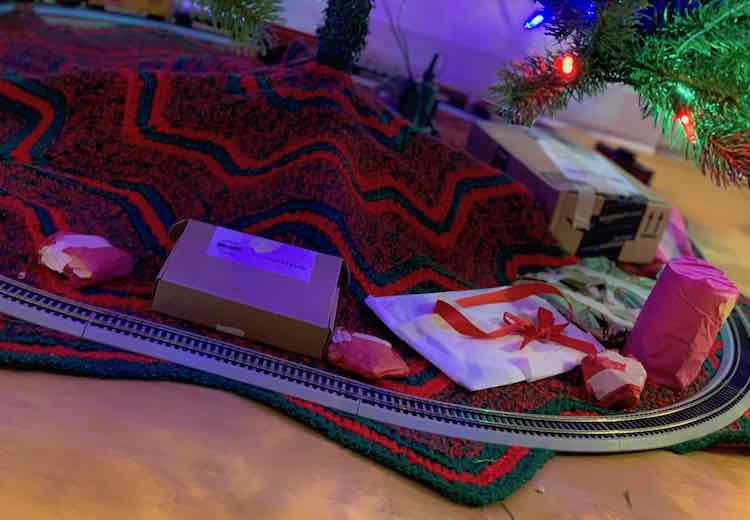
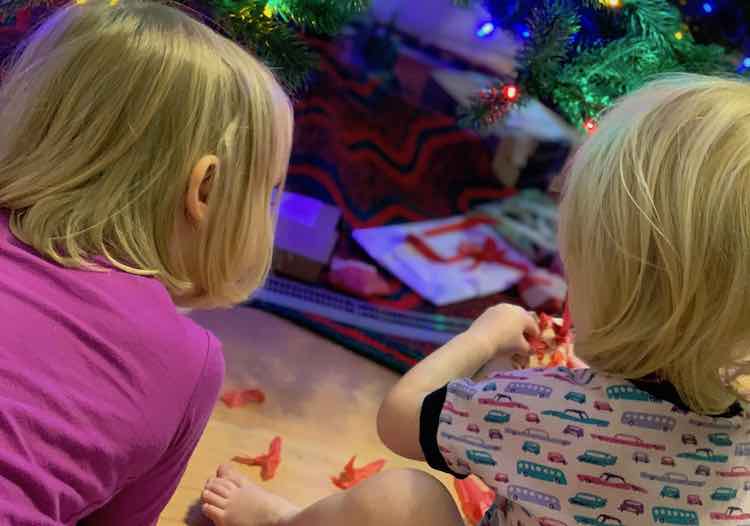
Ada’s favorite nap time activity lately is wrapping up presents for Zoey to open, sometimes with help, when she wakes up. The first time the nativity pieces got wrapped up.
I love how we have a nativity set that I’m not too worried about getting broken and it’s accessible for them. It’s a perfect nativity set that can grow with us.
I hope this helps you come up with your own nativity. Depending what style of nativity you like and what style of art/craft you prefer I can see this the ability to finish your nativity set yourself end in so many diverse sets. If I didn’t have the wood burner I think I would’ve painted them but I would’ve kept them one to three colors (similar to my wood burnt ones) instead of adding a lot of details. I could see going back and using some kind of sealant on these later but right now I’m leaving it as it is. I’d love to see your nativity and hear if you bought yours as is or what you did to make it yours. Feel free to share in the comments below, on my Facebook page, or through Instagram. I hope you have a great day!