
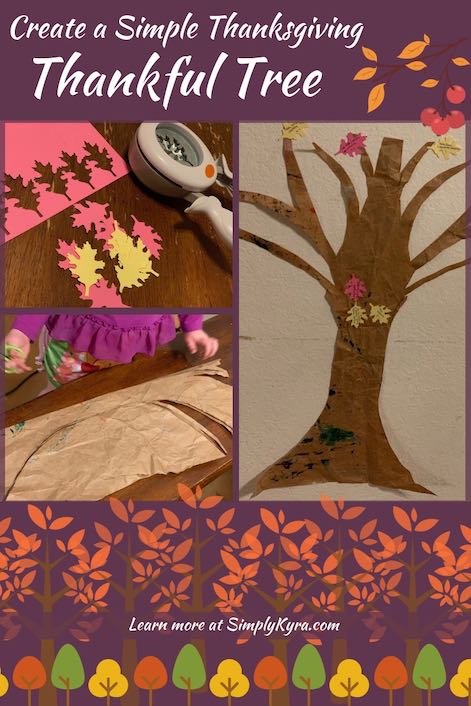
Create a Simple Thanksgiving Thankful Tree

A while ago I came across an idea for Thanksgiving that I loved. Specifically, you use a large vase or bucket and fill it with branches (and I’m guessing something heavy like rocks) and then attach leaves, with what you’re thankful for written on them, to the branches. I loved the idea, but knew I didn’t have room for it. Without having an exact plan on what to do I hopped onto Amazon to buy a leaf paper punch so I could do something similar within our family. Two days later when my oak leaf paper punch arrived I was dismayed to realize how small it was and debated, and put off, returning it. I finally had a ‘let’s do this’ moment when the kids were ‘cleaning’ up their art and I was getting supper ready which quickly led to me whipping up a tree before I could change my mind. Since the kids aren’t writing yet I was able to get away with transcribing what they’re thankful for and keep the letters small enough to fit within our paper leaf shapes. I could see repeating this every year and in the future either getting a larger paper punch or having us cut out the leaves for added ‘arts and craft time’ and thus make all the leaves as unique as what we chose write on them.
I’m so glad I ended up doing this as Ada and Zoey are so excited when it’s time to add leaves to the tree each evening. The first couple days Ada repeatedly asked me if we could add leaves during the day, Zoey has been thankful for the leaves two out of the first three days we’ve done it, and I’ve caught Ada stopping to stare at the tree multiple times.
Materials Needed
- Setup
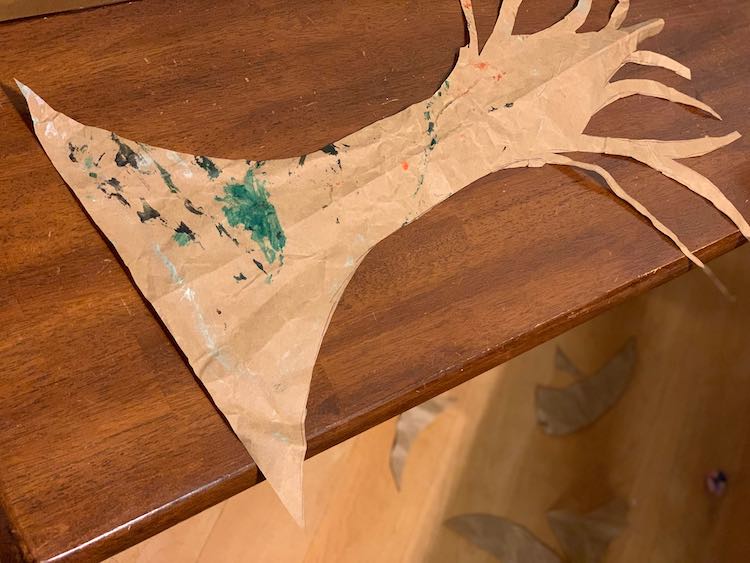
- Brown paper for the tree trunk – I grabbed a sheet of painted paper that had previously filled an Amazon box. We had used it to protect the table a couple days beforehand.
- Pencil/pen/marker/crayon to sketch out the tree trunk if you want a rough idea before cutting it. Pencil and eraser if you want to erase your marks after cutting.
- Scissors to cut out the tree trunk
- Masking tape or some other wall-safe adhesive to attach the trunk to the wall
- Each day
- Paper leaves – I used a Fiskars X-Large Oak Leaf Squeeze Punch on card stock. I realized afterwards the product specifications said the punch fit within a two inch circle so if I were to buy one again I would go larger.
- Masking tape or some other wall-safe adhesive to attach the leaves to the wall
- Pen or marker to write out what you’re thankful for
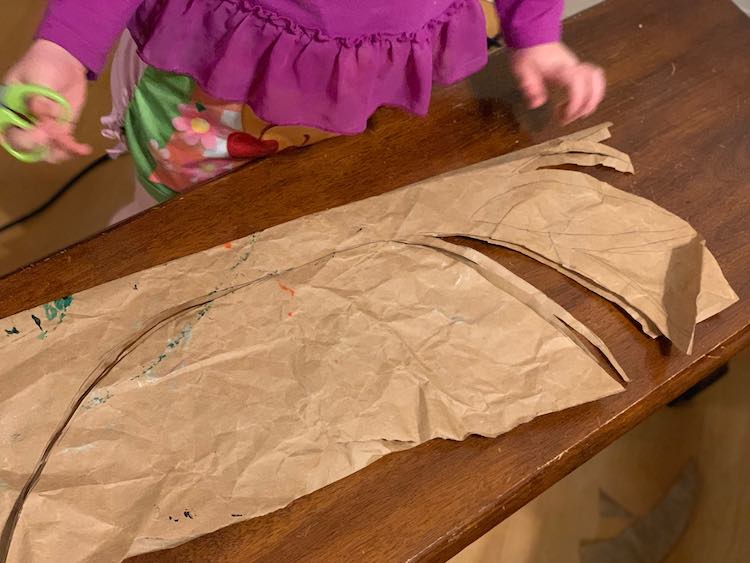
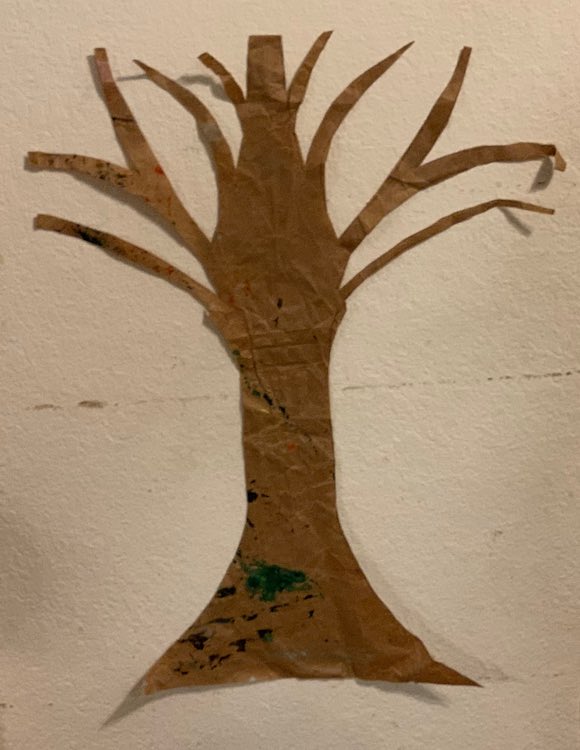
Start out by picking out the paper for the tree trunk. If your paper isn’t large enough you could always tape two or more sheets of paper together either before or after you cut it out. This doesn’t have to be perfect as long as it’s recognizable as a tree you’re good. I simplified this process by making my tree symmetrical by folding the paper in half, along it’s length, before quickly sketching half a tree trunk with bare branches. I started cutting it out and then tried to get Ada to finish but she decided to let me do it. If you’re having your younger kids help out you can always draw quick Xs in the areas you want removed… which I may have tried but she suddenly had cold ‘cutting’ feet for once. With the tree trunk cut out I unfolded it to inspect. Since I used the entire space on the rectangular paper I ended up with a very squared off top to my tree but decided to leave it as is because of time and I didn’t want to shorten the branch length.
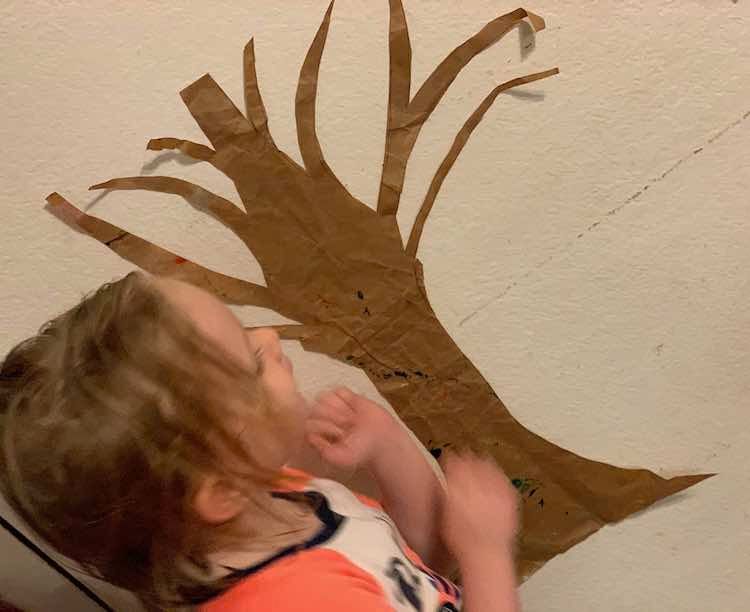
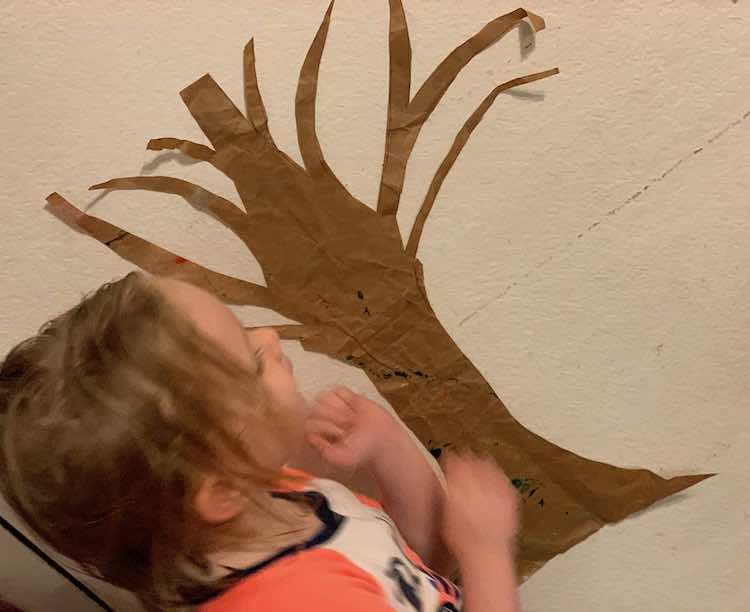
All you need to do next is put it up on your wall. I decided to use masking tape as I had it on hand and knew it wouldn’t hurt our wall. I took three or four small pieces, rolled them up into a cylinder with the stickiness on the outside (essentially creating double sided tape), and stuck it on the top, bottom, and middle of the tree trunk. I had Ada help me stick it to the wall by pushing against the trunk and then took smaller pieces of rolled up masking tape so I could hide them behind the tree branches and stop them from flopping forward… too much.
All that’s left to do is create the leaves themselves. I had kept aside a sheet of yellow card stock when we last put away the art supplies so when we were ready to write out our leaves for the day I quickly punched out four yellow leaves. Afterwards I punched out as many leaves as I could fit on the sheet before getting Ada to choose another sheet of card stock (she chose pink) and then I punched those out too. I figured this would make it easier each day if I keep a bowl of punched out leaves, a pen, and masking tape handy thus making us more likely to actually do it.

And then you just have to add your thankful leaves. We wait until after supper/bath time. If your kids are excited to add their leaves you can barter and get them to agree to brushing their teeth or cleaning up a bit beforehand. Since I punched out two colors of leaves they get to pick which color leaf they want that day and then tell me what they’re thankful for. I also include their first initial and a number (for day 1, day 2, etc) so over time we can look back and see what we wrote and how it changed, or repeated, over time. I then rolled up another piece of masking tape for the back of the leaf and they get to put their own leaf on the tree. This is a perfect time for you to cement branch ends onto the wall by overlapping your leaf’s masking tape over the branch and wall.
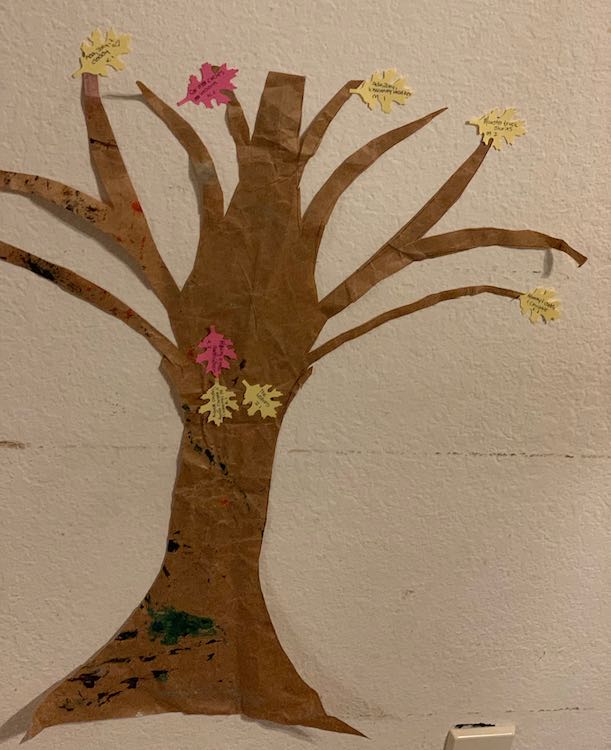
I’m so glad I decided to do this activity. It doesn’t have to look perfect as long as the kids think it looks tree-like. Ada’s already disappointed after she heard me mention to Zoey that the tree’s going to come down after Thanksgiving. I can so see doing this every year and it would be neat to see how their leaves change (or don’t change) over the years.
Extending the Idea
- For older kids and the adults there can always be a ‘no duplicates’ rule added so you may have to think a bit harder about what you’re thankful for and might cause new ideas to emerge.
- Kids could paint or draw on paper (with light colors) and then use that paper to punch out the leaves. Crayon may make it difficult to write on the leaf later but if they used watercolors or maybe light-colored paints or felts it could look amazing.
- If you don’t have a paper punch or you want to turn this into more of a sensory activity have your kids cut out their own leaves. Even extend this by teaching them symmetry by folding the paper in half before they cut out the leaf. I found this Easy Autumn Leaf Craft from mmmcraft that shows three types of leaves if you want the shape more specified.
- For added fun make your leafs out of scratch art and have your kids scratch out what they’re thankful for instead of writing it. This may work better for larger leaves. I haven’t tried it out yet but you could make your own scratch art using oil pastels (or crayons) and paint. Here’s a link to The Artful Parent’s DIY Scratch Art The Easy Way.
I hope you enjoy this idea. I know there are so many amazing Pinterest images out there, but it doesn’t have to be perfect. Your kids would prefer you doing something like this instead of putting it off so long that it doesn’t happen. Believe me I almost didn’t do it but I’m so glad I chose to go for it. I would love to see your trees and hear about what you used to pull it off. I could see this being a quick evening thing (like us) or include a lot of fun art and craft time. Feel free to share in the comments below, on my Facebook page (SimplyKyra), or through Instagram (@simplyartsykyra). I hope you have a great day and a Happy Thanksgiving!