

Layered Jello in a Beaker

For Ada’s 4th birthday we decided to throw a science-themed party. I wanted to extend the science theme to the buffet table so I went on Amazon and found some glass Erlenmeyer flasks and beakers through Karter Scientific. I wanted to take advantage of the shape and transparency of the beakers and so immediately thought of layered Jello. Our planned favor bags were going to extend the science-theme by playing with color mixing so I thought the layered Jello would be a nice way to combine the two ideas.
The plan
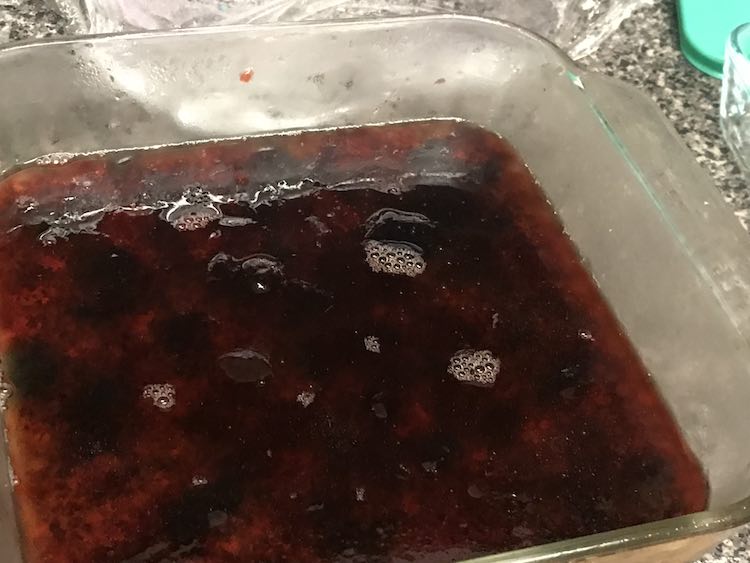
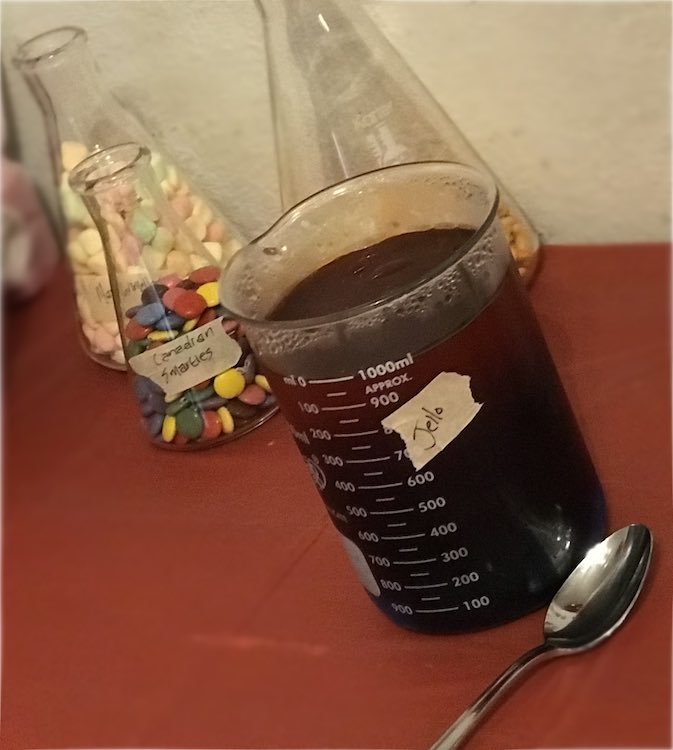
Originally I was going to measure and divide the Jello powder (and coordinating amounts of water) so I could repeat thin layers of each colored Jello. I then started wondering if altering the amount of Jello powder would change the amount of water you needed for the gelatin and decided it would be simpler to go with the directions and make larger layers instead. I decided to simplify the plan by instead doing three layers (one for each primary color) in the hopes there’d be a gradient created and I’d get two secondary colors where they mixed. In the hope of achieving this plan I kept back some of the liquid Jello and put it into a separate small casserole dish to solidify. The new plan was to break up the Jello in the casserole dish, top the original layer of Jello in the beaker, and then pour the second color over the first. I was hoping looking through the new (second layer) you’d be able to see the bits of the first color behind it and thus it’s coordinating color. In this case I was hoping there’d be enough blue behind the red to appear purple. I ended up not letting each layer cool enough before adding it so the second layer ended up dissolving and mixing with a lot of the first layer instead of creating the more distinct and (mostly) separated layers I was picturing. Next time I’m planning on taking this slower instead of rushing each step.
What happened
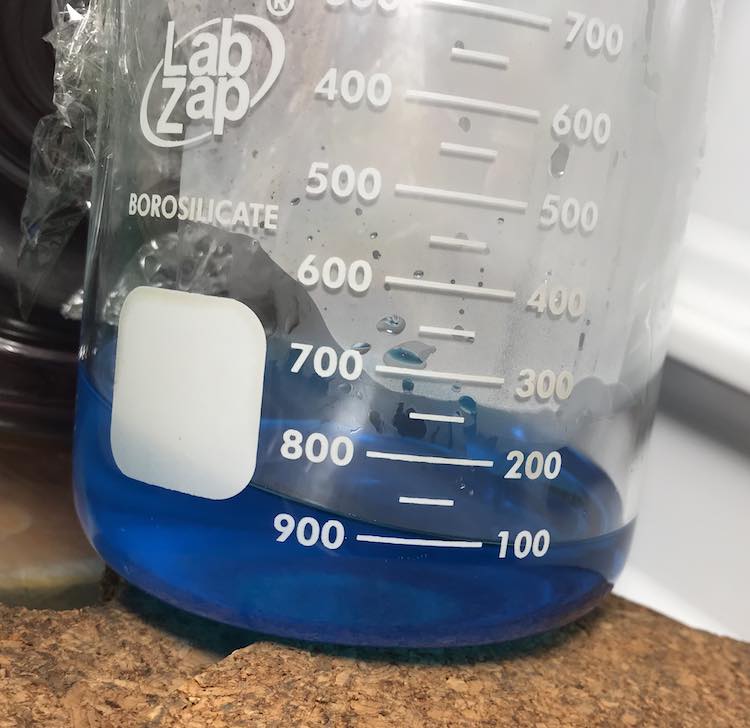
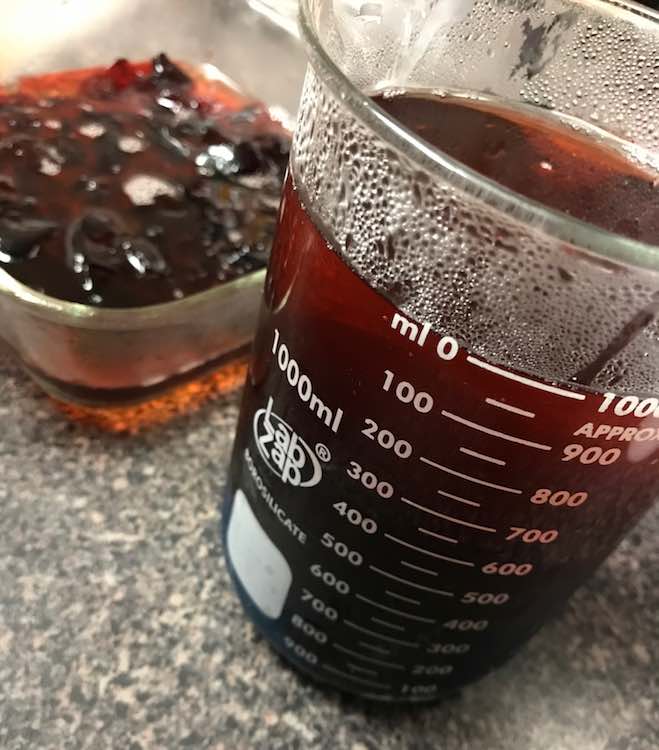
I ended up creating a blue layer of Jello in the beaker and letting it solidify in the fridge. The excess Jello was poured into a casserole dish and also put into the fridge.
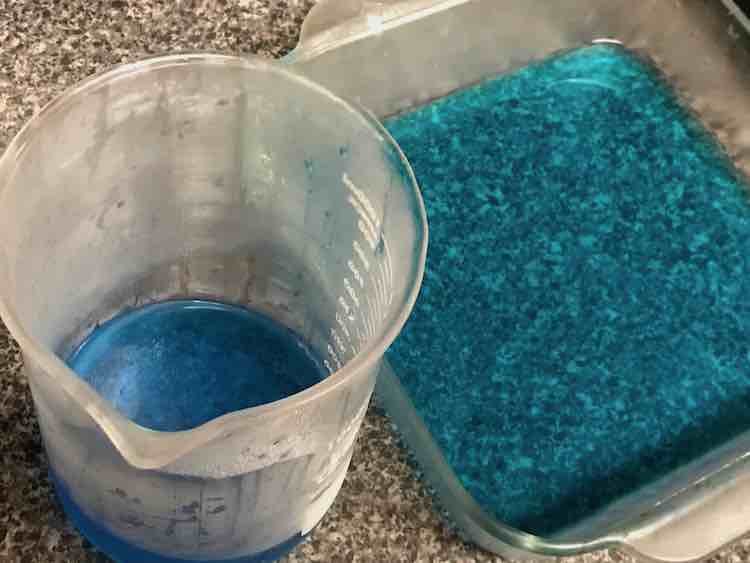
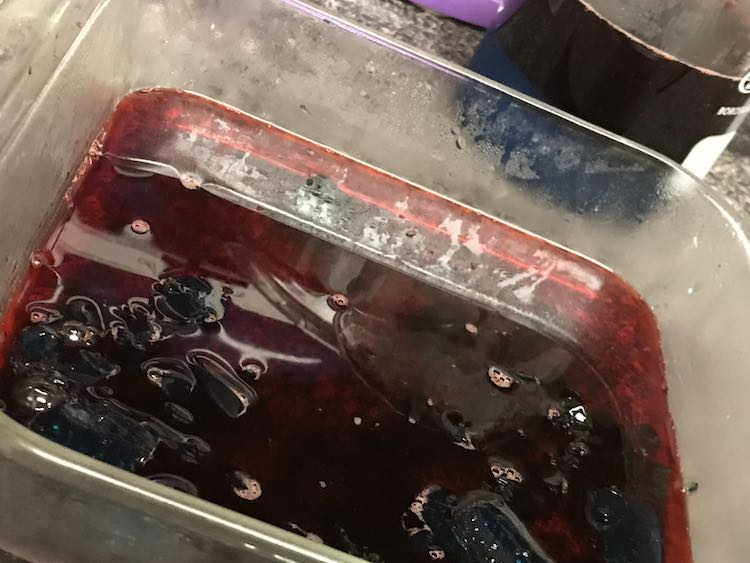
After it came out of the fridge I broke up the blue Jello in the casserole dish and added half to two thirds of it into the beaker.
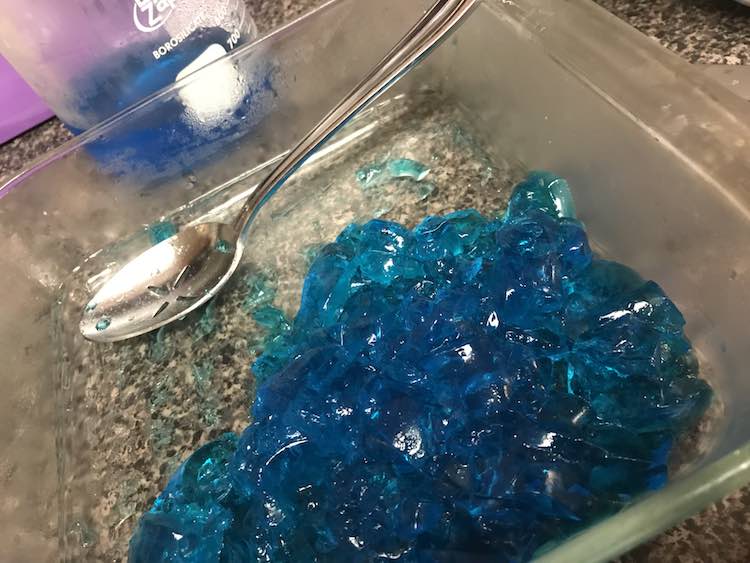
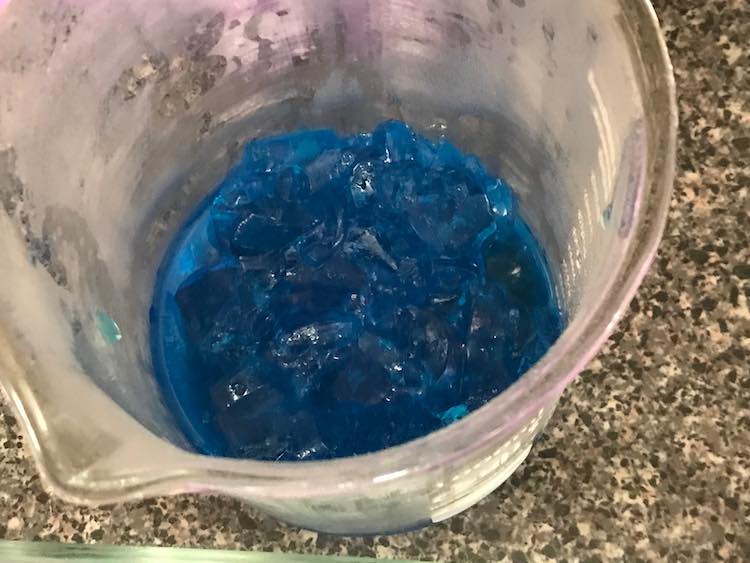
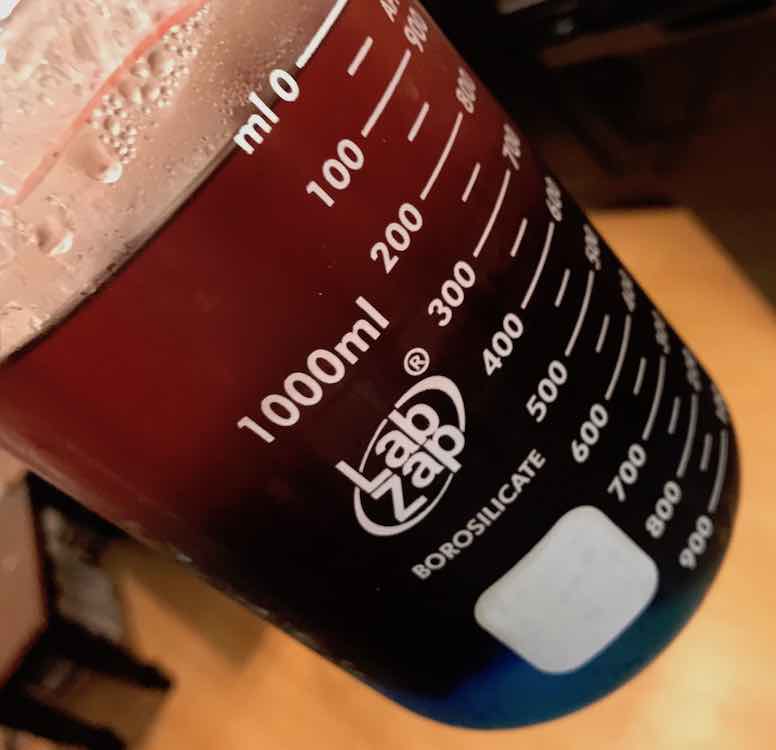
I then mixed up a batch of red Jello and poured it over the blue in the beaker. Like before I poured the excess into the casserole dish. As I didn’t wait long enough I ended up getting a more purple hued layer than a true red and if you look at the beaker you can see the divot made by pouring the second layer of liquid Jello in.
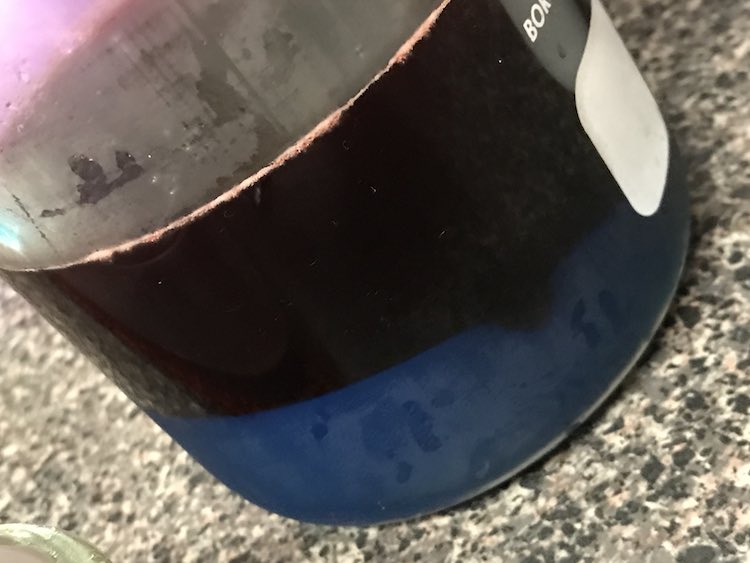
I then wrapped up the beaker and casserole dish and returned it to the fridge. I used a cork trivet to angle the beaker in the hopes of getting a funkier angled layers of color in the beaker.
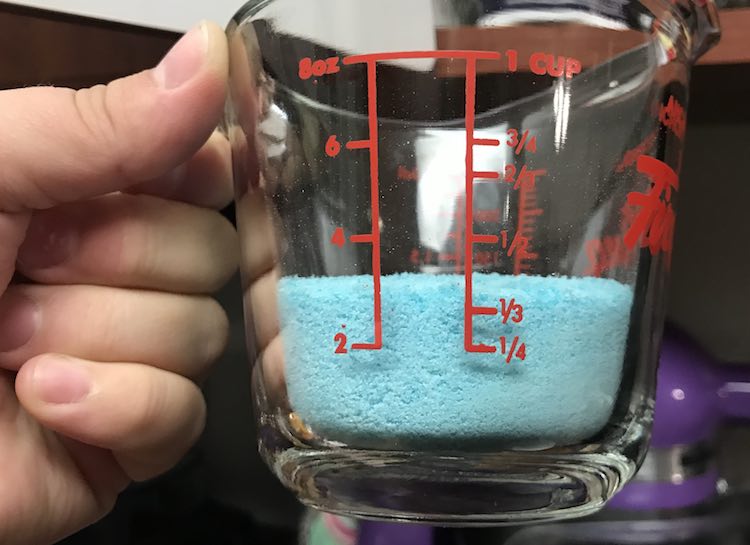
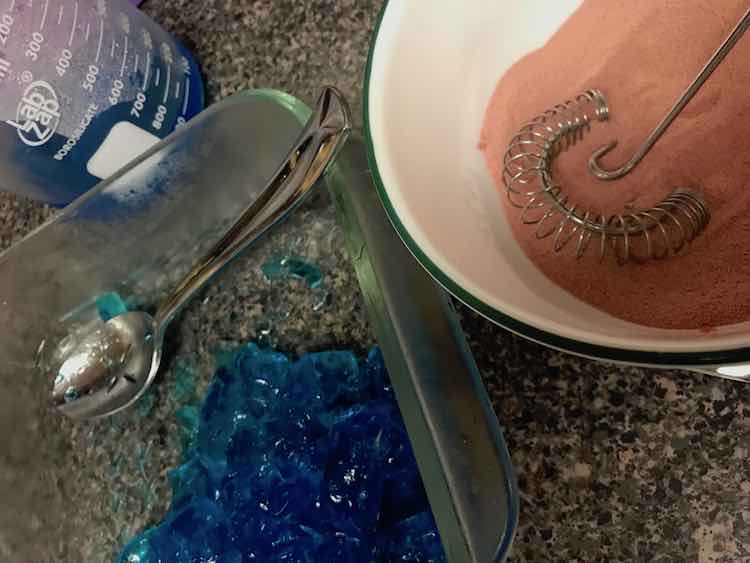
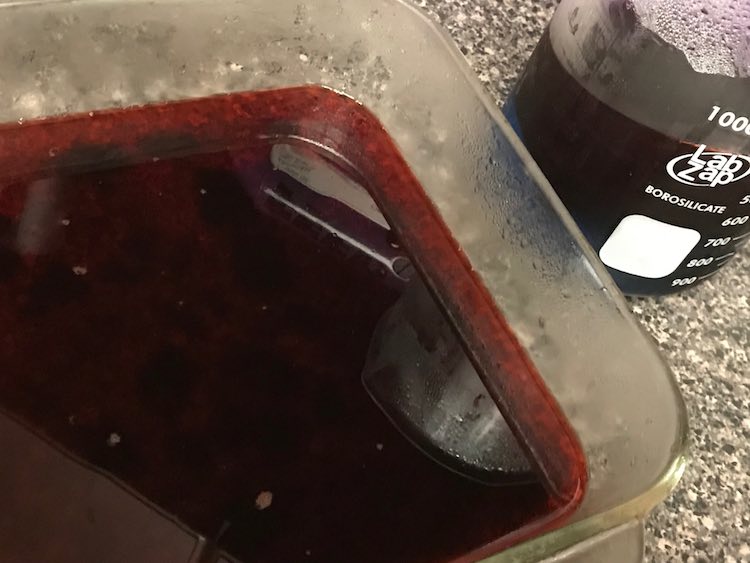
Once it was solidified I took it out of the fridge, broke up the Jello in the casserole dish, added some to the beaker, and mixed up the yellow Jello according the box’s directions.
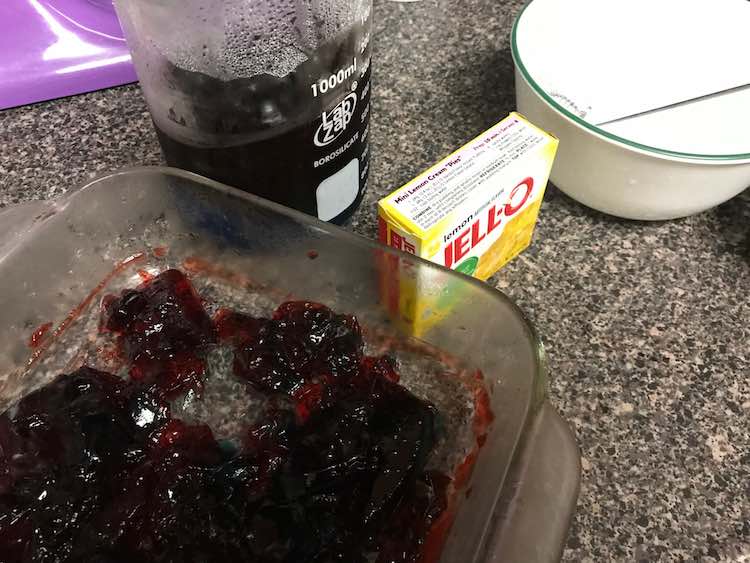
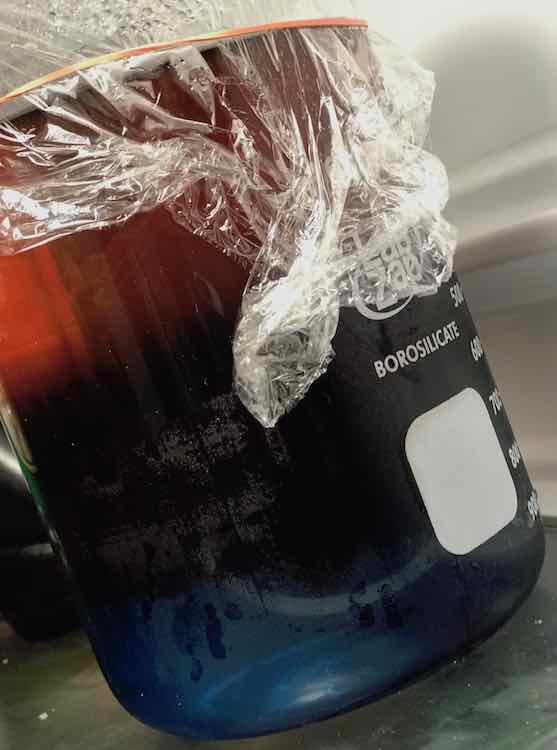
Even though the colors mixed more than I had wanted I still love how it turned out.
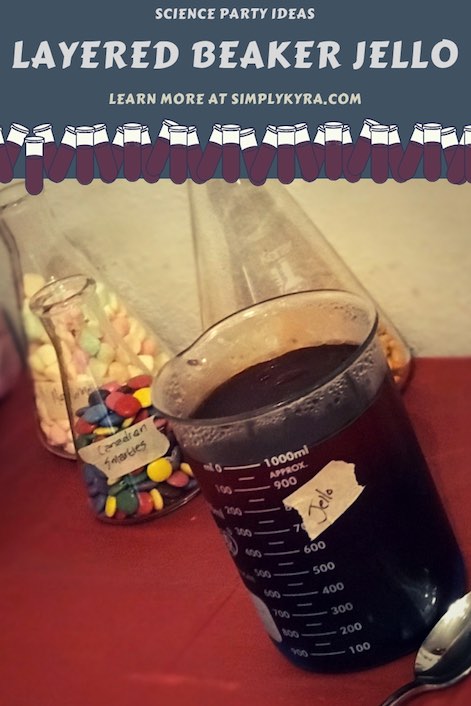
All that was left to do was label it. Since we had a science theme going I decided to use a quick piece of masking tape and label it that way… as if it was a beaker in the lab. The layered beaker Jello was perfect with the Erlenmeyer flasks on the table.
If I were to do this again
My biggest mistake while making my layered Jello was not taking the time to cool each mixed Jello before adding it the the beaker. This caused the first layers to dissolve into the new liquid before solidifying again. If you want alternative directions on how to make layered Jello I’ve since found two other tutorials online through Must Have Mom: having it all and showing you how and Mom on Timeout: serving up real food for real families. Both recipes include alternating colored layers of Jello with white layers of sweetened condensed milk, water, and unflavored gelatin. This make their colors pop more against the white background. I haven’t tried either recipe yet but they look great and I wanted to share an alternate method if you wanted distinct layers in your beakers.
Alternative
If you don’t have the large glass beaker and still want to make layered Jello, you can use clear plastic cups. This would be perfect for easy to serve portions without having to worry about dishing the jello and having it fall apart.
Sensory Activity
This would be great even when there’s no birthday party. It could be a cool science experiment with toddlers that they can eat afterwards. This could play towards teaching the science between why the gelatin in the Jello solidifies and can be as simple or complicated as your kids allow. If you want to delve more into the science of gelatin here’s an article on CNET (Appliance Science: The firm chemistry of gelatin). If you’d rather you can instead focus on the colors by only using the primary colors and mixing them into different containers before solidifying. Either way if you want the Jello to contain less sugar or if you don’t want it to taste as good for more sensory play and less sensory eating you can use unflavored gelatin (link to the Knox website about their gelatin) and if you still want to include colors you can simply add food dye.
I hope this gives you ideas if you’re in the midst of creating a science themed party. Feel free to share your creation in the comments below, on my Facebook page, or through Instagram. Have a great day!