
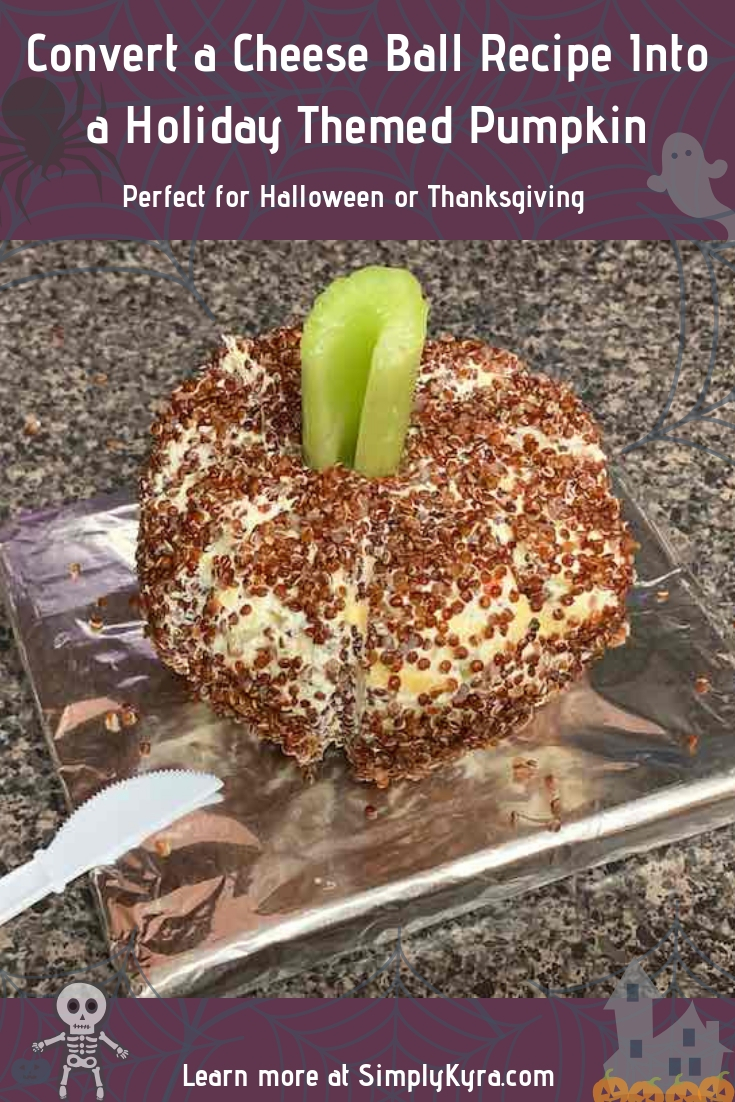
Convert a Classic Cheese Ball Recipe Into a Holiday Pumpkin

At the last Halloween party we went to we had decided to bring Halloween themed brownie cupcakes. Since they were so easy I wanted to bring something else to go with them. I remembered a pumpkin cheese ball I made years ago to bring to another Halloween party (either when Ada was a baby or maybe even before then). I pulled out the cookbook I used the last time and made sure to get all the ingredients.
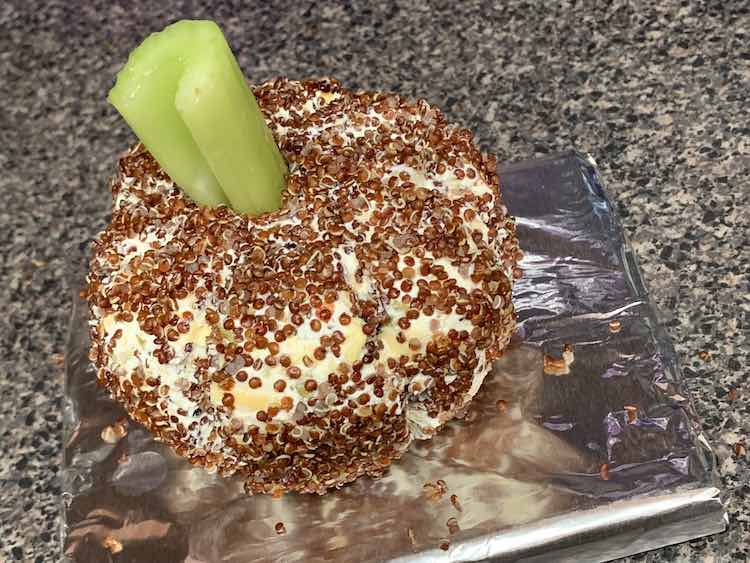
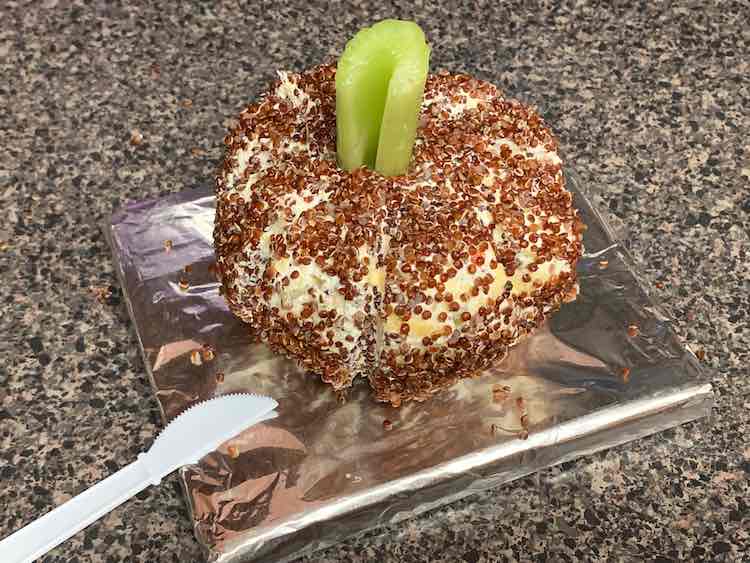
For this cheese ball I used the aptly titled recipe (Cheese Ball) found on page 38 in Quinoa 365: The Everyday Superfood by Patricia Green and Carolyn Hemming. The recipe calls for a quarter cup of red or black quinoa that gets divided into the cheese ball mix and is also used to coat the cheese ball with. My first time making this I used white quinoa so I could dye it orange… this didn’t work as only a small portion of the quinoa took the dye. I also used a broccoli stem to make my pumpkin stalk which I found smelled slightly later on. This time I decided to simplify the process and used red quinoa (no dyeing involved) and topped my pumpkin with a cut piece of celery that was added to the top when I arrived at the party (except for quick photos before leaving).
Any preferred cheese ball recipe could be used for this and be easily changed into a pumpkin by shaping the cheese ball differently (adding the vertical grooves), coating it with something pumpkin colored, and adding a pumpkin stalk. Looking online I’ve seen several recipes that give the cheese ball a slightly different pumpkin look. Food Network used ground up orange cheese puffs to coat their cheese ball and then added a long pepper stem for the stalk (served with crackers and sliced bell pepper). Baked in Arizona ground up cheddar cheese chips and also used a bell pepper stem for the stalk (in their cheese ball the diced bell pepper was included in the mix). Nikki Dinki Cooking coated hers in everything bagel spice and cut out an actual pumpkin stalk. There’s so many recipes out there for cheese balls and so many ways it can be altered into a pumpkin shape.
Materials Needed
- Your preferred cheese ball recipe. I used the Cheese Ball found in Quinoa 365: The Everyday Superfood by Patricia Green and Carolyn Hemming
- Pumpkin-colored coating. My recipe called for quinoa to coat the outside so I bought red quinoa to try to match a pumpkin better. The grated cheddar cheese used in the cheese ball also lent to the overall pumpkin hue.
- Pumpkin stalk. I went for a cut off piece of celery which I wish had a leaf off-shoot to better decorate the top of my pumpkin. The broccoli stalk I used the first time started to smell although I can’t remember when I added it to the cheese ball the first time around. I’ve since seen recipes calling for bell pepper stems or cutting off the stalk on an actual pumpkin.
- Something to serve the cheese ball on and a knife to cut it with. I used cardboard, masking tape, tinfoil, a plastic knife, and plastic wrap for the serving and transportation.
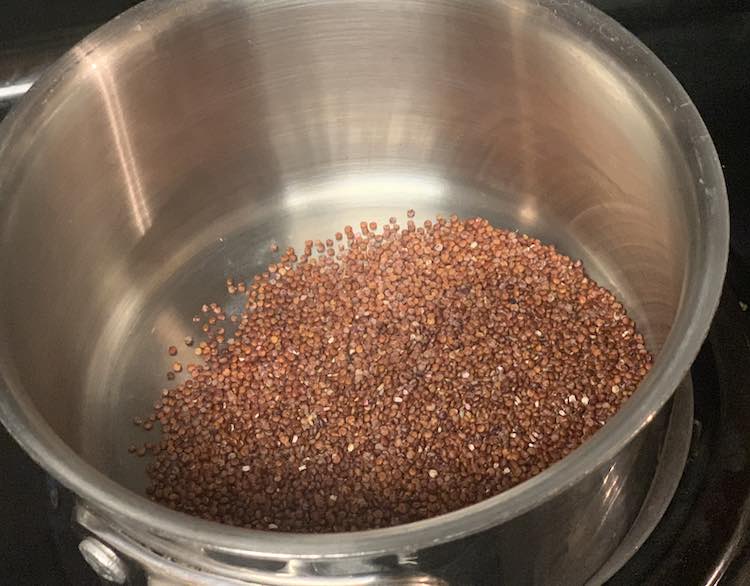
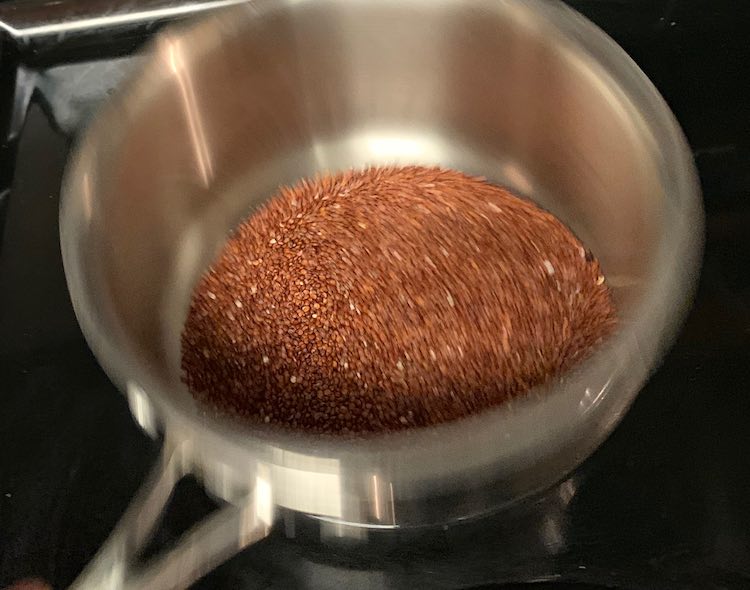
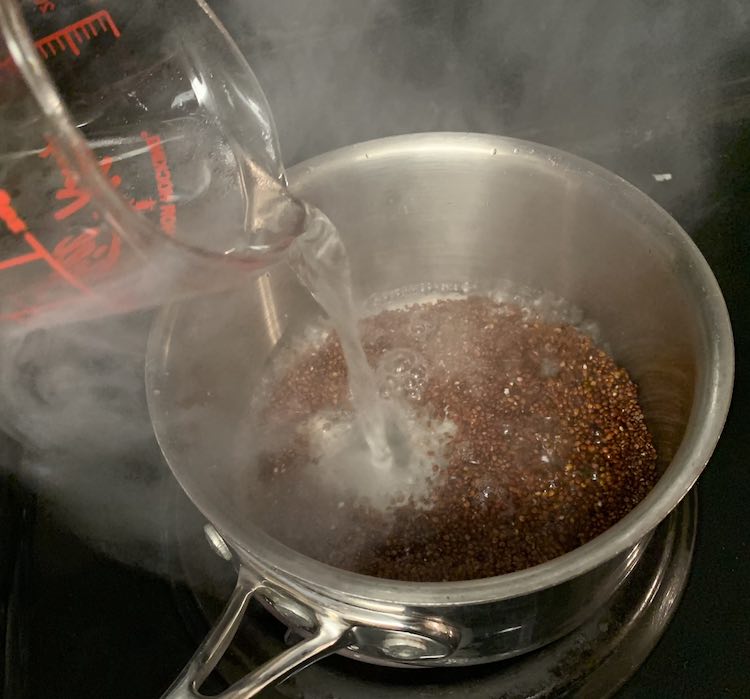
I made sure to use red quinoa instead of black or white to make sure my pumpkin cheese ball would look more pumpkin-like. I started by toasting and then cooking the quarter cup of quinoa according to the recipe’s directions. Once the quinoa was ready I set it aside to cool. Once cooled I divided my quinoa and used half in the cheese ball mixture. The other half I put in a container in the fridge as I was going to chill my cheese ball overnight and coat it with the quinoa in the morning.
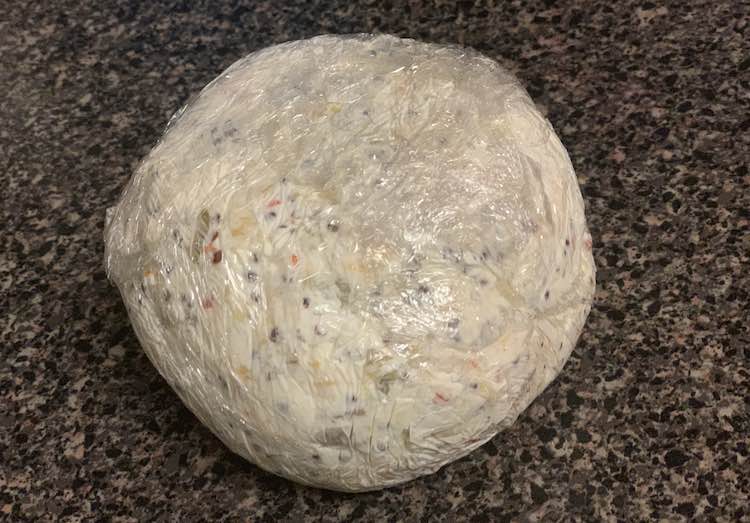
After mixing up my cheese ball according the recipe’s directions I plopped it down on a sheet of plastic wrap and used the plastic wrap to shape the cheese mixture into a ball. No messy fingers and all the glorious ingredients stay in the cheese ball instead of being washed off my fingers. After making a spherical cheese ball I then finished wrapping up the ball and put it into the fridge to chill overnight.
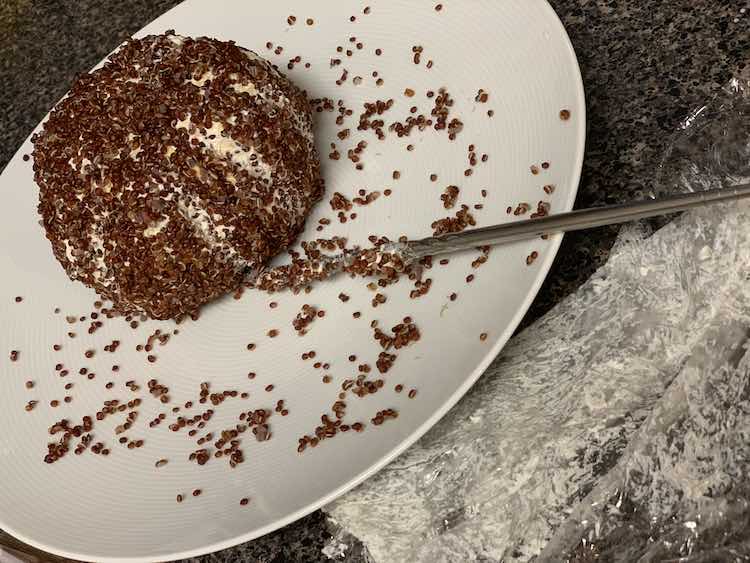
The next day, morning of the party, I used a chopstick to shape the vertical grooves in the chilled cheese ball. I spread the quinoa out on a plate and rolled the cheese ball through it attempting to coat the whole pumpkin. Once I got as much quinoa as I could stick to it I then used my chopstick again to attempt to fix my slightly flattened vertical grooves.
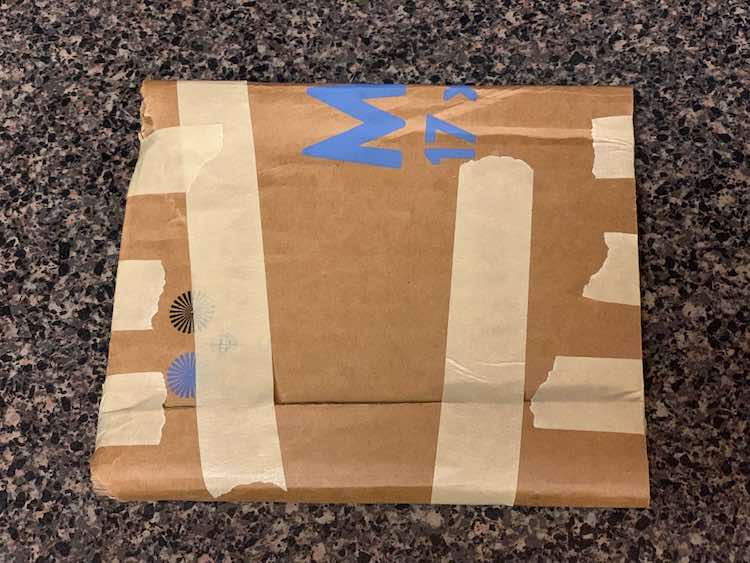
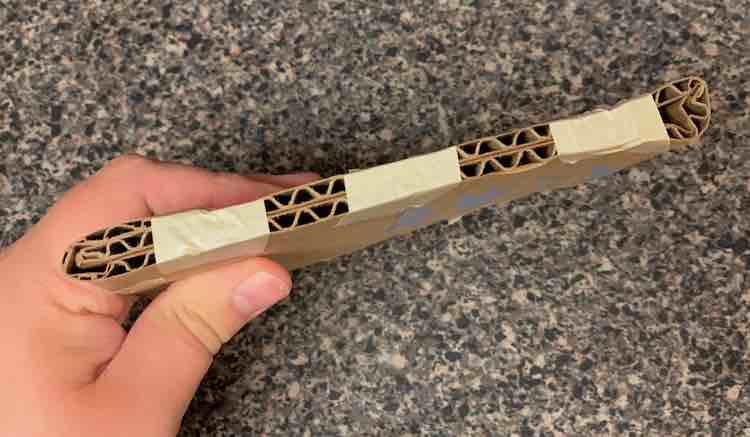
I wanted to bring the pumpkin on a tray that I wouldn’t have to worry about breaking on the way to the party. I tore off most of a box flap and folded it over to make a square. I then used masking tape to keep it firmly together. At this point if you have kids waiting impatiently you can easily tear off a bit more tape for them to play with.
Taking a moment to help you picture this. While finalizing the cheese ball both kids climbed up on a chair to watch and then started fighting over the chair. I told them to pull over a second chair to set beside the first thus blocking my escape (and making it difficult to grab the cardboard box and masking tape). There were still arguments. At this point I hastily pulled off two extra stripes of masking tape in the hopes of placating them. So many things could’ve happened next including tearing up the tape, maybe role playing on toys or themselves with their masking tape bandaids, grabbing art to decorate them… unfortunately this didn’t appease the two year old so I tried to sped up my process while trying to talk them into happiness. Later after returning home from the Halloween party I had a moment of wonder over why I had the scorned masking tape wrapped around the back of the chair before remembering how it came to happen.
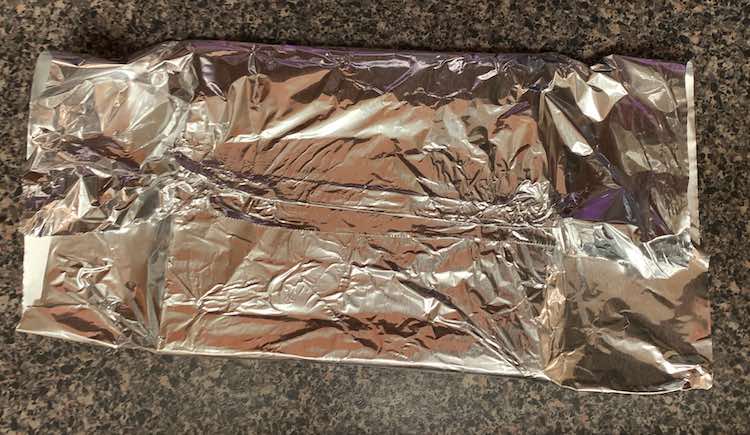
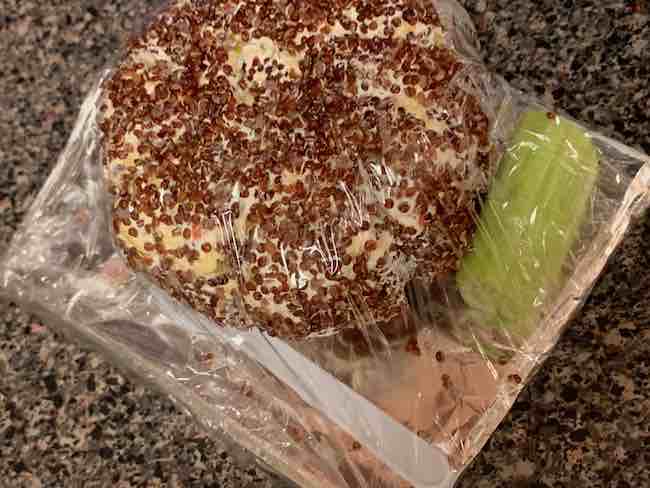
After taping the box flat I then took a sheet of tinfoil and wrapped it around the cardboard. I folded the overlap closed before folding the ends inward. I then grabbed a clean plastic knife I had to make dishing the cheese ball easier. After taking a quick picture with the celery stalk added I then wrapped it all up with plastic wrap and put it back in the fridge for when we were ready to go.
The cheese ball tasted fantastic! Again you can probably use any cheese ball recipe to make your own holiday pumpkin. All you need is a pumpkin-hued coating, a stalk, and a bit more shaping of the ball itself. I can see this being a focal point on a table full of appetizers at a party or being added to a mix of dishes at a potluck. Either way I’d love to see your pumpkin and learn about other amazing cheese ball recipes too. Feel free to share yours in the comments below, through a post on my Facebook page, or tag me through Instagram. Hope you have a great holiday!
Did this save you time?