
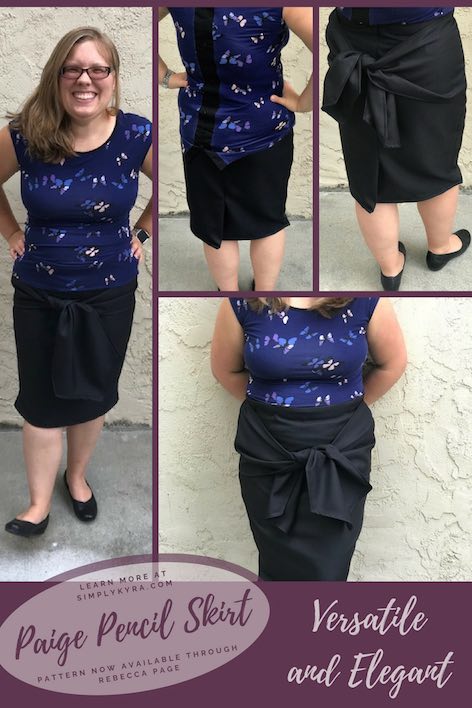
The Paige Pencil Skirt

At the beginning of the month I had access to the Paige Pencil Skirt through Rebecca Page. The skirt is listed as an intermediate sew and I see myself as an advanced beginner at most so I almost didn’t sew it up. The only reason I ended up sewing it was because it’s perfect to go with my previously sewn Chloe Cami and Cora Cocoon. At the time we were about to go on holidays so I only had time to cut out the pattern pieces and fabric before we left. Once we arrived back home I had the pleasure of having all the pieces cut out and waiting.
Like any pattern you sew up the first time I had moments of difficulty but that’s a measure of learning. I had a blast sewing the skirt up and seeing it come together. I love that I sewed a fancy pencil skirt with a liner, invisible zipper, and a back walking vent myself. The bow detail adds the perfect amount of punch to make your skirt stand out though if you prefer just the skirt it can be sewn up without. The Paige Skirt can be sewn up without the bow, with the full bow (like mine), or you can make each bow strap halved horizontally so the bow is skinnier. There’s a gallery of photos on the pattern website if you want to see other people’s take on the skirt.
What you need to get started
- The Paige Pencil Skirt Pattern.
- Bundle with all the below versions
- Ladies
- Childs
- Dolls
- Woven fabric. If you want to sew my take on the skirt I bought the fabric through Fabric.com. The black outer fabric is a solid black gabardine suiting and I used black sheath fabric for the lining.
- Invisible zipper for the back
- Complementing thread
- Sewing needle and some contrasting thread if you want to use the tailor’s tacks described in the pattern
- Tools used – sewing machine, scissors and pattern weight, rotary cutter and cutting rulers, tape measure for sizing, and/or pins or clips. Serger/overlocker is optional and not required.
Skills Learned
This was the first time I made a skirt (that wasn’t attached to a kids knit bodice) and thus the first time I worked with lining a skirt too. The only zippers I’d worked with before were regular zippers on either a sweatshirt or added to kids toys. I loved how descriptive and photo-heavy the instructions were so I was walked through how to install the invisible zipper and create the back walking vent. I also enjoyed learning about tailor’s tack which made the process easier. While sewing the pencil skirt I found I kept reaching for my seam gauge for easy measurements and my chalk to mark the measurements.
You can get the bundle including ladies, childs, and dolls sizing or get them individually: ladies (XXS-5XL), girls (newborn to 12 years), and the 18 inch dolls.
Sewing the skirt up
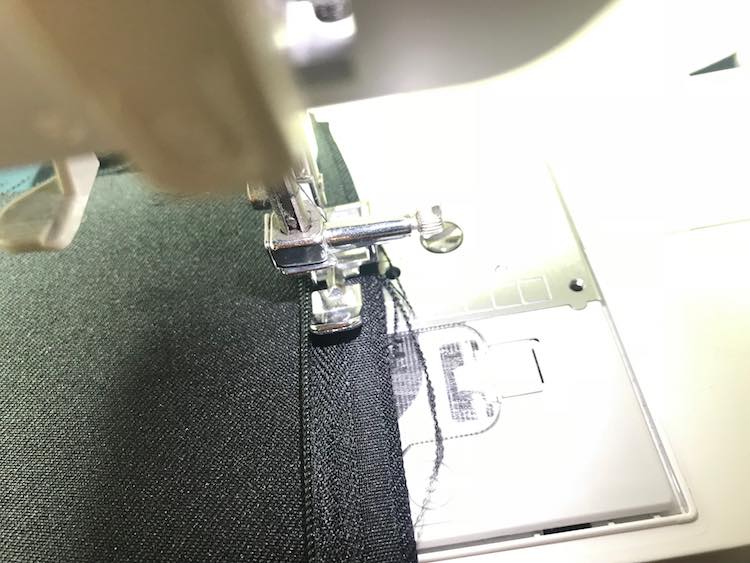
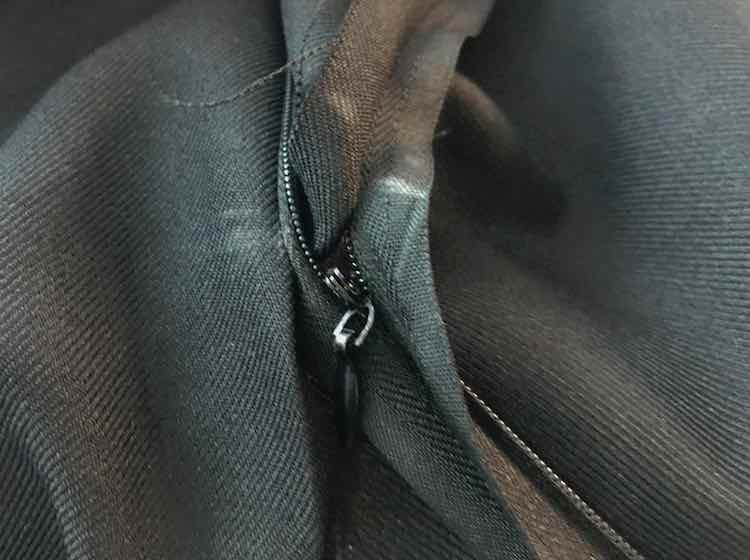
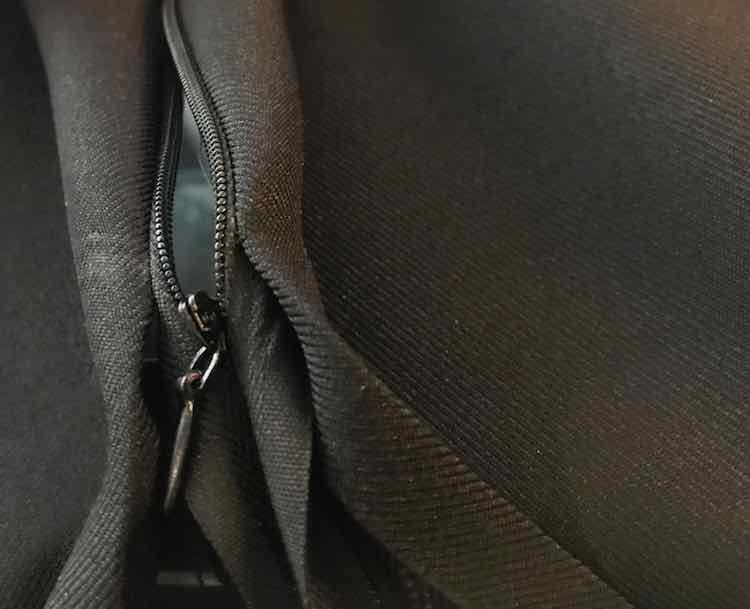
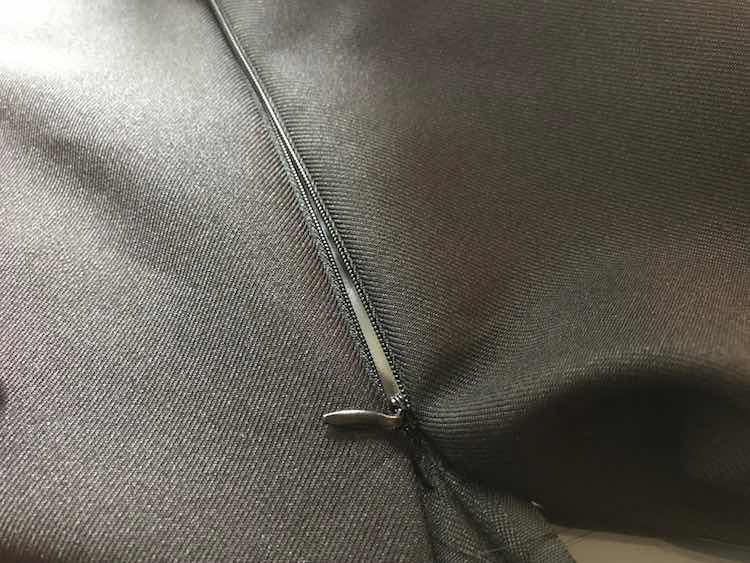
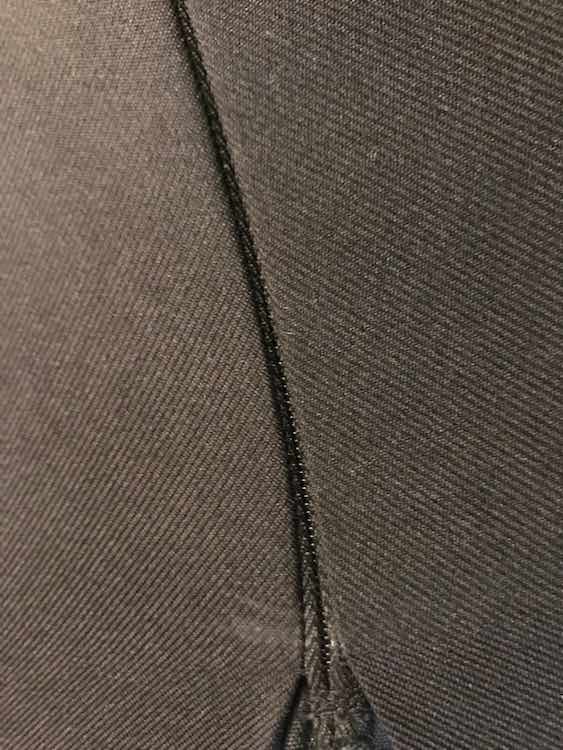
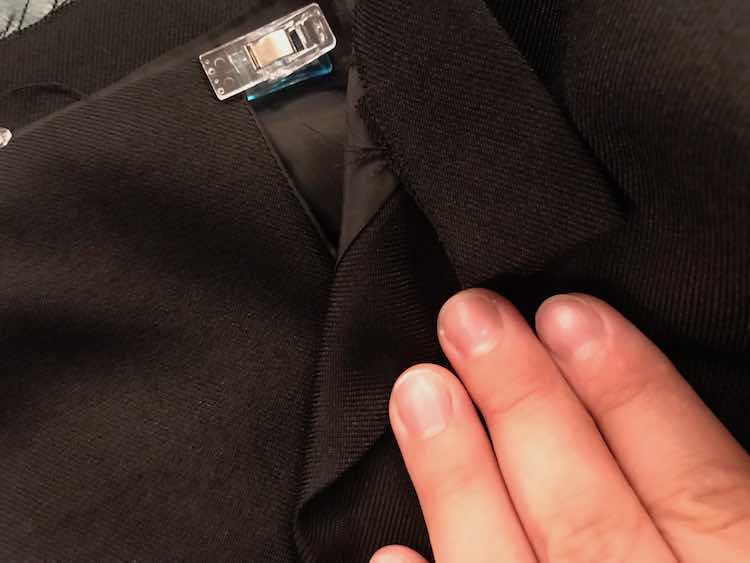
For the zipper installation I grabbed my zipper foot. After you sew the zipper to the fabric I didn’t fully untwist it and was worried for a bit that I sewed it wrong. I finally untwisted the last bit and was fine… then I went through the same worry on the other side of the zipper. The only thing I would do differently next time is to sew closer to the zipper tongs right away. This time I sewed a new zipper stop and trimmed the excess right after completing the zipper. I then decided to try to sew closer to the zipper tongs so the zipper would be more invisible and wasn’t able to sew as closely as I wanted as the zipper tab was in the way.
After I had sewn everything up, but before hemming the skirt, I tried it on for fit. The top part was a bit too large so I pinched it in at either side and measured how much fabric was pinched. I then eyeballed the sides and decided to bring the side seams in gradually over the height of the bow detail so I was able to use the attachment point of the bow ties to eyeball my measurements. After taking it off I measured my half-inch (pinched fabric amount) at the waistband, marked a quarter-inch halfway down the bow detailing, and then used the seam at the bottom of the bow tie for the last measurement. I used my chalk and drew a guidance line between all three-point. Using the distance between the points I then duplicated these measurements on the liner and continued the chalk line over them. I then sewed along the line and tried the skirt on again. I decreased the measurements slightly before marking the other side of the skirt and sewing that side in.
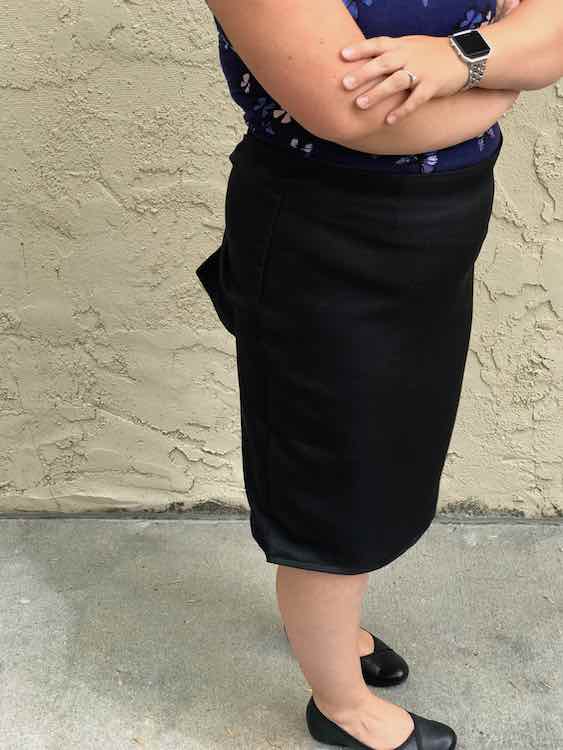
The last thing left to do was hem. Because of the back walking vent, I started ironing and clipping the hem on the one side of the vent. Before I continued I used that side of the vent as a comparison for where I should hem the other side of the vent. I then walked around the skirt from those two points to fold, iron, and hem the rest of the skirt.
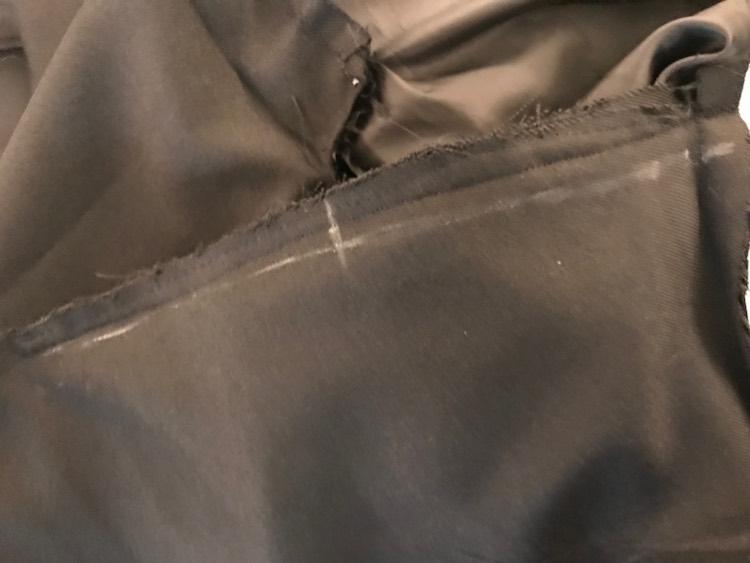
My one major problem while making this skirt came up while hemming it. My skirt lining was smaller than my outer skirt so if I force hemmed them together it would’ve added bunching to the bottom of the skirt. After complaining a bit I decided to try to solve it by marking the center points of both skirt layers using the vent opening as the ends. I left some of the clips keeping the hem up on either end so the vent would still match length on either side and then folded, ironed, and clipped my hem at the center point. My plan was to walk the hem along to the side seams and if they weren’t matching up then folding in the outer skirt’s side seams creating a dart and thus tightening the outer skirt to match the inner lining skirt. As I went I had no issues with the one side so I continued clipping it to the end. Once I returned to the other side I realized the lining was still too tight on that one side. Instead of doing my original plan, since my left and right side outer side seams wouldn’t match, I decided to seam rip the bottom bit of the lining’s side seam so the lining would ‘stretch’. Before continuing I used a needle and black thread to stop the seam from opening further and then clipped the hem down. I’m not sure if the folded over lining is going to unravel in the wash but worst case I can hand sew the folded over seam allowance at a later date.


Then I just had to sew the hem and it was all ready to go!
You can get the bundle including ladies, childs, and dolls sizing or get them individually: ladies (XXS-5XL), girls (newborn to 12 years), and the 18 inch dolls.
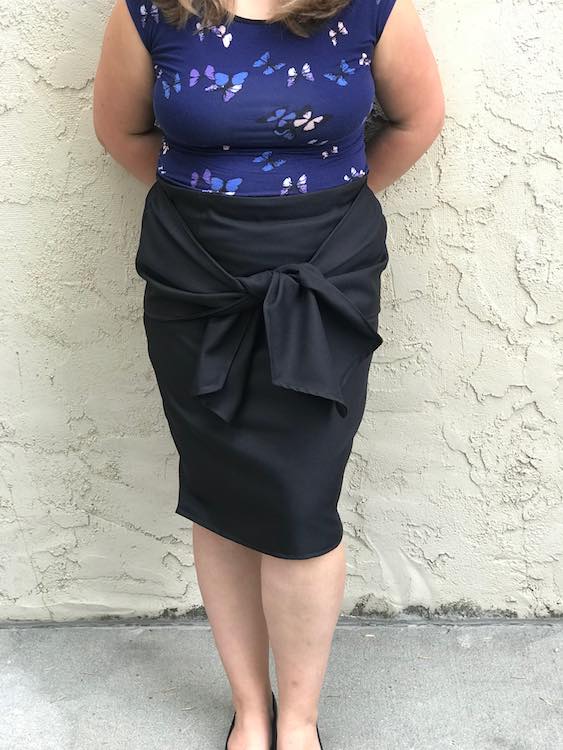
Finished Paige Pencil Skirt
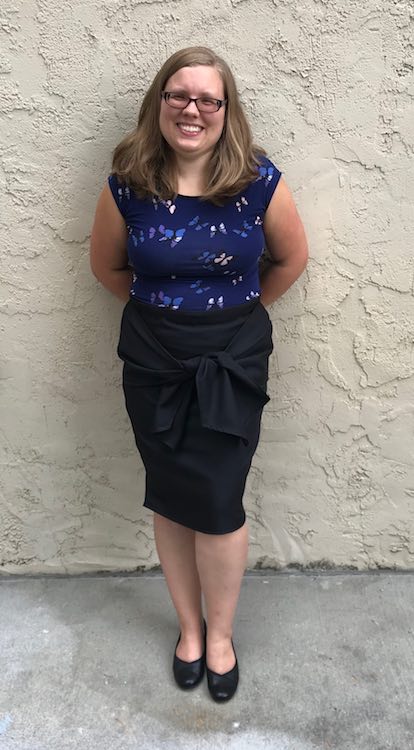
With the bow tied in the front and my shirt untucked.
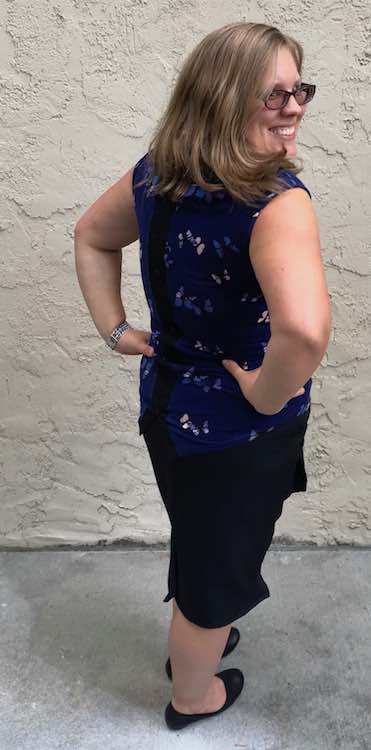
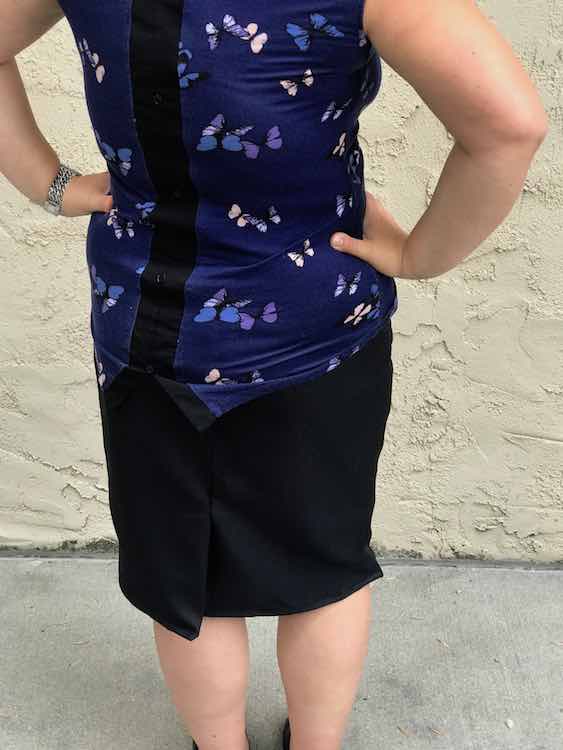
With the bow still tied in the front and my shirt tucked in.
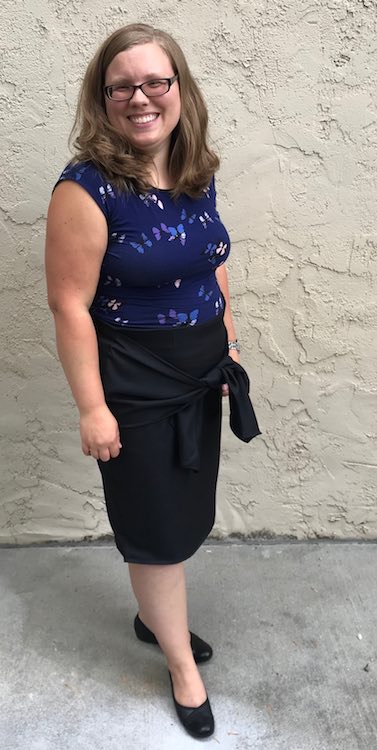

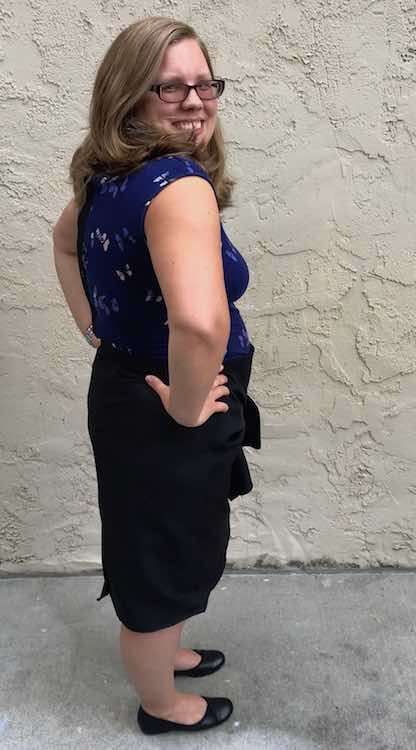
You can easily switch where the bow is tied at any point.
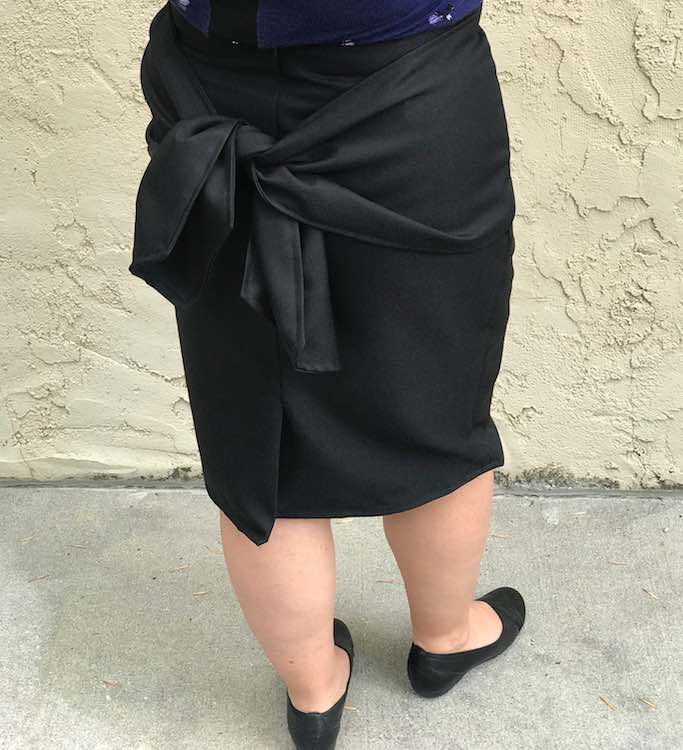
With the bow tied in the back and shirt tucked in.
I’m so glad I decided to sew this skirt up. I love that I was able to expand my skills and come out with a pencil skirt that I love that would’ve, otherwise, taken me forever to find in a store. If you want to make this versatile and elegant pencil skirt you can purchase the bundle including ladies, childs, and dolls sizing or if you prefer you can get them individually: ladies (XXS-5XL), girls (newborn to 12 years), and the 18 inch dolls. I’d love to hear from you through the comments below, on my Facebook page, or through Instagram.
Did this save you time?