
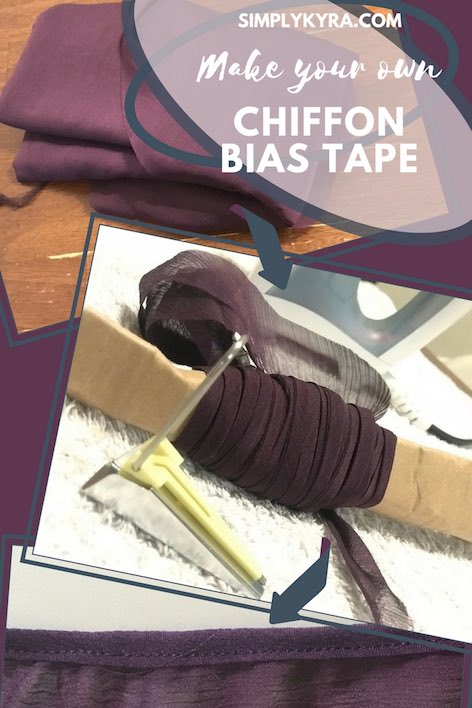
Making Chiffon Bias Tape


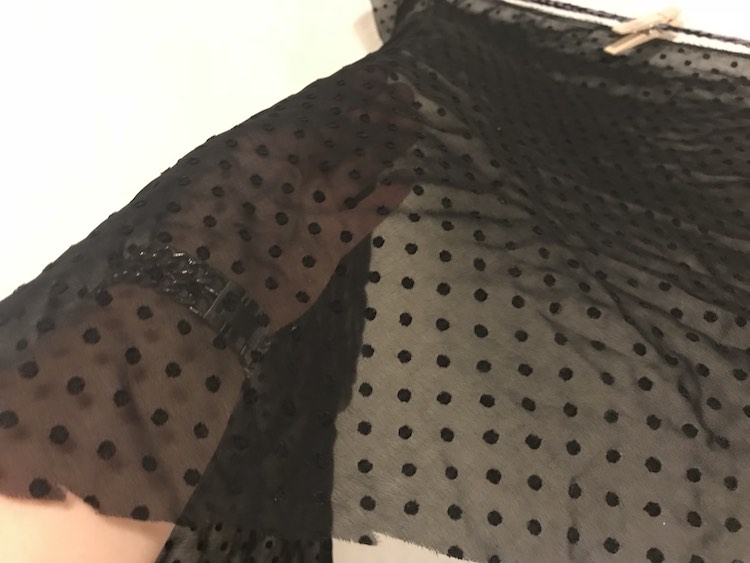
I’ve made bias tape out of chiffon fabric twice so the pictures will switch back and forth between a black polka-dotted chiffon and a plum striped-ish chiffon. I recommend that you test this gelatin mixture on a scrap of your fabric before you cut a larger piece and spend more time on it.
I had the opportunity to sew up the drapey Chloe Cami and while trying to find lightweight woven fabric online I ended up coming across chiffon through fabric.com before finding the other fabric choices mentioned in the pattern. I bought two types without really analyzing the ramifications of such a lightweight material.
Once I started going over the pattern I realized I needed bias tape. I had already bought some bias tape makers through Amazon and had used it to make black cotton bias tape for our bubblegum dresses, but I wasn’t sure if making it out of chiffon would be possible. I tried to look up chiffon bias tape, but most of my results were tips on how to sew with chiffon that ended up scaring me as I hadn’t considered it being a difficult fabric yet. Luckily I came across a forum from PatternReview.com called ‘Making Bias Tape to Match Chiffon Fabric’ that mentioned how to stiffen the chiffon so you could go on to make bias tape out of it more easily.
Materials Used
- Chiffon – I bought mine from fabric.com
To make my chiffon manageable for the bias tape maker
- Unflavored gelatin
- Boiling and warm water
- Bowl to soak the fabric in
- Flat surface to let it dry overnight – I used my table
- Towel – I placed it on my table and under the chiffon so I could launder it the next day and have a clean table for breakfast
Cutting my fabric
- Rotary cutter
- Cutting surface
- Quilting Ruler
Making the bias tape
- Bias tape maker
- Iron
- Surface to iron on as it gets hot after a while. The first time I made bias tape with a cotton fabric it heated through my towel and temporarily discolored my table
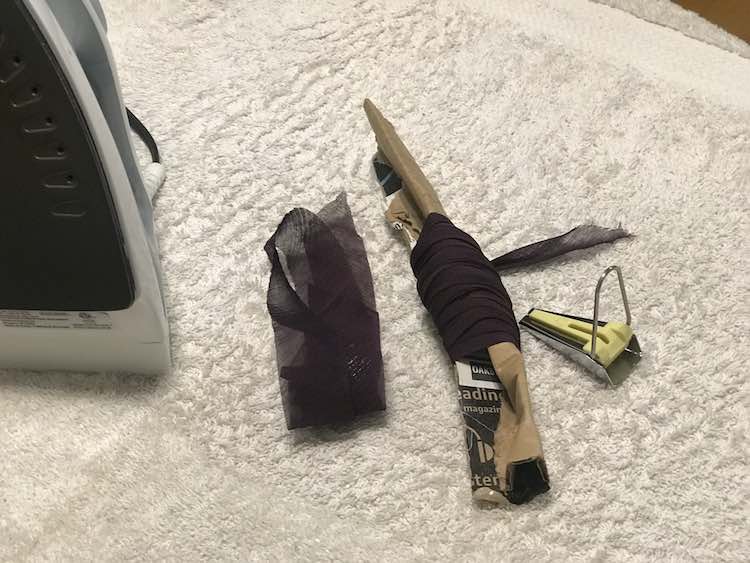
- Piece of cardboard to roll the bias tape on
Making your chiffon more manageable with gelatin
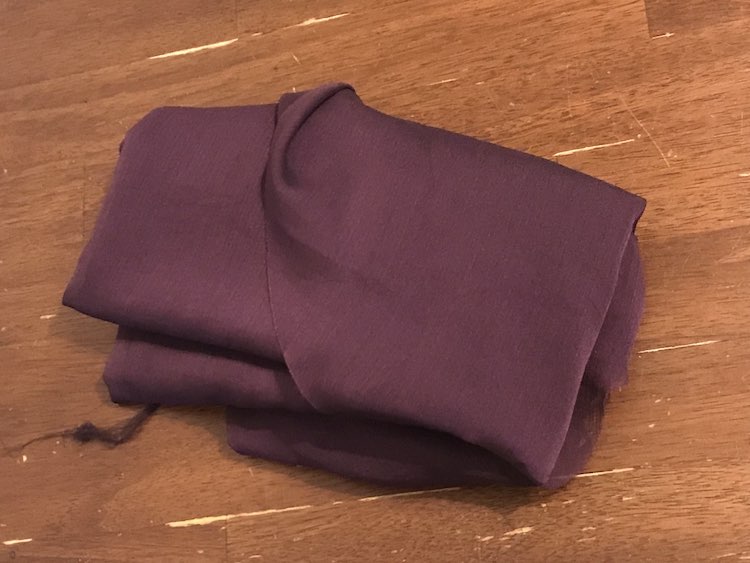
I started by prewashing my chiffon once it arrived in the mail. I then cut all of my pattern pieces I needed for my garment before cutting a swatch for my bias tape as I could cut smaller pieces and attach them later if needed. I didn’t want to cut a large swatch for the bias tape and then have not enough chiffon for my shirt… or my next project whatever that may be. Remember the bias tape will be cut at a 45 degree angle from the selvage so I cut my final piece as close to that line as I could so I’d have less waste later on.
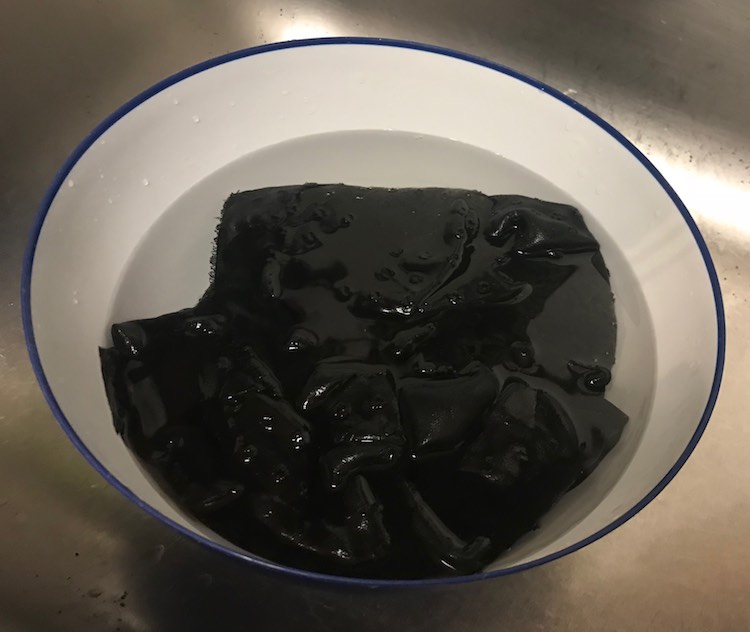
I then soaked my chiffon in warm water while I brought some water to boil in my kettle.
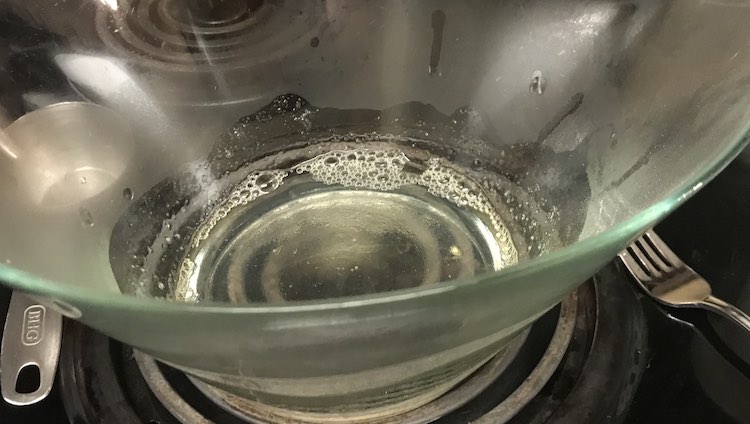
Prepare your gelatin mixture by dissolving two teaspoons of unflavored powdered gelatin in half a cup of boiling water. After it’s fully dissolved dilute it in one and a half cups of warm water and stir it all together.
Then gently squeeze the warm water from your chiffon and put it in your gelatin mixture. Make sure it’s fully in the water and then let it sit for fifteen minutes or until the gelatin mixture completely permeates the fabric. I didn’t start this process until I was finished cutting the pattern pieces for my shirt so I took this time to put away all my other supplies and get ready for bed… which meant my fabric ended up soaking closer to twenty or thirty minutes before being removed.
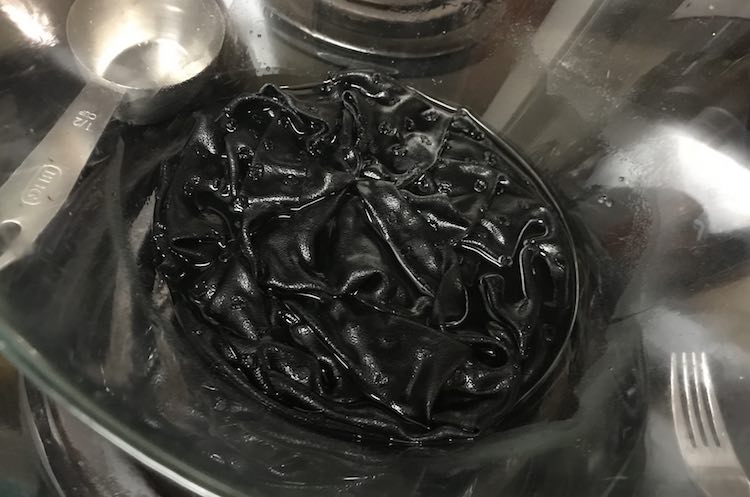
I then laid a towel out on my kitchen table, gently squeezed the gelatin mixture from my chiffon, and laid out the fabric on the table to dry overnight. I tried to spread it out as evenly as possible so there’d be less wrinkles and it would dry more evenly.
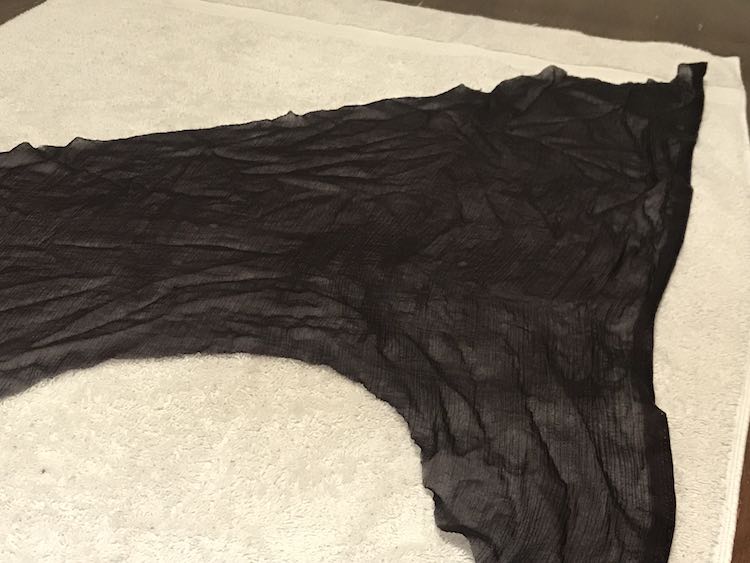
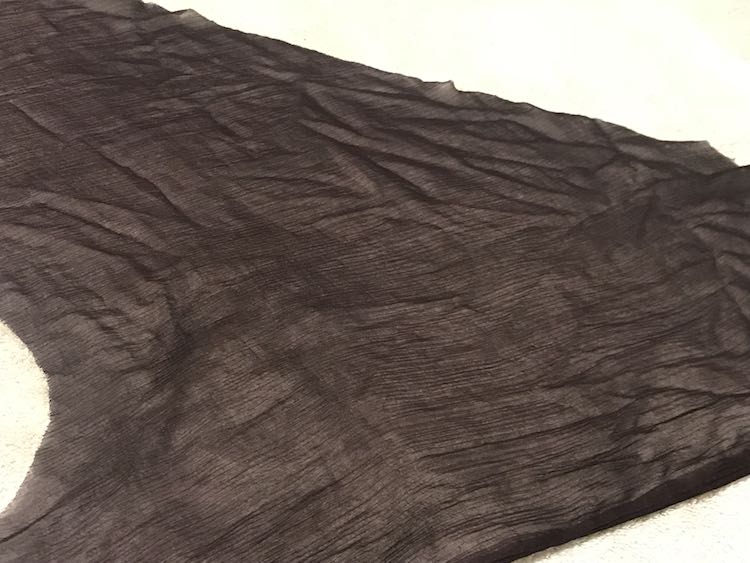
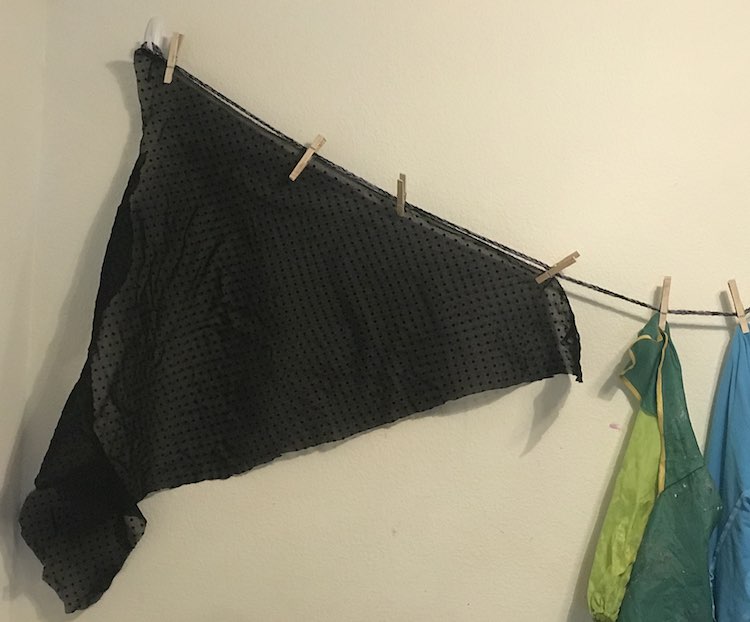
The next morning I hung it up so it would be out-of-the-way until I had the opportunity to go onto the next step. At this point it was completely dried so I would’ve continued immediately if I had wanted.
Iron and cut as normal
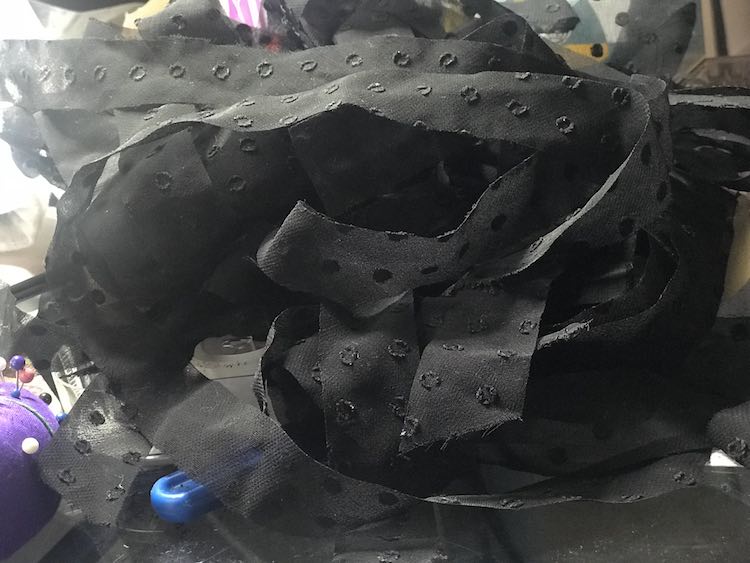
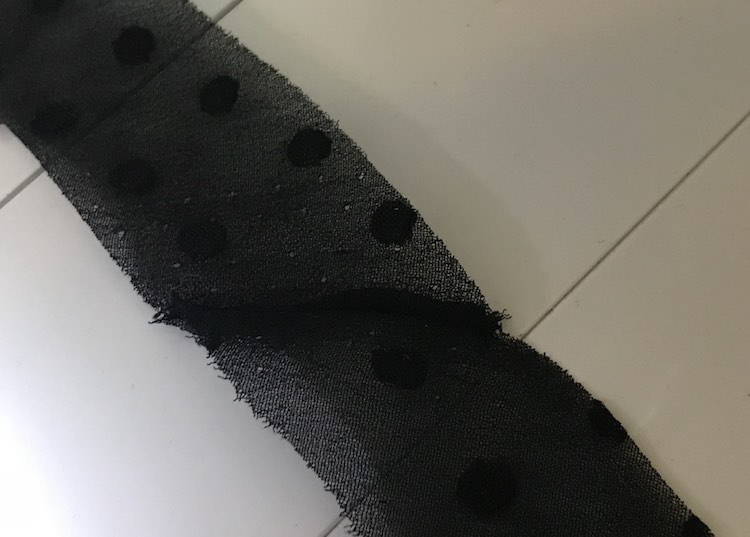
The next step is to iron your fabric flat and cut it into strips to make your bias tape. The first time I cut the chiffon into one inch wide strips but when I went to make the tape the edges weren’t folding over as easily as I wanted them to and it was difficult to iron them in place. The next time I cut my strips an eighth of an inch wider than needed (1 1/8th inch wide) so it was much easier to make it into double fold bias tape. Because of this I’d recommend going an eighth inch (or so) wider than you want.
The bias tape makers make single fold bias tape, but if you fold it over once more lengthwise and iron it into place you can make double fold bias tape. So if you want an 1/8th inch double fold bias tape you’d want to make a 1/4 inch single fold bias tape with a 1/2 inch bias tape maker and a 1 inch wide strip of fabric. Because of the chiffon, I would recommend cutting 1 1/8th inch wide strips of fabric.
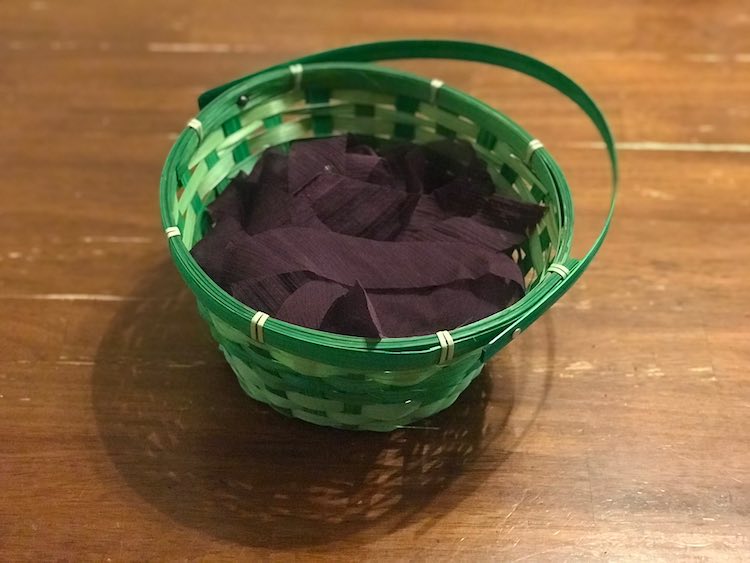
I found it easiest to throw all the cut strips into a basket so I could easily transport it to the sewing machine. When you sew the strips together you’ll want to stagger the long and short strips; so if you’re stacking them, you might want to make a short and a long pile so you can switch between them more easily.
I put all the cut strips next to my sewing machine so they’re easy to grab from and then let the finished length of strip fall from the side of my sewing table as I sew the strips together.
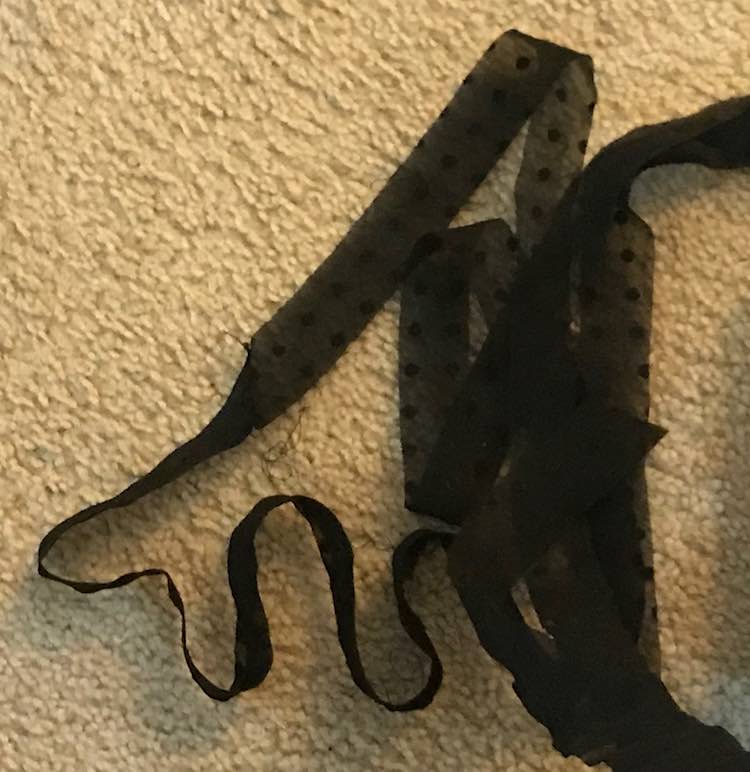
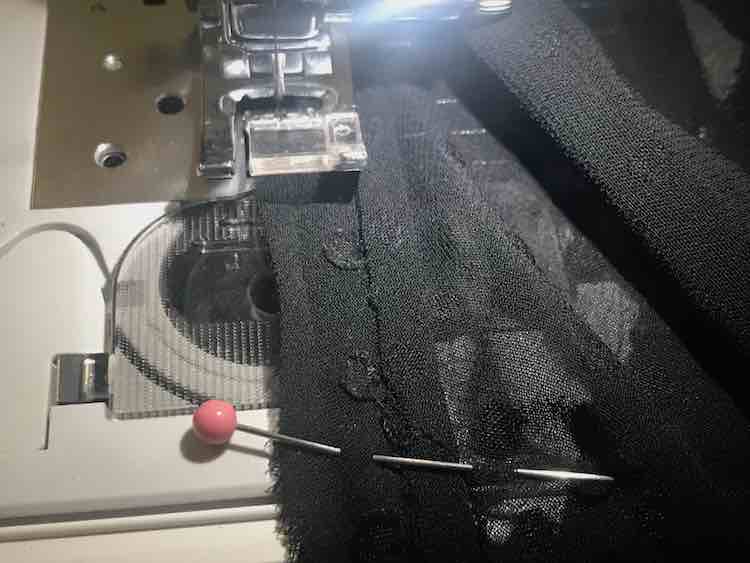
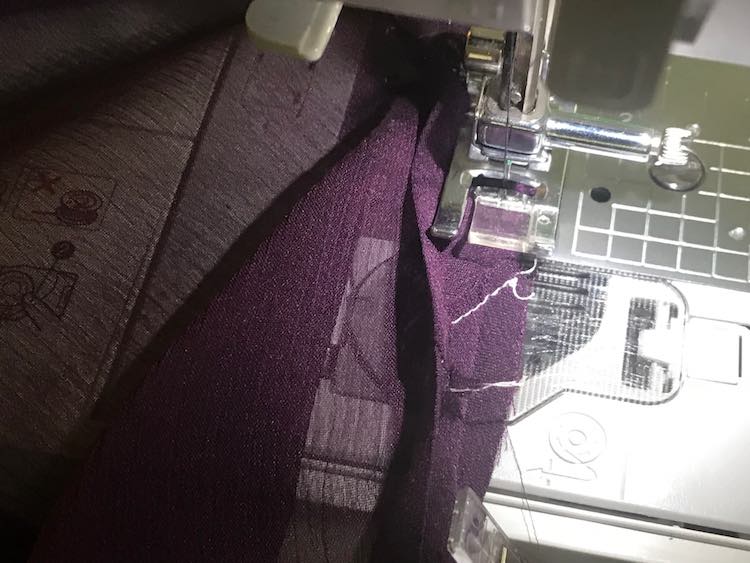
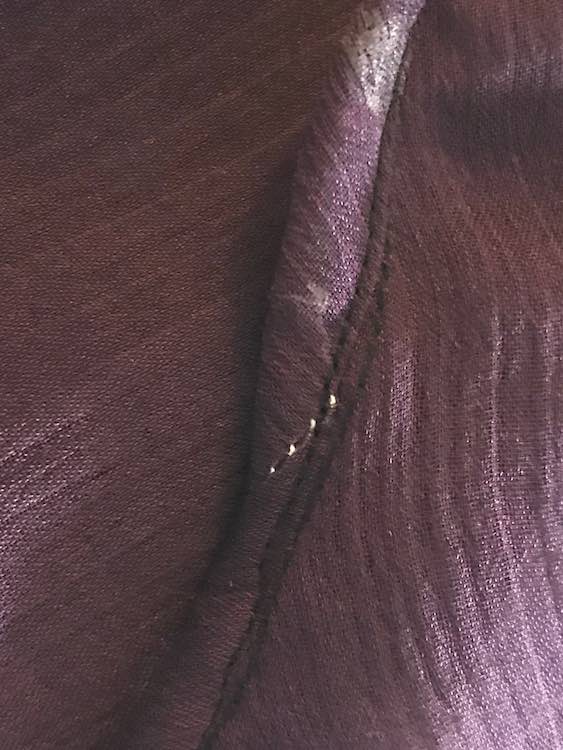
To sew the strips together you’ll want to put them right sides together at a 90 degree angle. Then sew them together at an angle so the long strips are on the one side of your stitches and the short ends are on the other side. Confirm that it’s stitched the right way before trimming the excess fabric and threads. Since my iron is in another room I continue along the fabric, attaching strips as I went, and then ironed the seam to the side as each one came close to the bias tape maker. If your chiffon looks the same on either side you might want to confirm which side is the right side as you go along by checking your previous seams… I know I double checked… repeatedly.
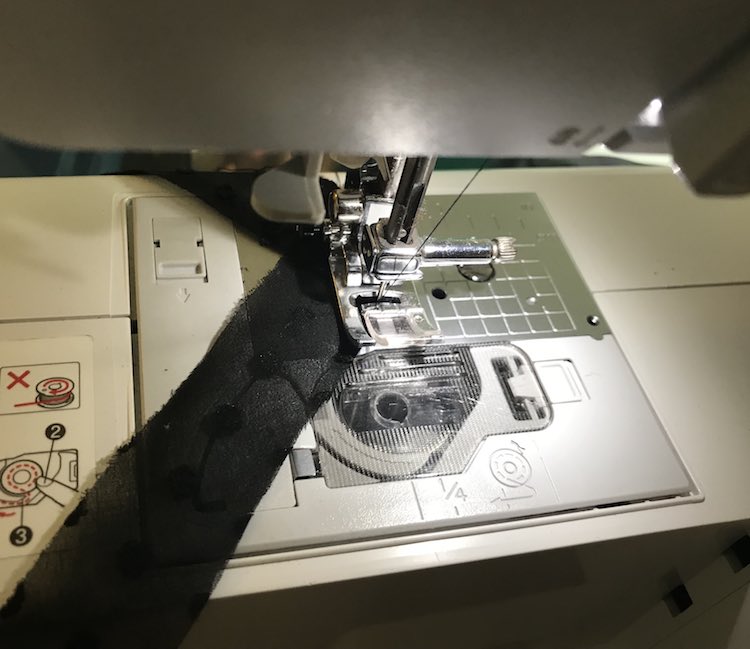


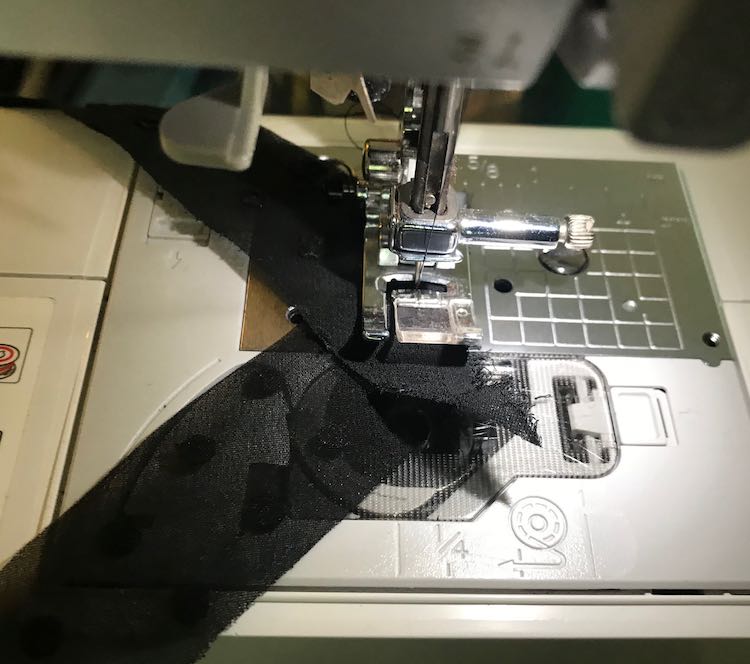
I then took my single long strip of chiffon to my ironing area and brought it through the bias tape maker ironing as I went. I found it simpler to work on enough chiffon to bring me from the one side of my ironing surface to the other side while ironing it into the single fold tape, then going back to the first side and folding the single fold lengthwise into double fold bias tape, ironing that into place, and then rolling the finished double fold bias tape onto my cardboard so it couldn’t unfold before continuing with another length. I kept repeating this until the entire strip had been turned into bias tape.
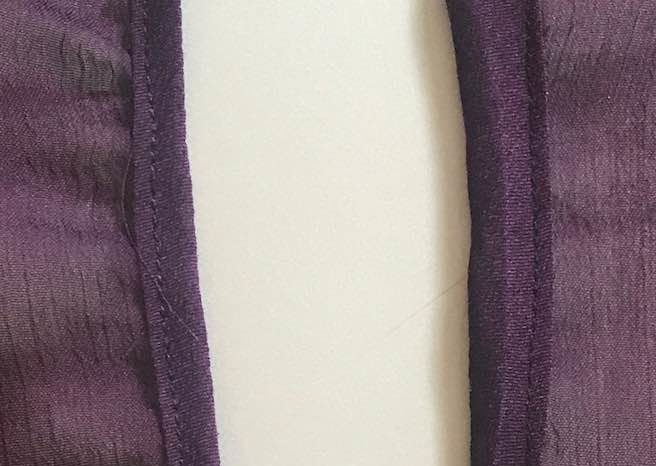
And then treat it like any other double fold bias tape and sew it onto your garment.
Once your clothing is made you can rinse out the gelatin with water… or like I did, wait until you launder it.
Stiffen Chiffon to Simplify Bias Tape Making
I came across a forum from PatternReview.com where the user 'rag doll' tells us how to stiffen chiffon to make bias tape. I had to share the recipe with you.
Just a caution. I didn't pretest this method on my chiffon before I jumped in, but I recommend you test this out before spending too much time on it or sewing it to a garment that you've spent a lot of money and effort on.
Sewing Project; FabricPrep Time: 10 minutes
Cook Time: 20 minutes
Overnight Drying Time: 6 plus hours
Ingredients
- 2 tsp gelatin unflavored
- 1/2 cup water boiling
- 1 1/2 cups warm water plus excess for soaking
- chiffon large enough cut to make your bias tape
- flat surface to lay the chiffon to dry
- towel to put on your flat surface
Instructions
- Bring some water to boil. You'll only need a half cup.
- Make sure your chiffon is fully immersed in a bowl of warm water to soak.
- While the chiffon is soaking mix together 2 teaspoons of gelatin with a 1/2 cup of boiling water. Stir to dissolve.
- Add 1 1/2 cups of warm water to your boiling water and gelatin mixture. Stir to combine.
- Remove any chunks of gelatin you may have in your mixture.
- Squeeze the warm water out of your chiffon and add the chiffon to your gelatin mixture. Make sure the mixture completely covers your chiffon.
- Leave your chiffon in the gelatin mixture for 15 minutes or until the gelatin mixture has completely permeated the chiffon.
- Gently squeeze out the gelatin mixture from the chiffon and lay it flat so it can dry. I laid a towel on my kitchen table and put the chiffon on top. You don't want to have the chiffon vertical so the gelatin drips out.
- Once dry you can iron, cut, and sew your chiffon as normal. The gelatin will wash out normally in the laundry.
Word of Caution
Be careful what color you use to sew your strips together. I used white thread to sew my strips together and then chose to use black thread for my garment so it can stand out depending what your choose.
I hope this tutorial helps you bring your garments to the next level. Bias tape making can be time-consuming but I love how you can make tape that perfectly matches your project. I can’t wait to see your finished bias tape… especially on your finished sewn projects! Feel free to reach out at any time in the comments below, through a post on my Facebook page, or by tagging me through Instagram.