
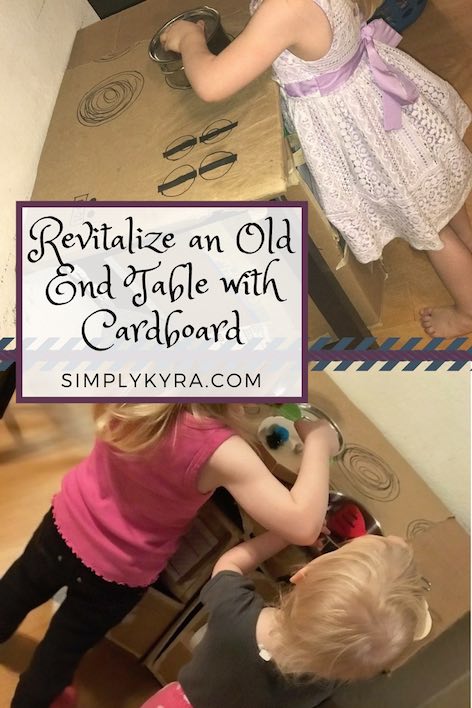
Cardboard Kitchen From an Old End Table

All the pictures were taken after I made the kitchen set at two different times. There are no in-progress images.
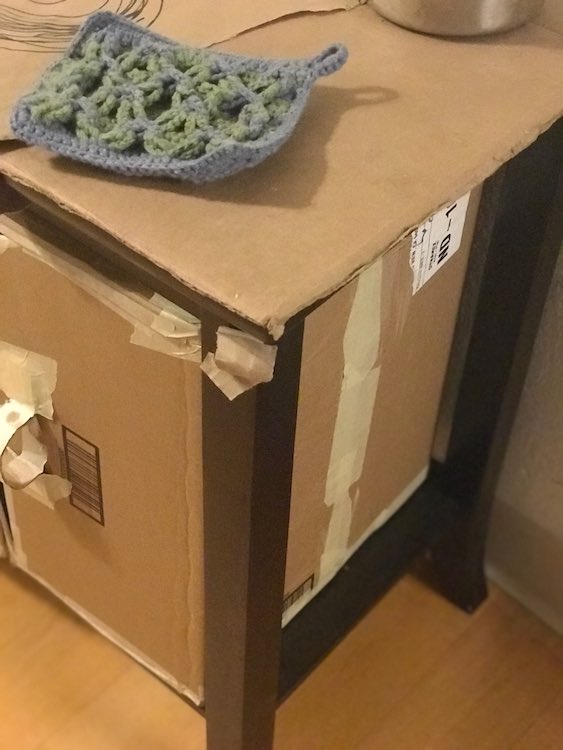
Back before Ada was born I was looking for an end table or nightstand that would fit between our rocking chair and crib in Ada’s bedroom so I’d have somewhere to put water, phone, snacks, and more while I was putting her to bed. It took me until she was over a month old before I came across an end table on Amazon that fit the bill perfectly. It was awesome! Since I had invested so much time looking for the perfect end table when we moved it came with us. In our apartment I wasn’t sure where it should go so it moved around until it ended up in the dining room area where we used it to store books and then Duplo. As it was an end table and not a bookshelf it didn’t seem to work properly for what we were using it for. While Ada and then Zoey were getting older I wanted to get them a kitchen set, but didn’t have a good space to put it as the wall where the end table was positioned had a light switch and a counter surround on that wall. Instead of investing in a kitchen set that they might not use and would take up too much space I instead decided to make my own kitchen set as a trial run and revitalize the end table. I kept putting the project off until one day we had two identical boxes delivered to our home that easily fit the end table perfectly (on their side). I couldn’t miss out on that opportunity and dove into the project.
Materials Used
- Two large cardboard boxes and a couple more for shelves, handles, and to top the ‘stove’
- Paper for the window on the oven door
- Masking tape
- Applesauce pouch top for knobs
- Packing paper
- Large sharpie to draw the top stove on
- X-acto knives
- Joes Sticky Stuff – to attach cardboard to the top of my end table
- (optional) Clear packing tape or scotch tape – used to tape on the oven door window
Through a delivery I received two identical boxes that fit perfectly in our end table when you put the boxes sideways. I figured it was the perfect opportunity to get started on my oven project instead of putting it off… again. I knew going in that I wanted to include an oven and a refrigerator. I also knew I wanted the oven to be shorter than the refrigerator so I decided to use one of the boxes for the refrigerator and the other box for both an oven and a cupboard.
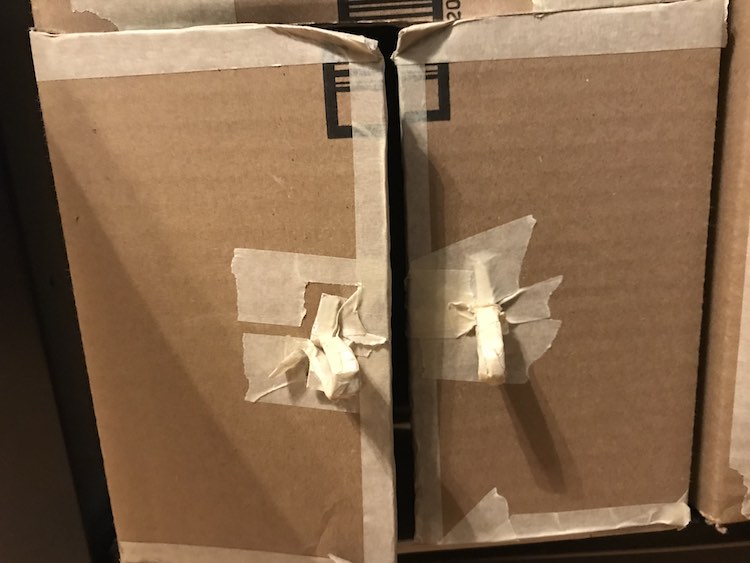
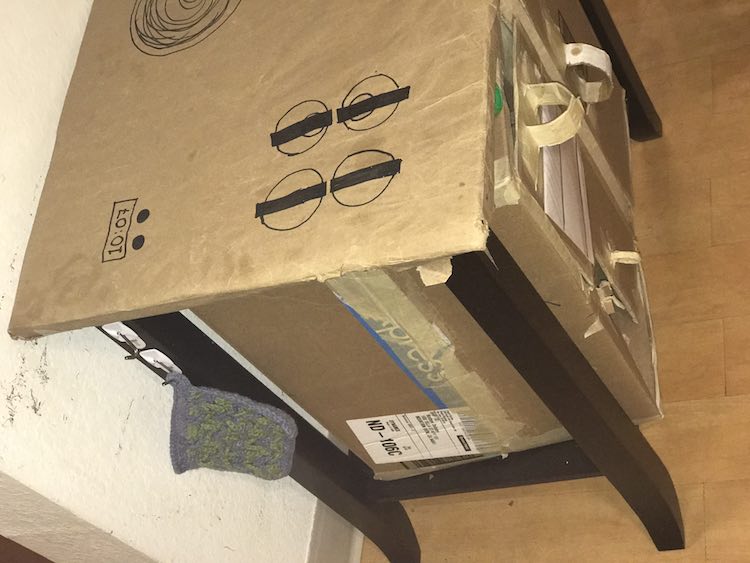
I started by taping any shelves I wanted into the boxes, then I taped both boxes closed with masking tape. used my X-acto knife to cut out the door(s) I wanted in the box, taped the edges so the box wouldn’t be able to be peeled apart easily, cut out a handle for each door, and then taped the handle onto the door. I was going to paint the boxes to make them look more finished but decided to leave it as is. Once it was all done I taped the two boxes together and slide them into the end table. You can stop it from being removed by taping the boxes into place. I’ll go more in detail about each part below.
Oven and Cupboard
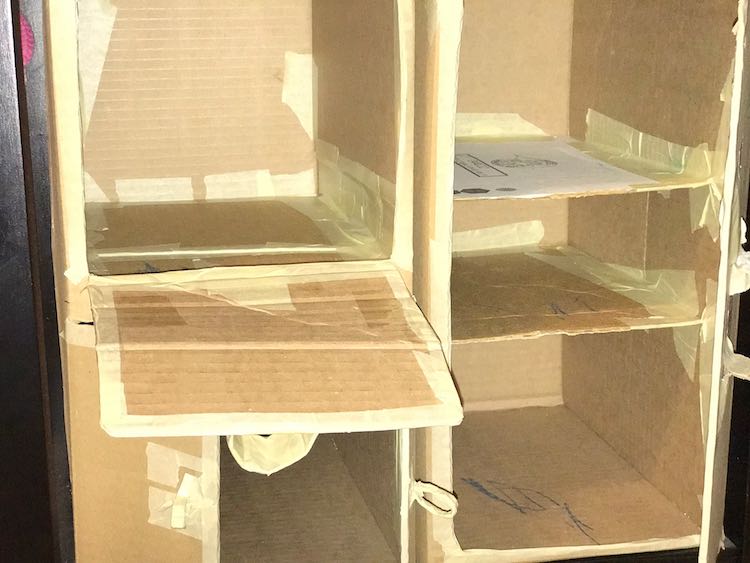
The box I was going to use needed to get turned to sit on its short side so it would be skinny and tall for the kitchen set with the long side in front. I knew the final box would need a separation between the oven and the cupboard section so I cut a piece of cardboard to size and taped it in the center of the box vertically. I then taped the box closed securely before turning it and using my X-acto knife to cut the oven and cupboard doors out.
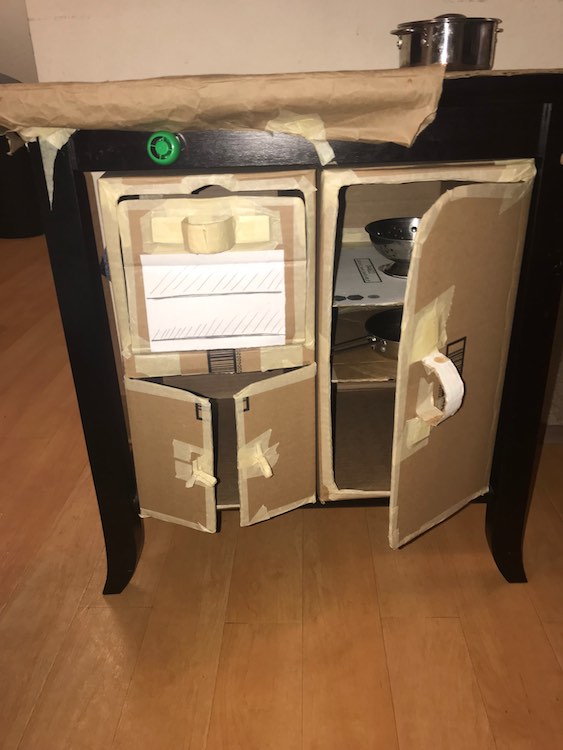
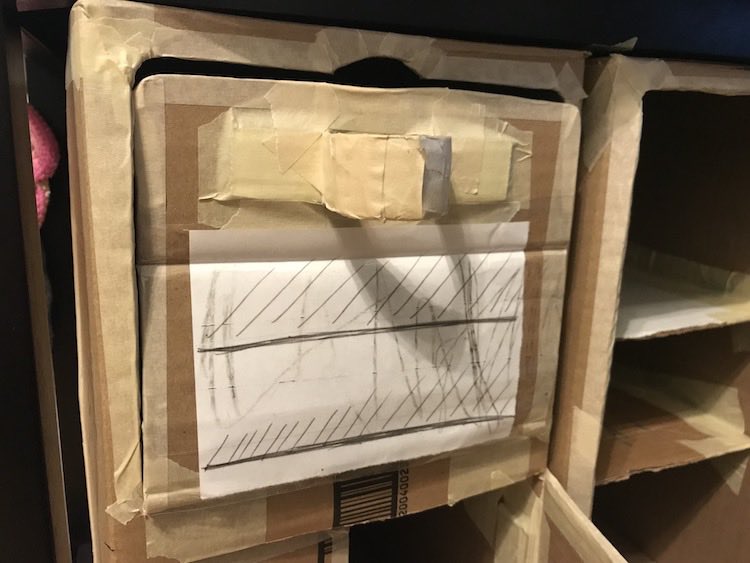
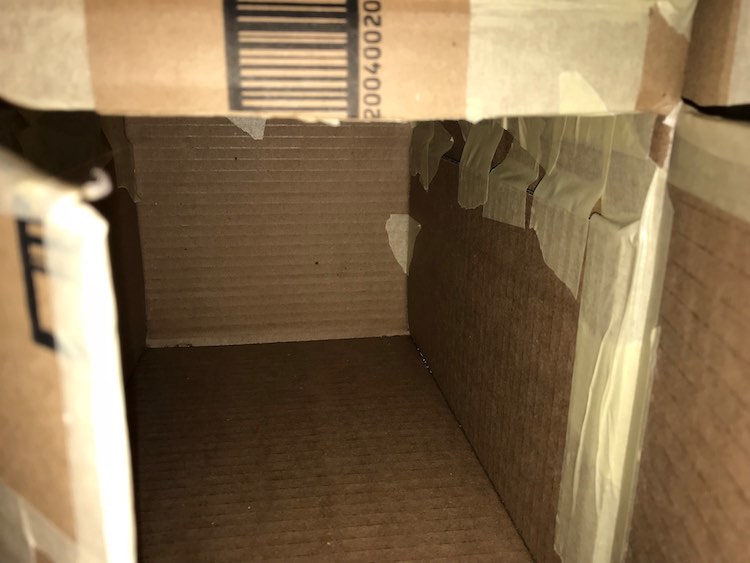
For the oven I cut around three sides of the box; leaving the bottom (side closes to the shelf/divider) uncut. I bent the door on the uncut side to make sure it would open and close at the proper spot. When closed it was hard to reopen so I cut a bit more at the top of the door surround so you could use an inserted finger to force the door open. I taped around the edges of the oven door and the oven door surround with more masking tape so the edges wouldn’t give the kids paper cuts and so they wouldn’t be able to easily pull the cardboard apart. I then took a piece of computer paper and drew out what the interior of the oven would look like if the light was on (by drawing out the two racks) and then used packing tape to attach it to the door and protect the paper. I cut out a strip of cardboard from another box, surrounded it with masking tape, and taped it securely to the top of the oven door so you’d have a handle to open and close the oven with. I had debated adding a smaller shelf inside the oven but decided not to so I was sure all of Ada and Zoey’s pots and pans would fit inside.
For the cupboard, underneath the oven, I cut a horizontal line both at the top (underneath the shelf I added to the box) and at the bottom. I then cut a vertical line going up the center connecting the two horizontal lines. The next step was to bend the cupboard doors outward while making sure they bent at the right spot. My horizontal lines had gone too far to either side so the doors bent at the original box edges. Next time I would end the cut further away from the box edge and force the bend at that point. Like the oven door before I then lined the edge of the cupboard doors and the surrounding with masking tape. Instead of the previous handle I cut skinnier strips of cardboard and taped them to the door close together to have skinny dangling handles to open the cupboard with. As you can see in the below picture the top of the doors have been bent over time so next time I could see cutting a small half circle above the cupboard doors (like I did with the oven) to help them open and close the doors.
Refrigerator
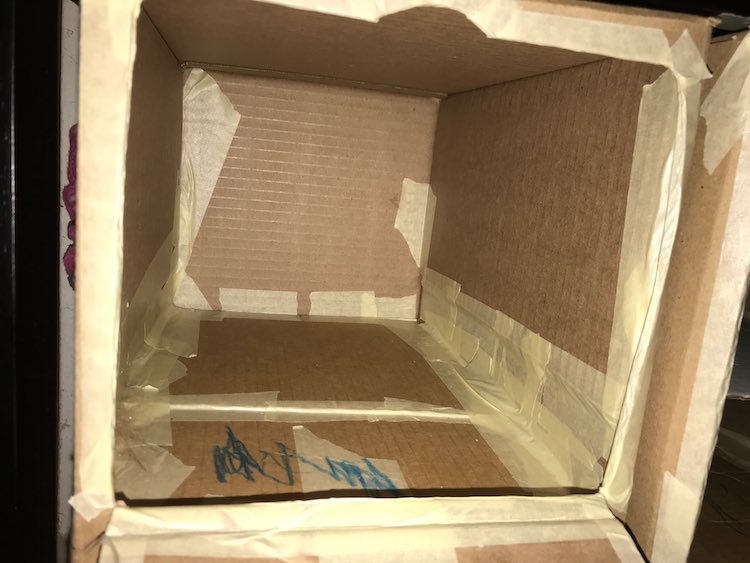
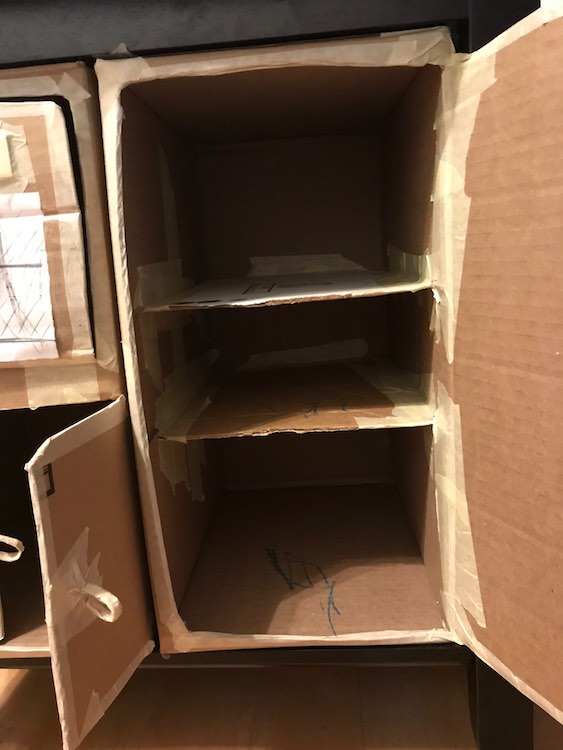
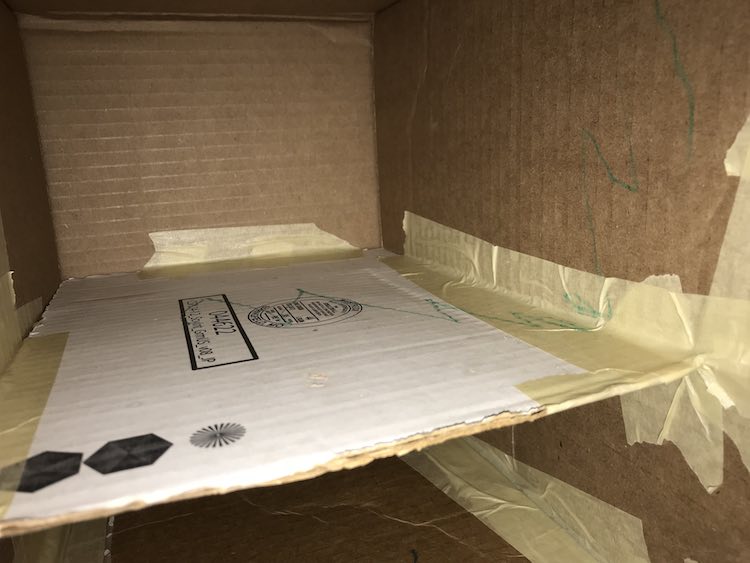
The second box was turned into a refrigerator. As the entire box was going to be opened from the one door I started by taping the box closed and then cut the door. I wasn’t sure if I liked how curved the one corner of the door was so I cut that corner a bit deeper allowing for a space for the kids’ fingers to get in to help open the door. I then decided to include two shelves in the fridge so I cut some cardboard to size before taping it in. To tape it in I ended up leaning the cardboard either up or down, taping the easier side, tilting the shelf the other way, taping that other side, making sure the shelf was flat, and then taping down the sides of the shelf to the sides of the box (both above and below the shelf). After taping down the sides of the door and door surroundings, like before, I cut out a strip of cardboard and taped the vertical curved handle to the refrigerator door.
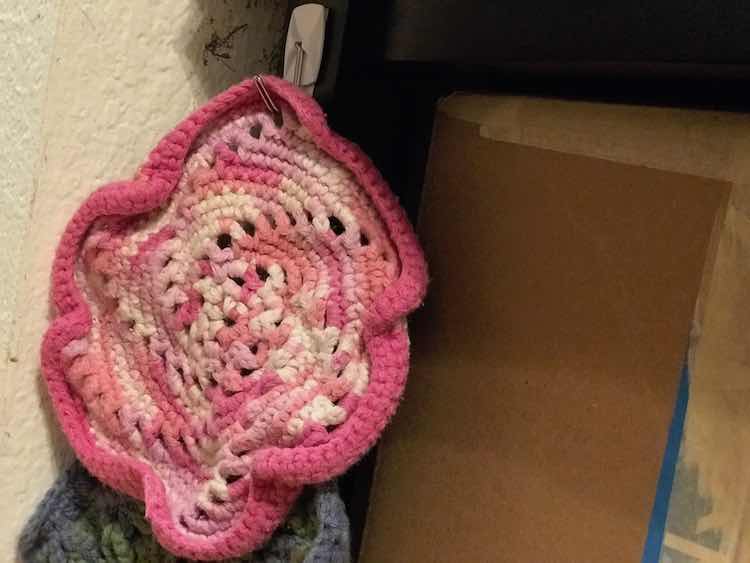
Command Hooks
I attached two command hooks to the side of the kitchen set in the back. I was going to use it to hang pots and pans, but instead it ended up being used to hold an extra pot holder and/or dishcloth for the kitchen set.
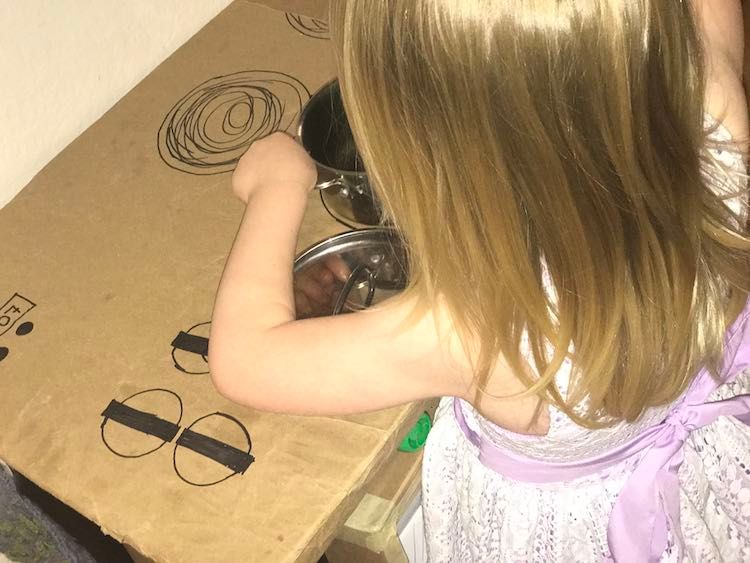
Stovetop
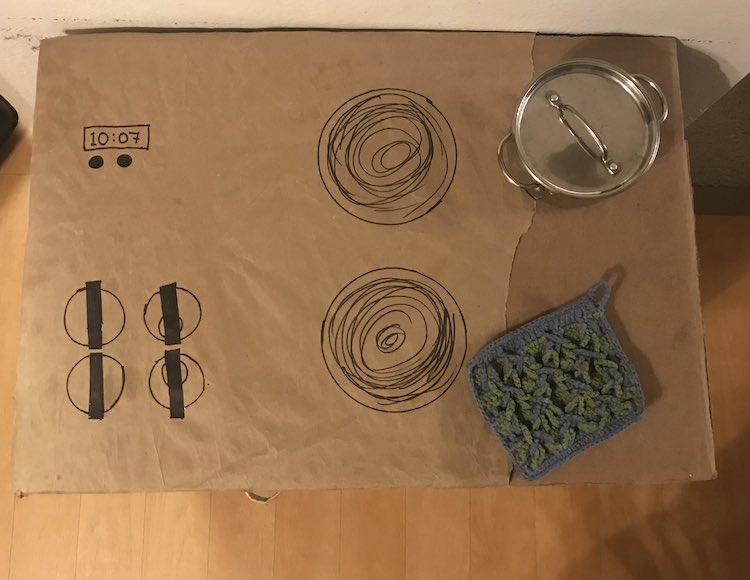
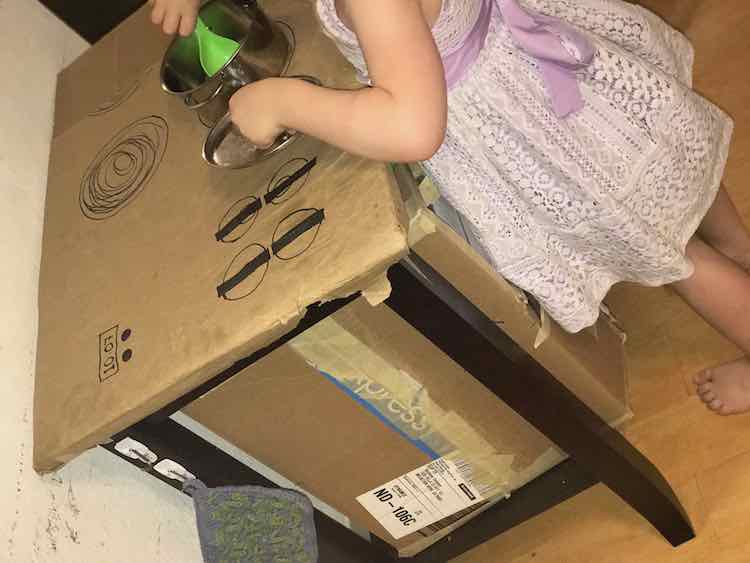
I wanted to include burners so Ada and Zoey would have a place to cook their food. As the top of the end table had a glass top I first cut a sheet of cardboard to the size of the top of the end table and attached it with Joe’s Sticky Stuff. Later when I went to replace this I had to rip the cardboard to get it off and then stretch each piece of the sticky stuff to get it off the glass (like the directions for the command hook) so I do recommend this stuff if you want it to last. After I had the cardboard protection down I then took a large piece of paper I had that came in the boxes and taped down the sides of it. I then drew out four burners (same as our working stovetop) and four knobs so they could pretend to turn it on and off. I also added a clock for a timer with two black circles for an on and off button. I could see next time moving the knobs to the edge and drawing out a sink where the knobs are currently at.
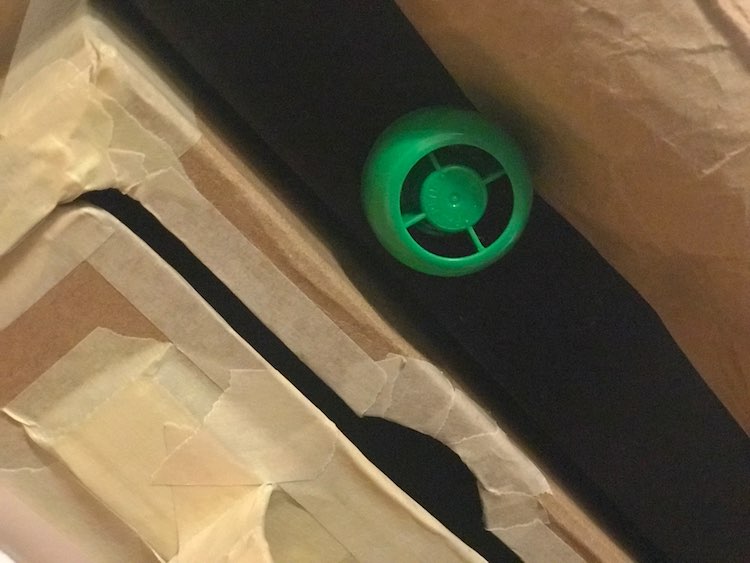
Knobs
After I drew out the top of the stove I had the idea to use the ends of applesauce (or baby food) pouches for working knobs. I used scissors to slowly cut the screw end off of the pouch off (trying to keep the cut flat), washed them, and then glue gunned five of them onto the front of the kitchen set. One of them immediately fell off but after all this time one of them is still attached. With the screw on/off I was hoping they would be real working knobs instead of the static drawn on ones on the top. Depending on the age of your child I could see doing this again and being prepared to glue it back on if they did fall off.
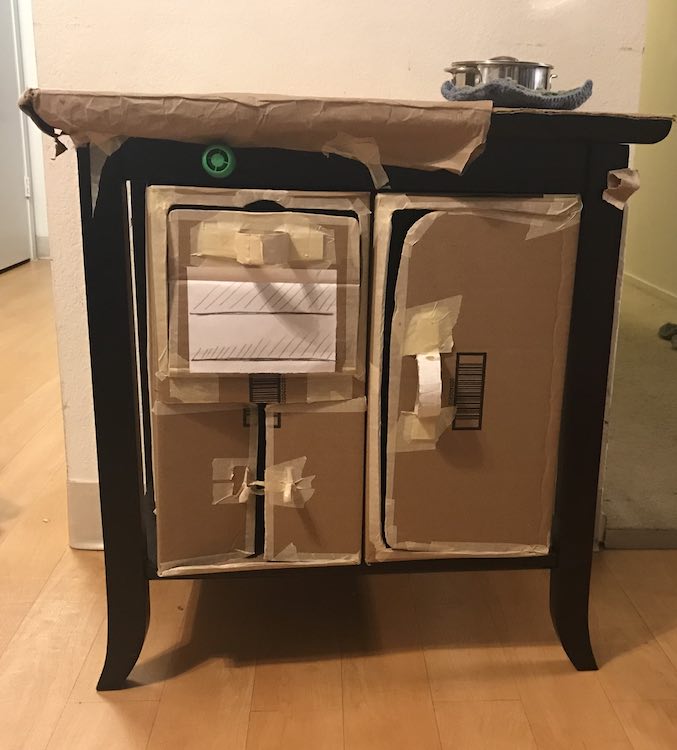
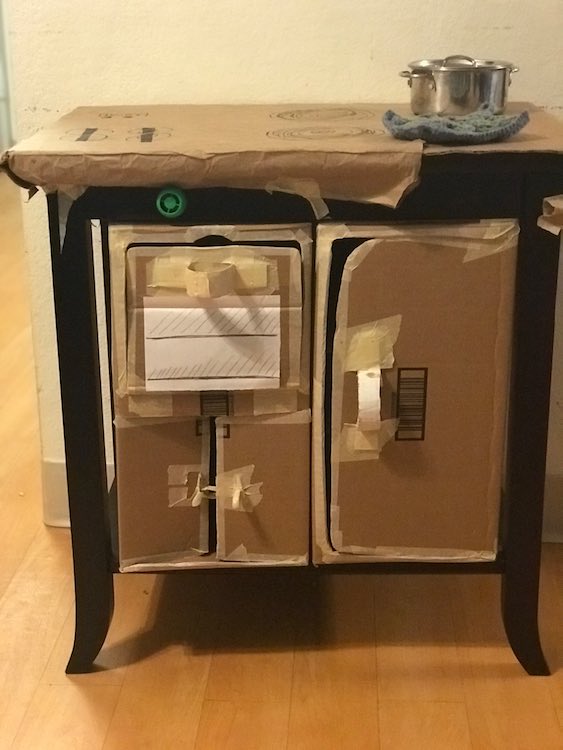
Final Kitchen Set

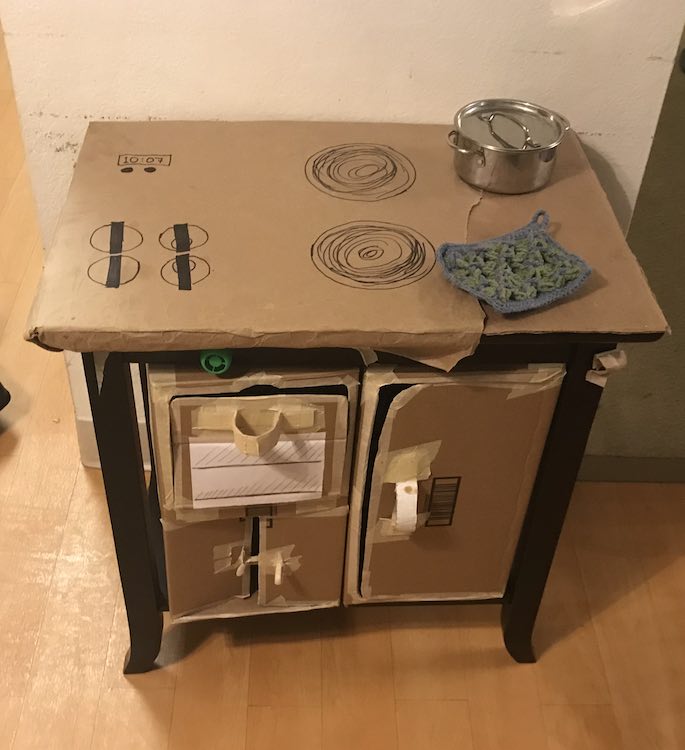
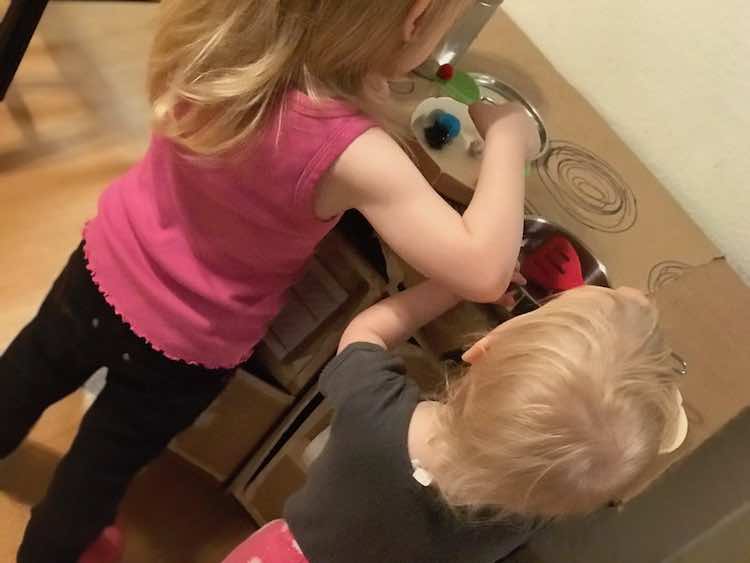
Over time the paper used for the top of the stove was ripped and later on crayon was taken to the oven area, but overall the kitchen set has lasted way longer than I though it would. You don’t need a lot of bells and whistles for this. All you need is something to be used for a pot, pom poms for food, something for a plate or bowl, and I bought a set of spoons/whisk/flipper from the local Dollar Tree that did double duty for cooking/baking/eating. I want to eventually make a second iteration instead of using the boxes, but am unsure how I should approach the bottom (box) area. If I could go back in time I would still make this. The only change I might make is making it prettier by painting it and of course drawing on a sink.
I hope this helps you revitalize furniture that may not be working for you and use it in a vitally important way. I would love to see how you use cardboard boxes to convert furniture into something else. I can’t wait to see what you come up with! Feel free to reach out at any time in the comments below, through a post on my Facebook page, or tag me through Instagram.
Did this save you time?