
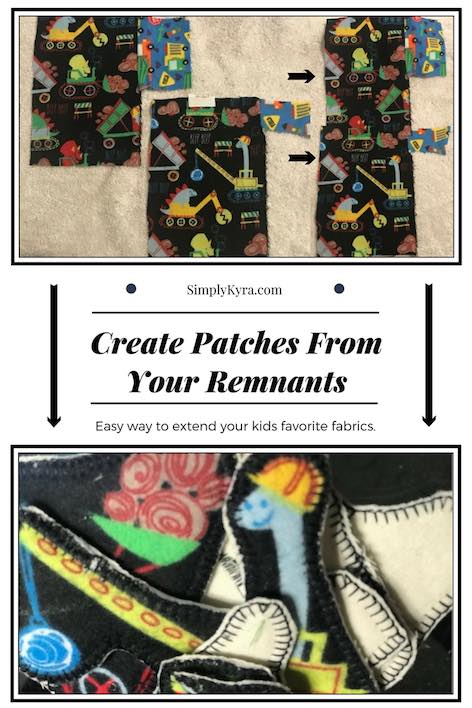
Creating a Patch from Fabric Remnants

After I printed and cut out the pattern for Ada’s bubblegum wrap dress for the 9th week of the 52 Week Sewing Challenge I was forced to wait until the next day before I could actually start the dress. As I was in a sewing mood I decided to create patches from some of Ada’s current favorite fabric. My original plan was to attach them to the road on her dress but when the time came Ada decided that the dress was done. This is a perfect project to use up your kids favorite fabric remnants while also using all the small leftover bits of your Heat’n Bond and fusible interfacing that you wouldn’t normally use.
Materials Used
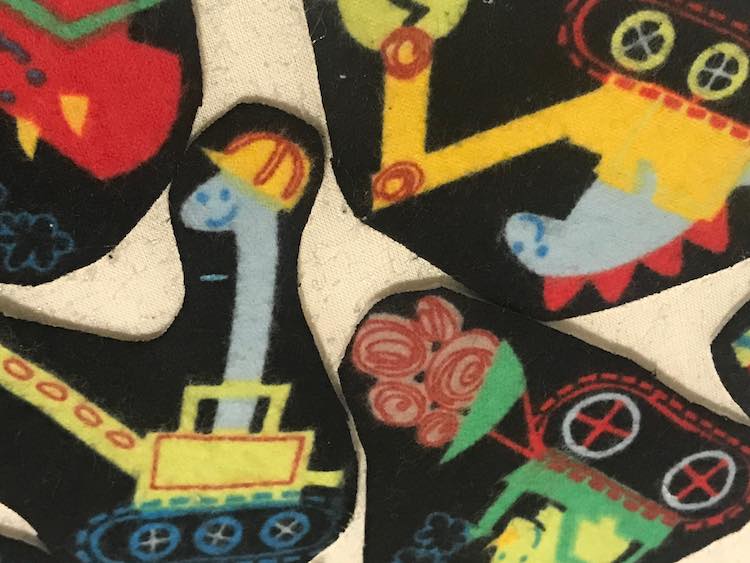
- Dinosaurs riding construction vehicles flannel from Joann’s
- Pellon Fusible Thermolam Plus White Fabric by the Yard – padded the patch
- 108″ Unbleached Muslin Natural Fabric by the Yard – backed the patch
- Heat’n Bond Lite Iron-on Adhesive – attached the front to the muslin back
- Iron – for the iron on fusible interfacing and Heat’n Bond
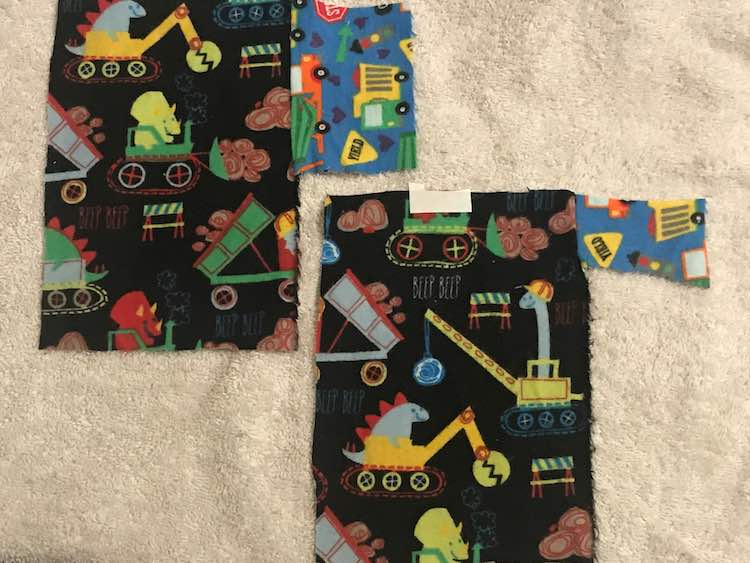
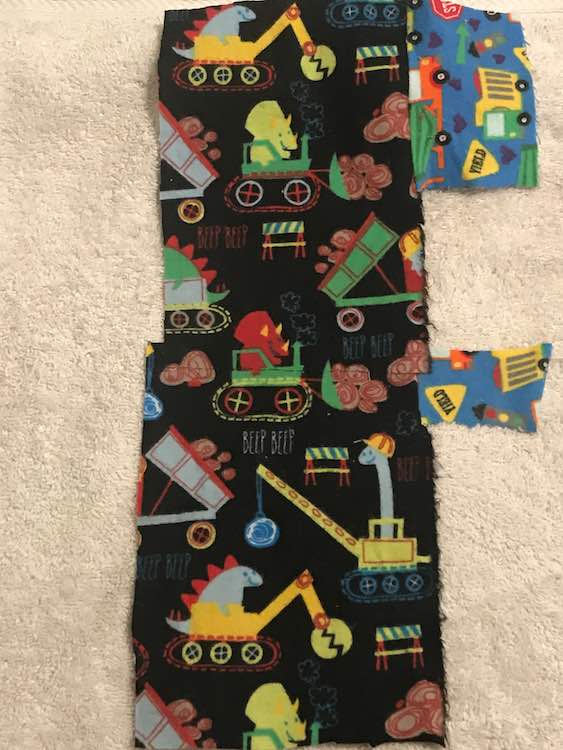
The last time I took Ada to Joann’s she was disappointed we couldn’t find anymore dinosaurs riding construction vehicles fabric. We had bought some and then used almost all of it for her fitted toddler sheets. All we had left were the six corners I had cut off. I ended up picking the best two corners and attempted to get as many complete dinosaurs as I could from it. While going over the corners I noticed that the top of one of the remnants slightly overlapped with the remaining bottom of another remnant so I started by adding a patch of Heat’n Bond and overlapping the two pieces of fabric together with my iron.
I then cut out my fusible interfacing, made sure it covered the entire back of the dinosaurs I was interested in, and ironed it onto my fabric. I then cut out all my dinosaurs and other objects I was interested in as I wanted to minimize the amount of Heat’n Bond I needed to use in the next step. I can also see not cutting them out until the end. After I cut them out I realized I still had a bit of interfacing leftover so I attached another layer of interfacing behind some of the patches so they’d have more height.
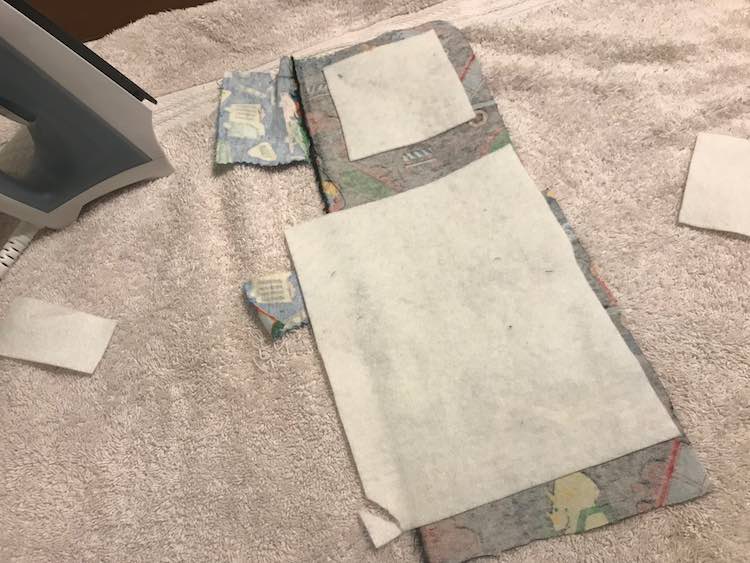
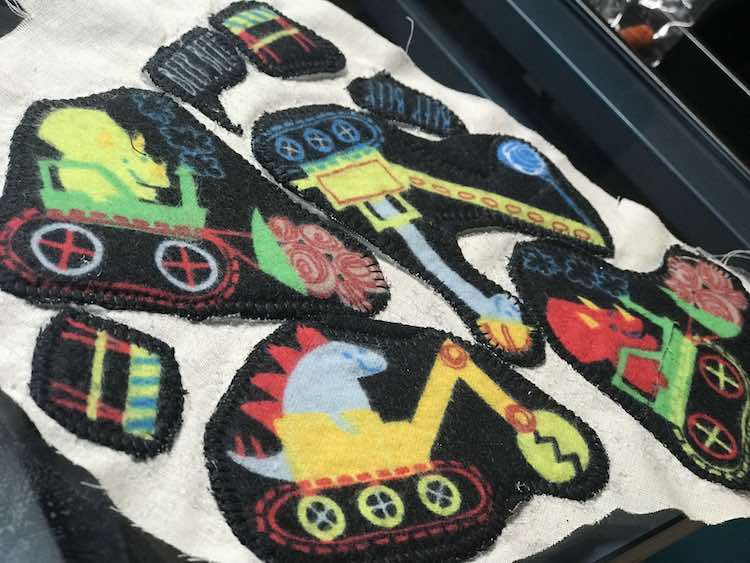
I then laid out all my pieces on Heat’n Bond making sure the back of them were all covered. Since I had cut them all out from the main fabric I was able to keep rearranging them into a small space. You could also leave them attached to the main fabric and apply Heat’n Bond to the entire sheet if you’d prefer.
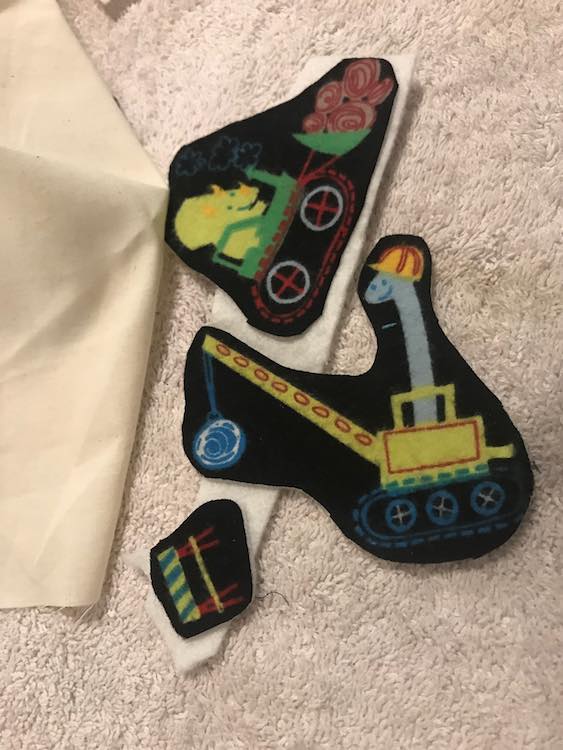
If you have a patch that doesn’t fully fit on the Heat’n Bond you could always cut off some excess Heat’n Bond from an area you aren’t using and apply it, like for the triceratops’ head, though be careful not to overlap the paper so it doesn’t get stuck. When ironing you might want to use a discardable piece of fabric to lay overtop of the dinosaurs or wherever there is accessible Heat’n Bond. I had flipped them over to iron so I ended up with some Heat’n Bond attached to my towel.
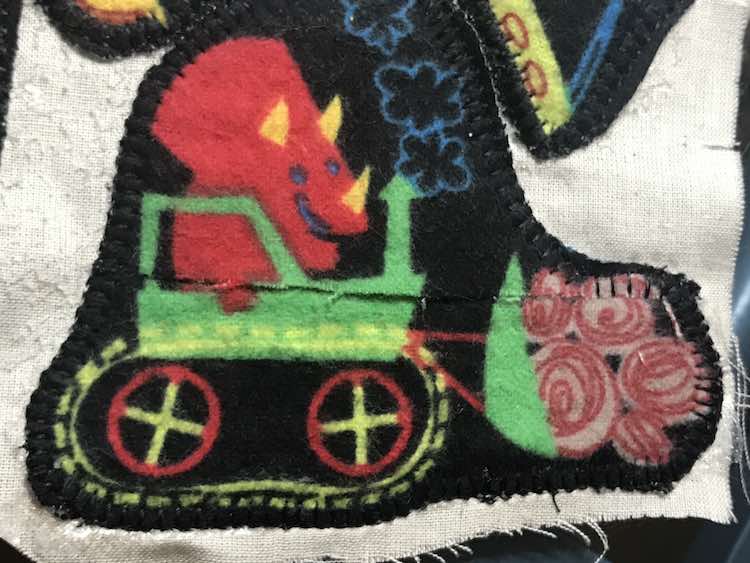
I then peeled off the paper on the back of the Heat’n Bond, laid a sheet of muslin underneath touching the Heat’n Bond, laid a discardable piece of muslin overtop of the dinosaurs, and ironed it in place. If it isn’t attaching as your fusible fabric is too thick you can easily flip it once it’s more secure to do a final iron. You can see between the dinosaurs where my Heat’n Bond melted and then was pulled away from my discardable fabric. I could also see using a more exciting fabric or some other scraps to back your patches instead of the muslin I ended up using, especially if you know people will be able to see the back of your patches.
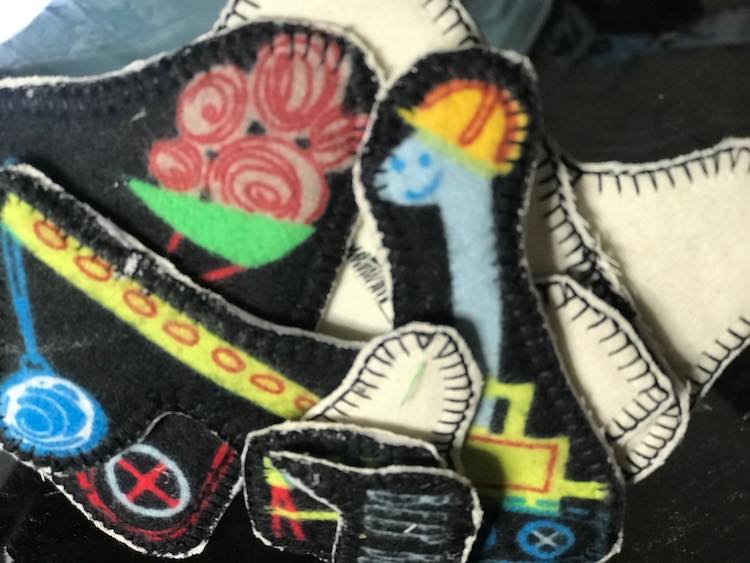
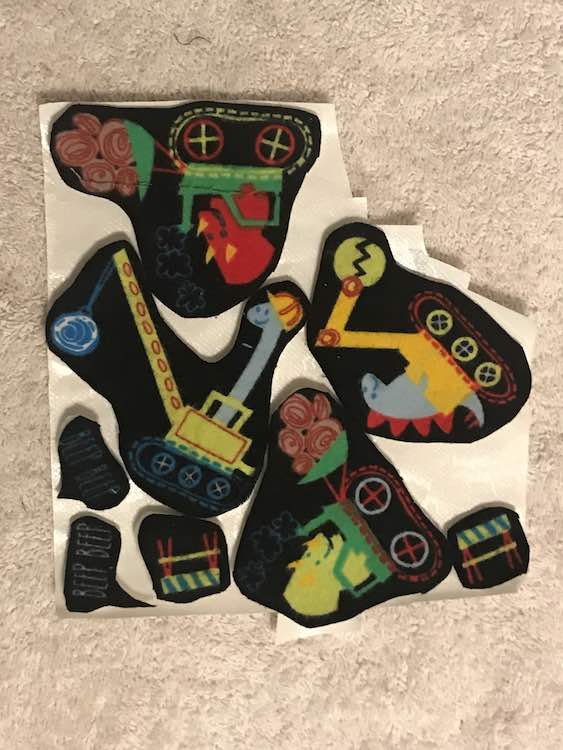
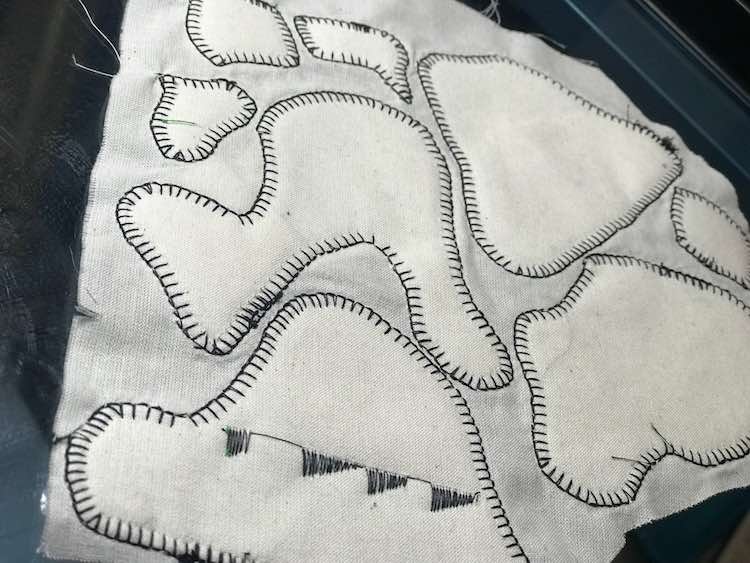
Before cutting out the patches I then used a blanket stitch on my sewing machine and I went around each patch to ensure their layered sandwich wouldn’t fall apart later on. If you don’t have a sewing machine I could see hand stitching this step though it would take longer, but then you could add different decorative stitches and matching threads or embroidery flosses.
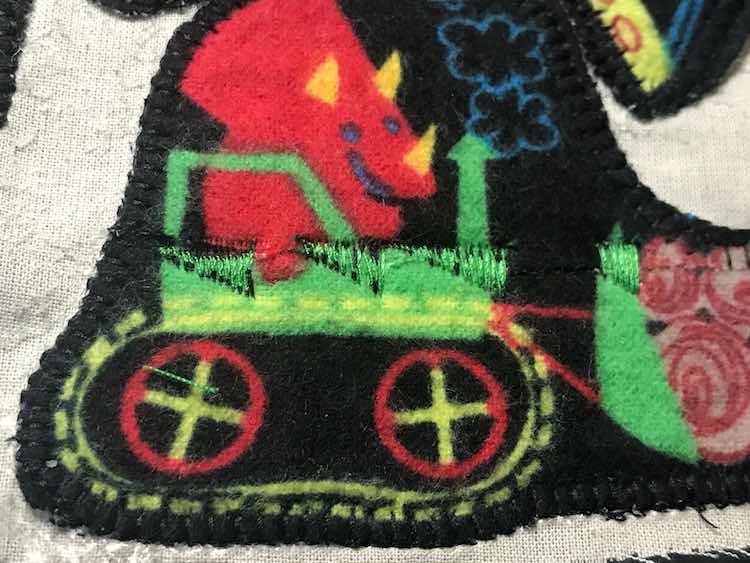
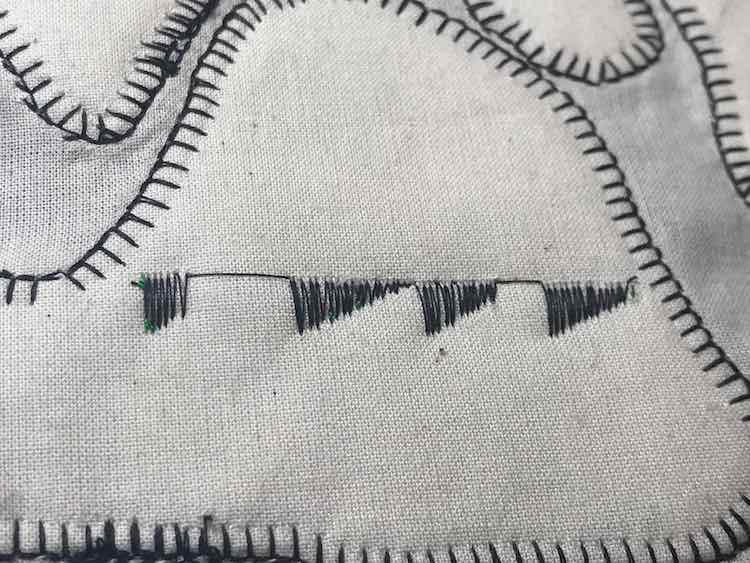
I still had a flap on the red dinosaur that could easily be lifted up and pulled on so I decided to sew over the overlapping fabric. As I didn’t want the stitches too visible I switched the top thread on the spool to green to match the construction vehicle as that was the longest length of color that ran along the edge. I then chose a stitch Ada had kept choosing the week before I made these and sewed over the top of the scoop and then over the main vehicle while being careful to not sew over the dinosaur’s hand or the black background. Whenever I skipped over a section I made sure to backstitch with the machine before and after to ensure the stitches would not come out later. Next time I’m going to make a point of switching out the bobbin in addition to the main thread as I can see black showing through the top and bottom of the stitch…. for now I think it’s cool to be able to see what part of the stitch came from the bobbin and which part came from the spool at the top.
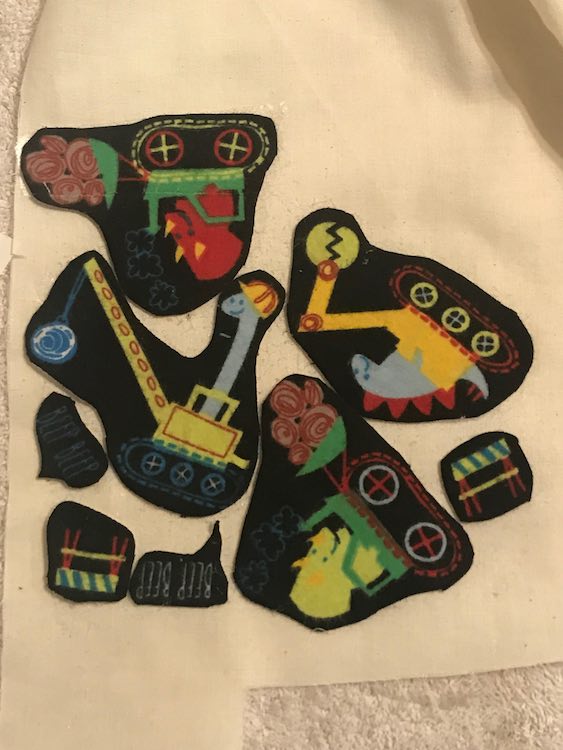
Then all you have to do is carefully trim your patches without cutting into any of your stitches. I started this while looking at the dinosaurs but halfway through my first one I realized that it’s easiest to flip them over and cut from the back. It’s easier to see the stitches and as I sewed on the edge of the dinosaur I knew I wasn’t going to cut off anything I shouldn’t. If you do cut into the stitches you can always throw the patch back on the sewing machine to reinforce that area.

Feel free to share in the comments below, through a post on my Facebook page, or by tagging me through Instagram. I’d love to hear from you and see what your favorite scraps of fabric are and what patches you made from them!