
Baby Crinkle Page and Quiet Book Hack


After I bought my sewing machine last year I decided to make a crinkle page for Zoey to play with. I remembered how hard it was to keep Ada still while changing her diaper and was hoping it would be the perfect amount of distraction to keep Zoey occupied when she became antsy… Luckily I haven’t had the same issue with Zoey so I didn’t need to hide a diaper changing toy.
If you’re making this for a newborn baby I could see using a simple black and white patterned fabric as newborns see black, white, and grey the best. If you want the toy to grow with them you could make one side black and white and then using colors for the opposite side. You could also take white fabric and personalize it with fabric markers, but if you do don’t forget to set the ink with your iron (or according to the marker’s directions) so it doesn’t wash out.

Materials You Need
- Fabric for the back and front of the page
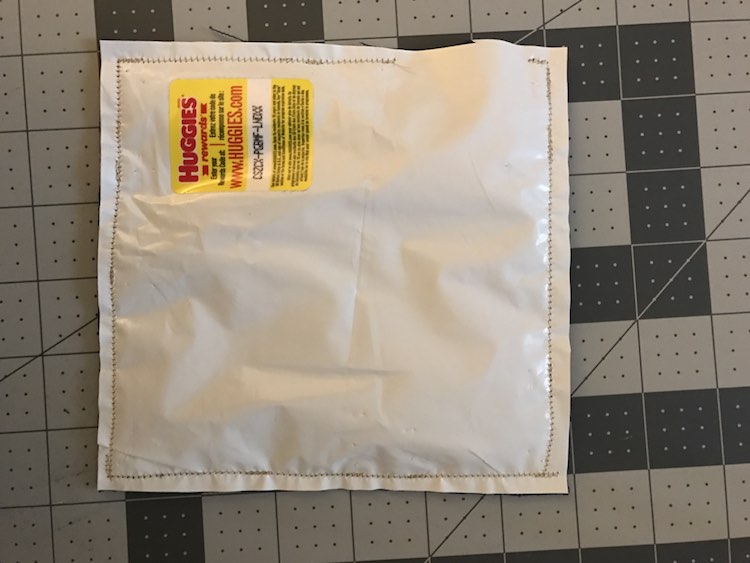
- Crinkle sheet – I used a Huggie’s empty diaper wipes bag
- Ribbons
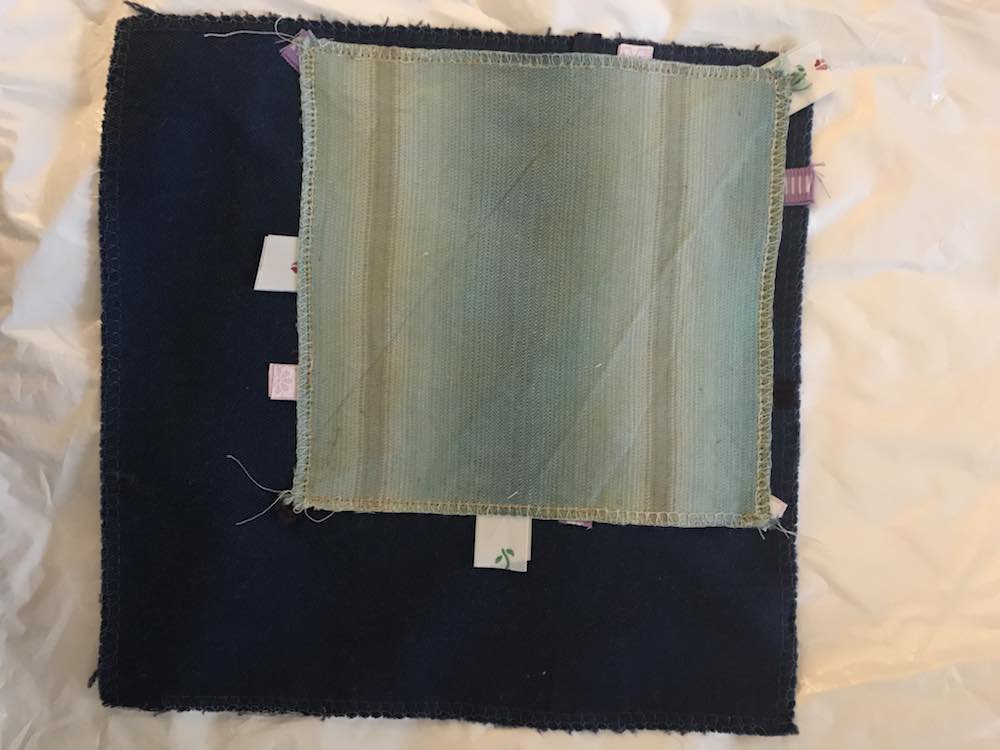
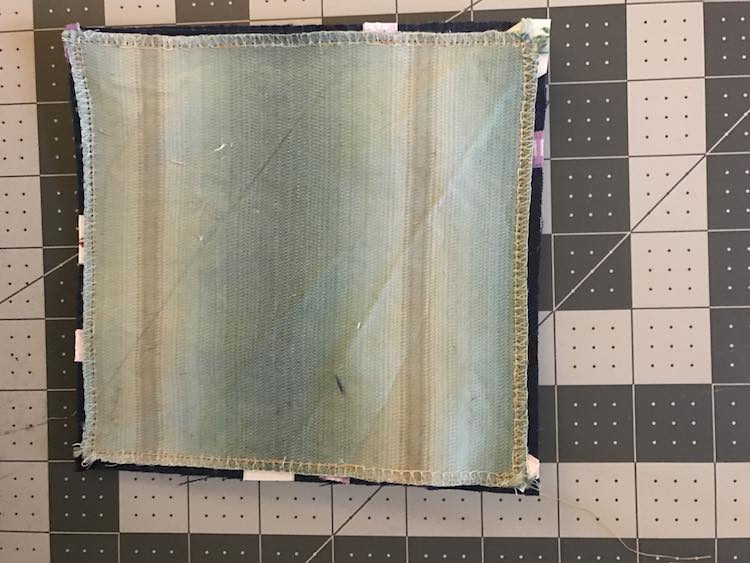
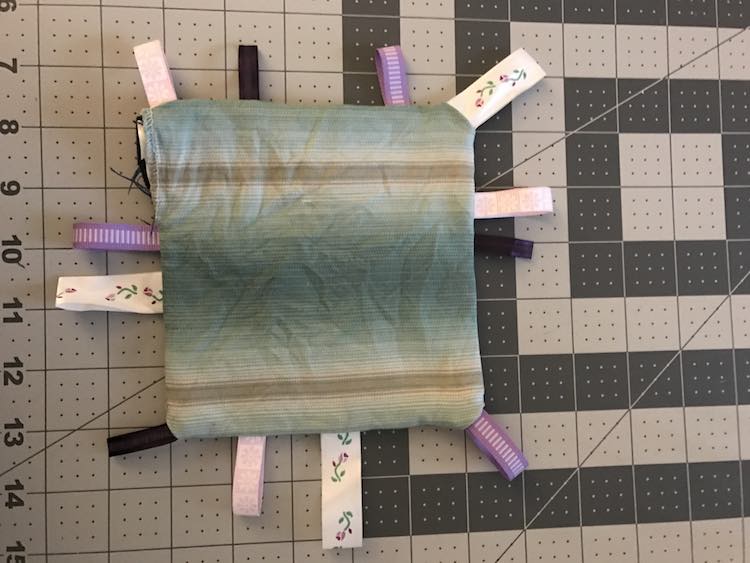
For the outer fabrics of my crinkle page I used two fabric samples I bought through a Fabmo sale and then looked through the ribbons I had on hand. Choose any fabric and ribbon that you feel comfortable with your baby putting into their mouth. The white shiny ribbon with the roses on it is one example of a ribbon I wasn’t sure if I liked. Over time the roses wore away so the next time I made a crinkle page I made sure to exclude it from the running and stuck with safer ribbons.
For the crinkle aspect I sandwiched an empty diaper wipes bag between the fabric and haven’t had an issue with it. I’ve always made sure to wash the page with cold water and then hung it to dry just in case the heat from the dryer causes the plastic to melt. If you don’t have a diaper wipes bag I’ve also read that you could use food grade cereal bags.
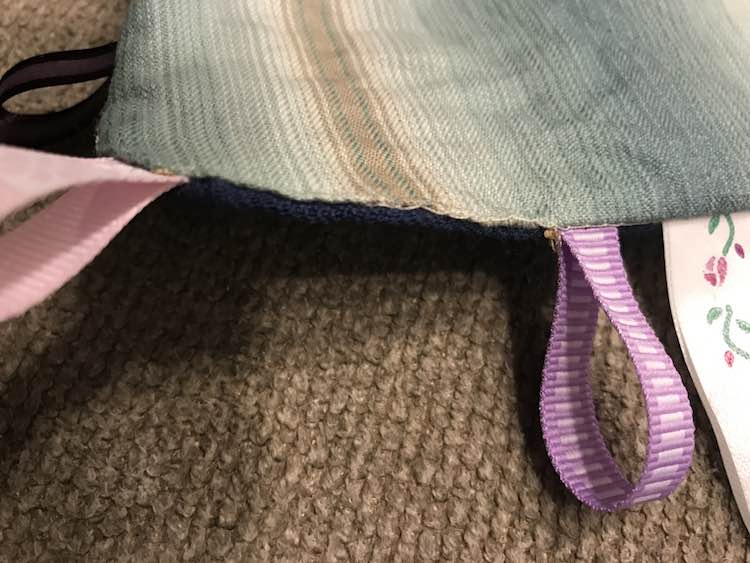
To make the crinkle page I laid out my diaper wipes bag first and stacked my two fabrics on top with their right sides facing each other. At this point I added a couple pins to keep the layers in place. Now you get to add your ribbons! I added a variety of ribbons of different lengths. All you need to do is cut the ribbon, fold it in half (then you won’t have the ends unraveling and the baby can stick their fingers in the loop), and chose a place for them around the page. I had an art teacher in high school mention that when you add color to a painting make sure you add it in at least three spots so it belongs so I made sure to add each ribbon in three places before going on to the next ribbon. When adding them make sure to tuck the folded end inside the page with the cut ends sticking out so they’ll be on the outside when you flip it right side out. Remember you are seeing it inside out right now. I found it easiest to pin the fabric, plastic, and ribbon together whenever I added a new ribbon. As I added ribbons I removed the original pins keeping it in place so I’d have room. Don’t forget to leave a space between the ribbons at one point so you have an easy space to turn it right side out.

Now sew along all four sides leaving a space to put the page right side out. I chose to leave an opening in the largest space between the ribbons.
Trim the excess fabric and the end of the ribbons being careful not to cut your stitching. This removes any bulkiness along the edges when you turn it right side out. This also means if you’re using smaller pieces of fabric you can wait until now to trim them to size as long as you knew where to sew your edges.
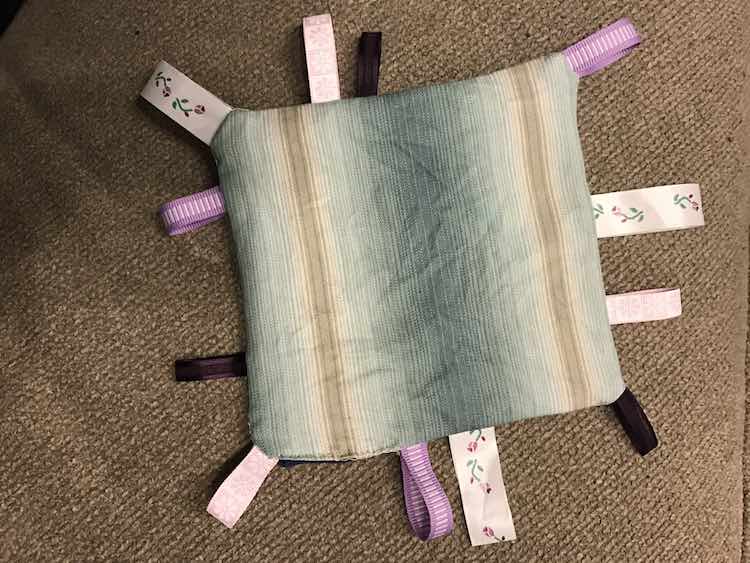
Now turn it right side out. Push out your edges and corners using a chopstick or by pulling gently on the ribbons.
Fold in the excess fabric within the opening and either hand stitch it closed or topstitch along the edges. I went for hand sewing it closed as I had trimmed it closely.
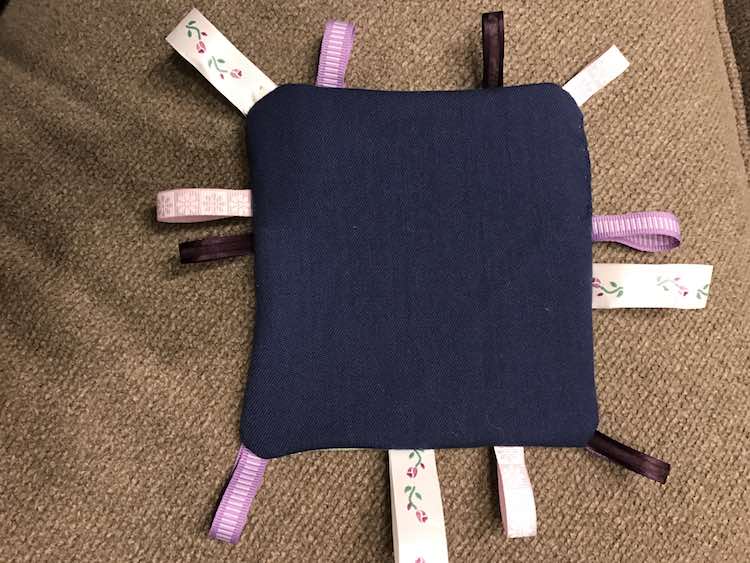
All done! Now you get to marvel at your finished crinkly toy. Mine ended up wrinkly on the one side. This wouldn’t have happened if I had taken the time to iron it first… but I was too impatient… next time.
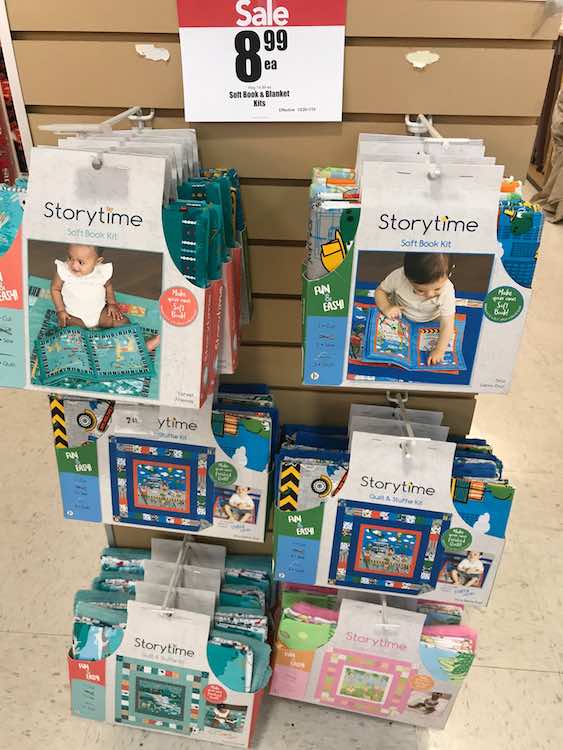
I was going to share this toy with you, but hadn’t decided when yet. This changed yesterday when I came across two soft book kits at my local Joann’s. I hadn’t seen a kit before and if Zoey was younger I would’ve been walking out with one (or both) of them. I don’t know how feasible it is but I can see making one with an added crinkle sheet within each page. Depending how it works I wonder if you could also add ribbon to some or all of the pages like I added ribbon to my single crinkle page. I did a quick Google search to find more kits, but wasn’t able to find these or similar ones. I did, however, discover fabric book panels that would also be really cool to play with and offer a simple book layout.
I can’t wait to see what you end up making! You can share in the comments below, post on Facebook, or tag me on Instagram.