
In Depth Guide to Joining Quiet Book Pages - Part Three of Three

Welcome to my third post in the in-depth guide to joining the quiet book pages together. The last post went over how to put your page together. This final post will go over how to attach the grommets to your finished page so you can put it in a binder or your quiet book cover. Afterwards we will also go over some minor issues I came across while making my pages and how to fix them.
Preparing a Space
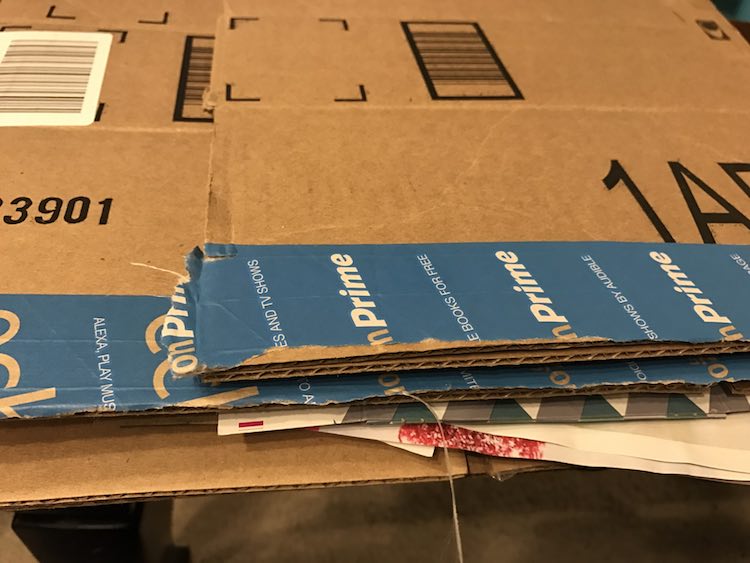
The final step is to attach the grommets. I used grommets that needed to be hammered in once the two grommet pieces and the tool were lined up so I started by attempting to set up a space that wouldn’t dent anything. I started with a complicated pile of all cardboard I could find in the house. This doesn’t work. The boxes moved on me and I ended up using a phone book instead…. I think that was the first time I used that phone book since we got it.
Create a template for the holes
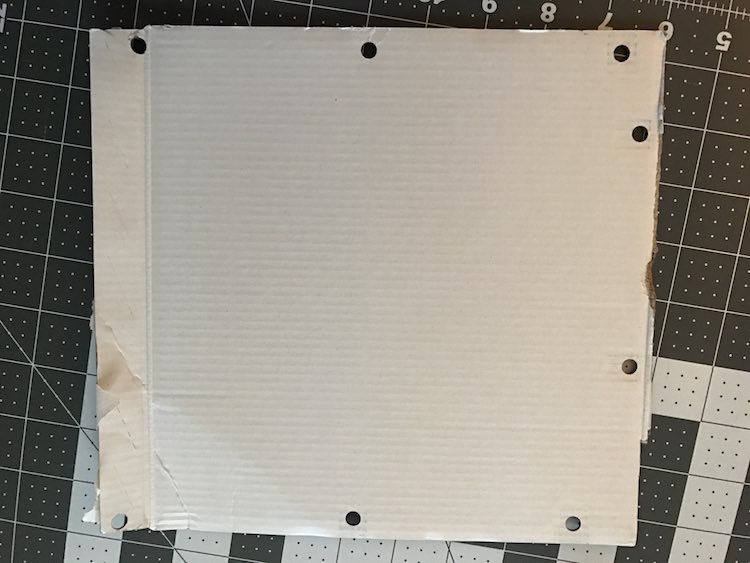
The next step was creating a template to line up where the holes should go in your page and thus where you should add the grommets. I took another piece of cardboard and used a normal binder 3 hole punch to punch holes in the cardboard on multiple sides for my template. I only wanted to add two holes to my pages but wanted them to be the standard binder ring distance apart so in the future I would have the option to store extra pages in a standard binder or be able to buy standard binder add-ons (like pencil pouches for extra pieces) for my quiet book.
Attach the grommets (eyelets) to the page
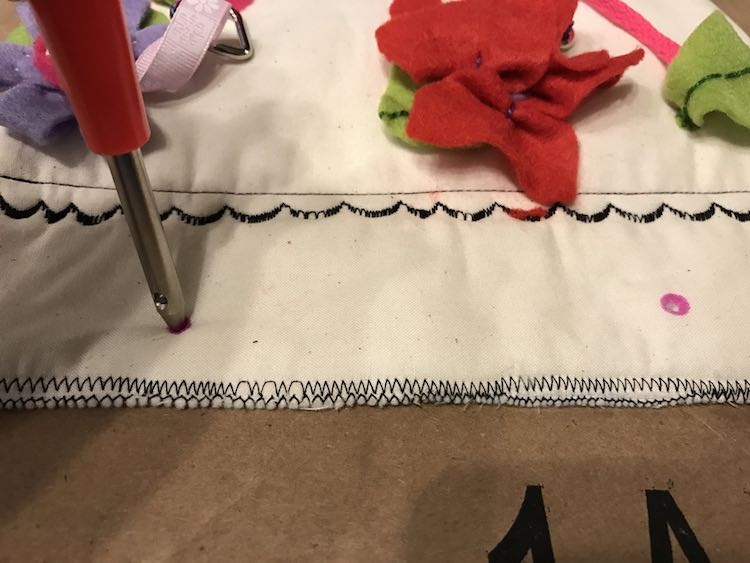
I then centered two of the holes from my template over my finished quiet book page and used my disappearing ink pen to mark their locations.

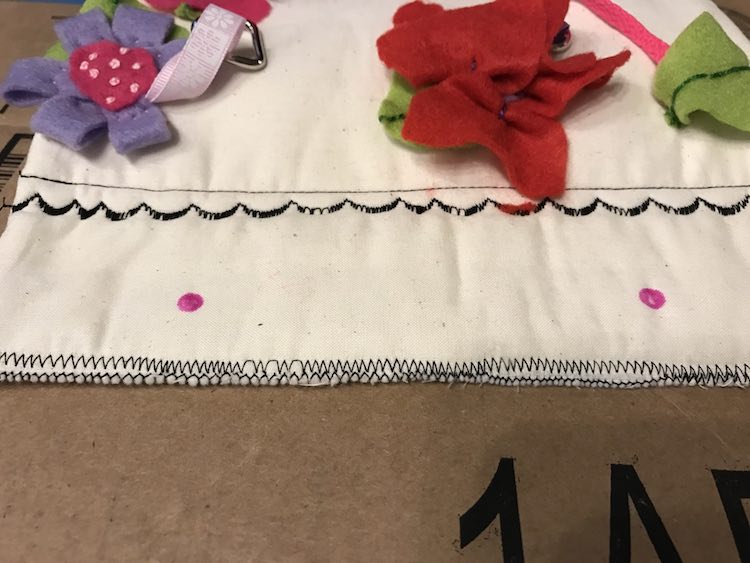
I then started making the holes in my quiet book page by using an eyelet punch that came with my sewing machine. The hole made from this was too small and as I was trying to widen the hole with my scissors I remembered that I had recently bought a Crop-A-Dile II which was way easier and the perfect size of hole for my 1/4″ grommets.
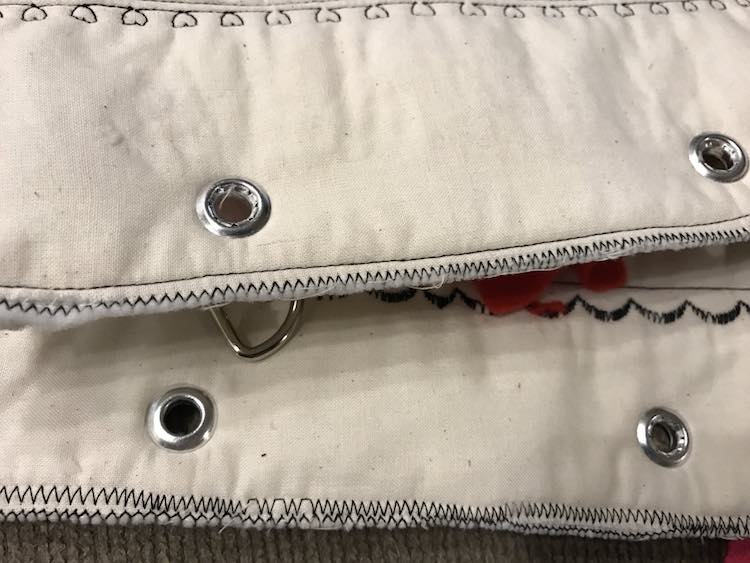
I then lined up my inner and outer grommets over the tool that came with them and hammered them in my page. I noticed the one side of the grommet was rough so I tried to insert them same way on both the holes so they would match each other. I don’t think the roughness will be an issue as it isn’t too bad and the binder ring will block it from being too accessible. I found Sew4Home’s How to Install Metal Grommets on Your Sewing Projects the most useful resource if you want more detailed directions.
All done!
Issues you may come across
Holes in the seam
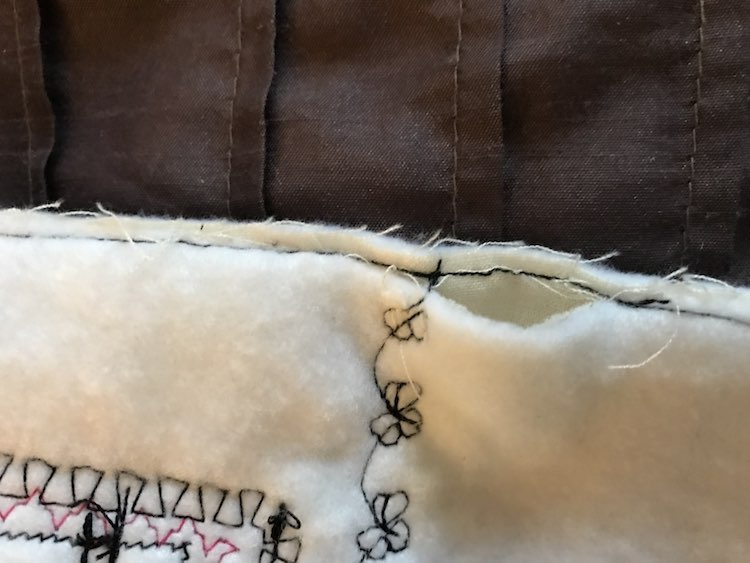
When putting your page the right way out, even though you checked it once, there may be holes where all the layers of fabric didn’t get caught in the seam.
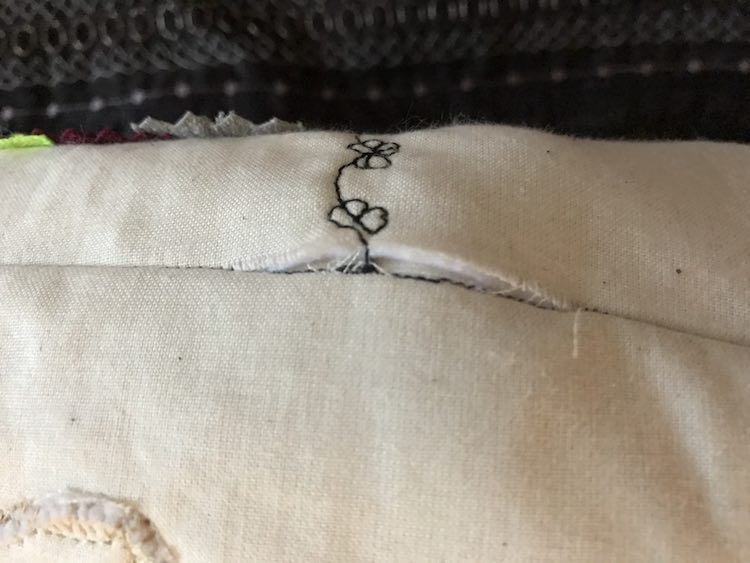
Just flip the page inside out again and line up you sewing needle on your stitch right before the hole. Reinforce the stitch and sew the hole closed by going slowly inward so all the fabric is caught up in the stitch. Once you’re far enough over start sewing your way towards back towards the other side of the gap, line up your needle and stitches with the stitching from the first time around, reinforce the end, finish off, and cut your threads,
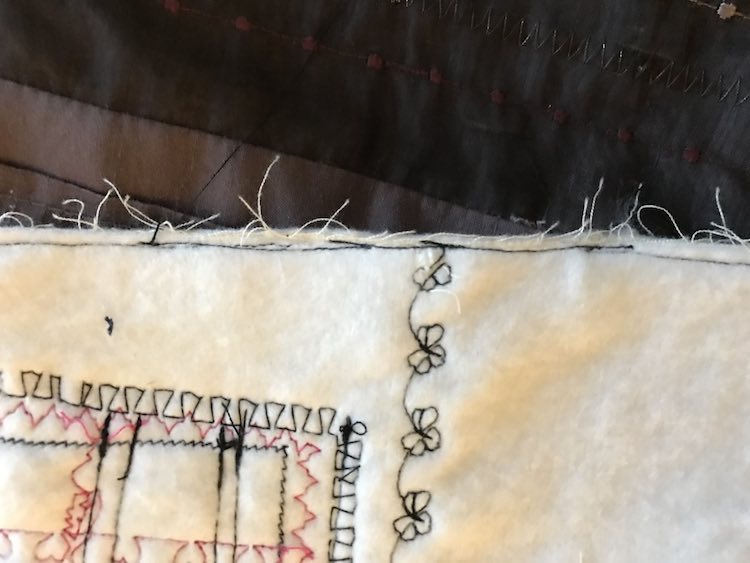
When your page’s dangly bits weren’t pinned far enough back
On my bumblebee page I had pinned all my overlapping page elements while sewing the page sides together. I forgot to pin the elements back while sewing the margin line for the grommets though and one of the flowers got stuck in the stitching. I hadn’t noticed while sewing as the other side of the page was facing up and the flower side was hidden. Hopefully this doesn’t happen to you. I ended up cutting the flower as close to the stitching as I could get, picked as much of the felt from the sewing machine’s stitches, and then trimmed the flower petal to be a similar shape as before and blend in better with the other petals.
If I did this again I would change:
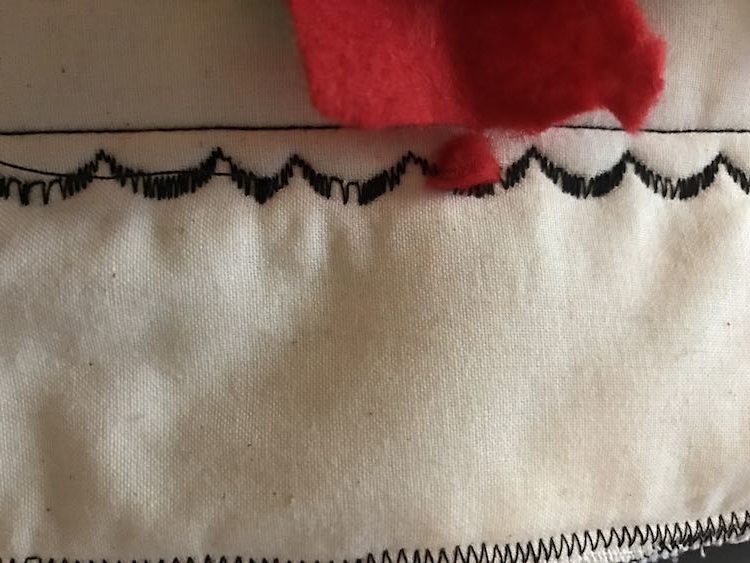
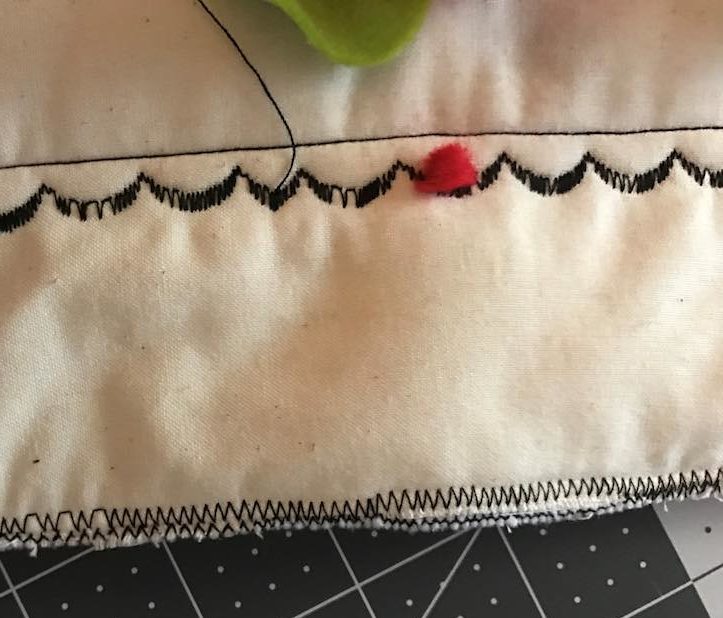
I like the decorative stitching on the fourth side of my quiet book page (used to create the margin for my grommets); however, if I did this again I might sew as much as I could on all four sides when inside out and only leave a minimal gap to put right side out so the opening could be hidden and hand sewn closed. That way the decorative stitches would also pop more instead of just being one of the stitches used in that area. At the least I would close the hole with a matching white thread and then maybe choose a color thread that matched the main page to do the decorative stitching so it would pop and go with the page. This would also depend on if there were similar colors on both sides of the page.
I can’t wait to see what pages you come up with! Please share in the comments below.
Primary Inspiration: Imagine Our Life – How to Sew Quiet Book Pages
Further Grommet Instructions: Sew4Home – How to Install Metal Grommets on Your Sewing Projects
Previous: Putting Your Page Together
∞ Current: Attaching the Grommets and Troubleshooting ∞