
Quick and Easy Christmas Tree Ornaments

Happy Holidays!
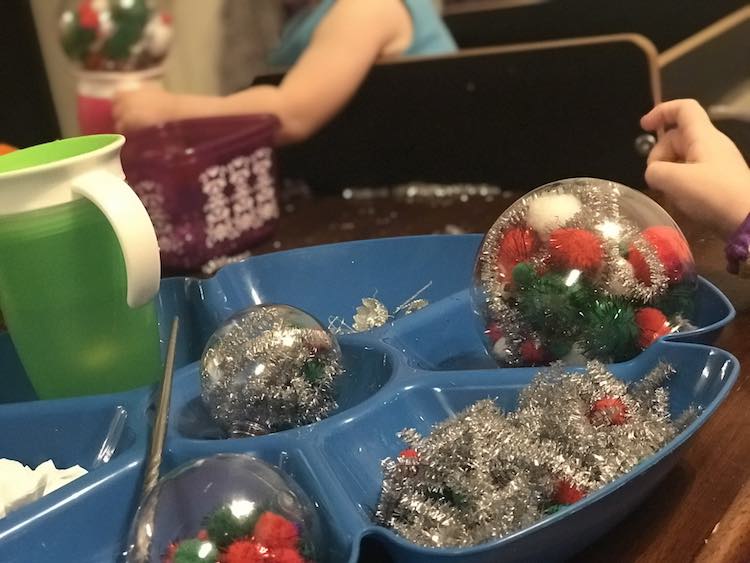
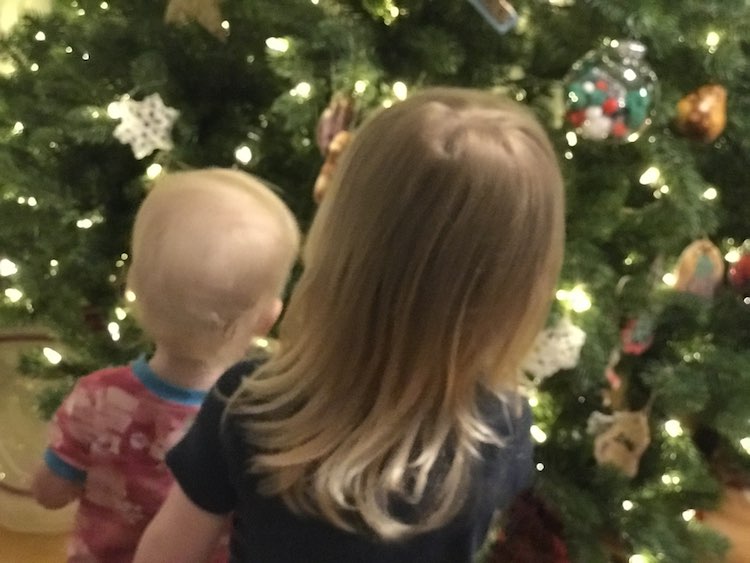
I was going to start off our advent calendar this year with a game (to save for during Zoey’s nap) and stickers for both girls. With the kids being sick I decided to switch it up with a longer lasting kids’ craft that would include both of them. I had bought this craft for the advent calendar but planned to use it later in the month. The Christmas tree ornaments delivered! The kids were entertained for about two hours… and we only ended to clean up for lunch. I’m wondering how much longer I could have extended it if I had wanted to. All the parts of the craft were bought at the Dollar Tree though many items may already be on hand. It was a perfect activity for both ages (3 years and 18 months) as I kept an eye on Zoey to make sure she didn’t taste the pom poms. The ornaments themselves were plastic so I didn’t worry about them breaking (they’ve been dropped multiple times since) and when one got dented while filling I just used a chopstick to push the dent back out and make it whole.

Materials I used:
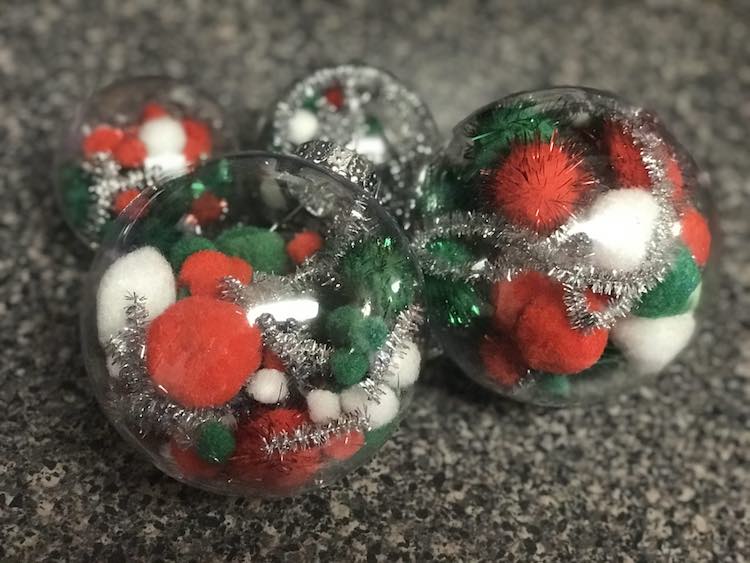
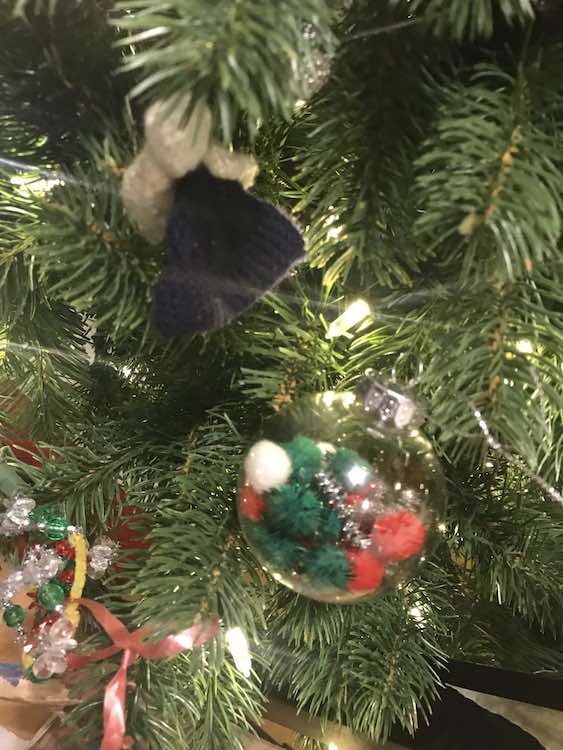
- Plastic Christmas Tree ornament balls – large balls were $1 and the small balls came in a 2-pack for $1
- Pom poms – I bought two festive colored packs in red, green, and white. One with tinsel and one plain.
- Pipe cleaners – silver to go with the red, green, and white theme. WARNING they left tinsel bits on the table and floor… and I made way more mess when extending the play by cutting them into pieces.
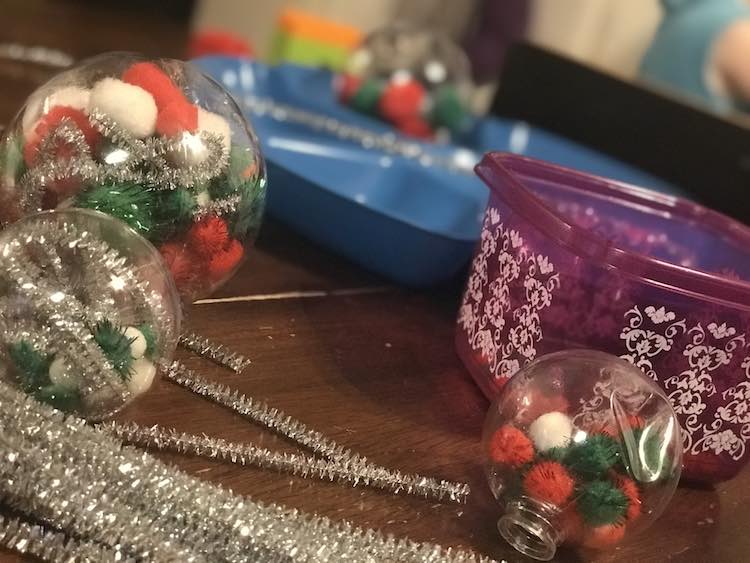
- (optional) plastic tray to group the materials (I used a Dollar Tree tray I had on hand) or separate containers for each kid (I grabbed a plastic container when they started fighting over where the tray was positioned)
- (optional) scissors – extended the play by cutting the pipe cleaners
- (optional) chopstick to mix up the interior so you can shake the smaller pom poms out easier OR to twist the pipe cleaners around it for a spiral
If you want more choices or have more kids some more fun items would be:
- jingle bells
- glitter (especially if you already have tinsel around from the pipe cleaners)
- funnel to make it easier to add the glitter
- eyeballs – more Halloween-like but could be fun if doing a character ornament
- (cut up) tissue paper or wrapping paper – scissor skills and another element to add color
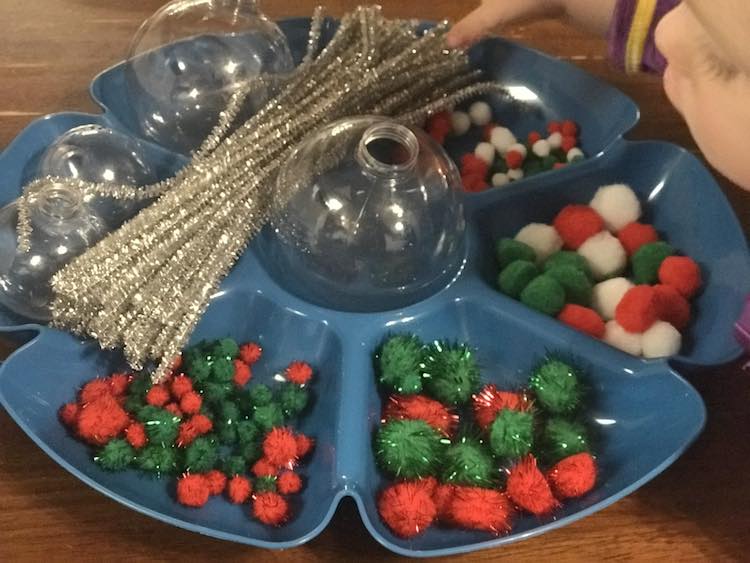
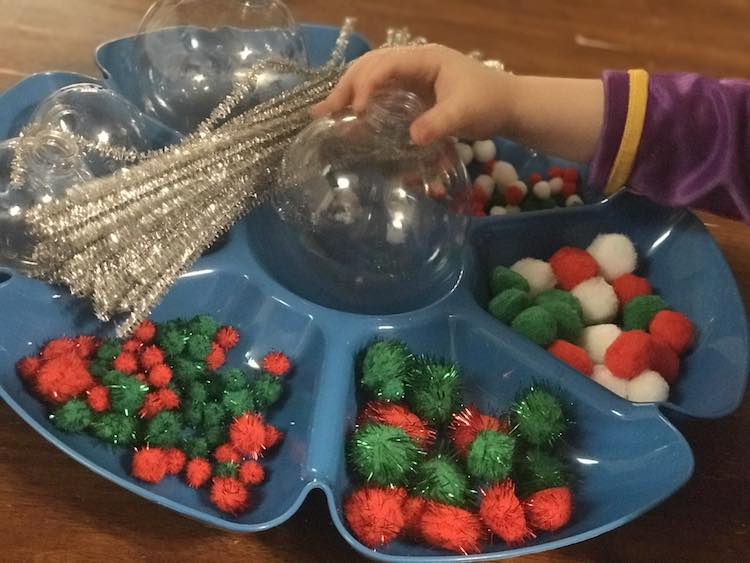
I just laid out the items, popped the tops off the ornaments, and told them that they can put the items inside the ornaments. This makes a great sensory activity. If your little one runs out of pom poms you can always try to knock some back out to continue to play (pulled out a chopstick to make it easier and ended up using it to turn the pipe cleaner into curly cues). I also cut up some of the pipe cleaners so they’d be easier to insert and then Ada asked me to cut them all up. Just a warning with that though… the tinsel bits from cutting them goes everywhere and it was a bit too difficult for my toddler to cut so she just kept asking me to cut all of them.
Overall this makes a great sensory activity. Little kids can dump them out (based on the size of what they put in), refill it, dump it, refill, etc. Ada took a break to dance the balls with a song, mixed the container of materials, and separated the objects when she got the tray back. Zoey took a break from stuffing the ornament and learned she can place it on her sippy cup and tip the ornament into the container beside it. Older kids would be able to plan out how they want the finished ornament to look, think about which order to insert the offered materials, and limit which colors they used based on what they wanted.
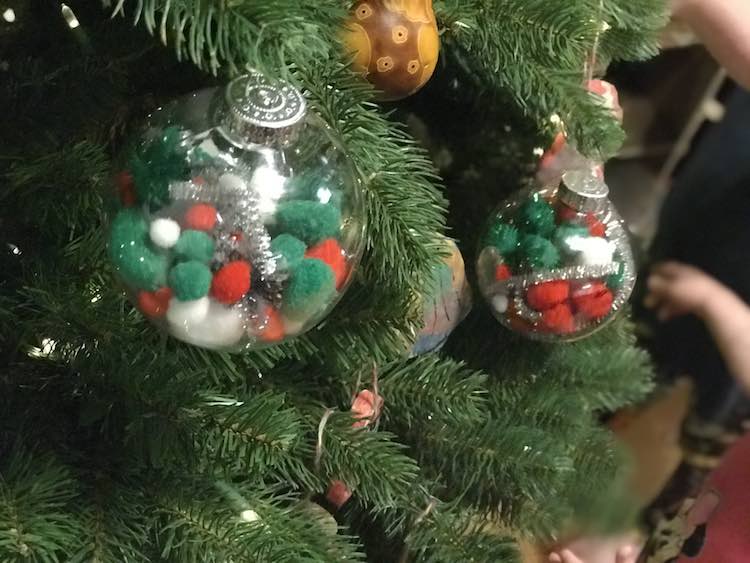
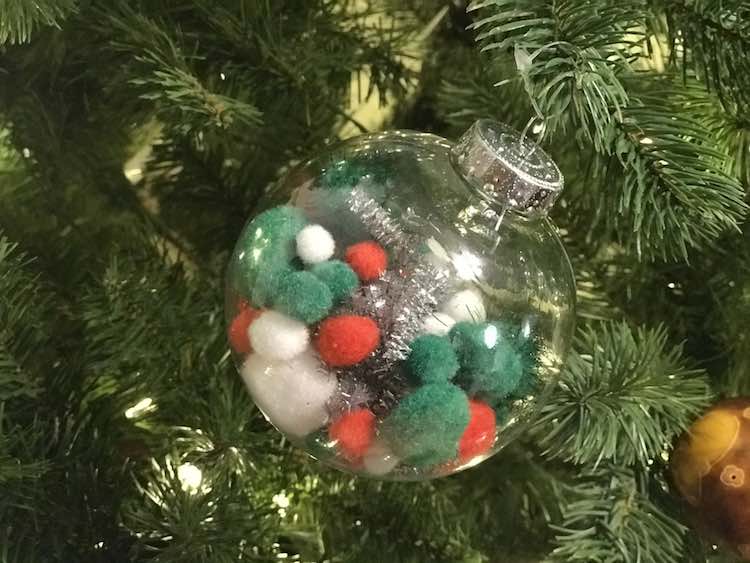
After they were done with creating the ornaments I heated up my glue gun and hot glued the lid on so they can’t be altered and the pipe cleaner bits won’t go everywhere. I found it easiest to put one of the prongs into the ornament, tilt it up, glue inside the lid, put the other prong inside really quickly, and then press it on. The lid heats up from the glue so be quick. Also the edge of the lid has smaller edging that can be bent in so make sure your kid hasn’t bent them in before you glue it down and be careful not to get them stuck inside when you close the lid… happened once with me. And if you want to be extremely lazy… the small ornaments already came strung. The bigger ornaments had a tag on them through the top hanger portion. I ended up ripping off the cardboard and keeping the plastic loop on it. Though it’s a bit difficult to hang depending on the size of your tree branches as the plastic loop is a bit small. Overall easy peasy…. and when they eventually fall off or if I care more when I pack away the ornaments I can cut it off and restring it with yarn or fishing line.
Music choices
Ada requested Wheels on the Bus so we listened to Patty Shukla’s music starting with that song. It was great because there were pauses for clapping (Bingo) or dancing the balls around. If you want more kid music I also recommend The Laurie Berkner Band. Of course the best would be Christmas music. I strongly recommend the Trans-Siberian Orchestra if you can get your kids on board.
Alternative ideas with the ornaments
- Melted snowman. Lay out white objects: pom poms, cotton balls, and small styrofoam balls. Include a couple of twigs, an orange triangle (shaped button), and some black balls (beads) to do a melted snowman. You could even cut these items out of felt and include a black 2D top hat.
- Come up with a character and fill the inside with the correlating color. Once finished decorate the outside with paint or a paint pen. If you want to protect it once dry you can paint it with mod podge.
- Snowman – Fill it with white objects (pom poms, cotton balls, and small styrofoam balls) and then decorate the outside of the ball with a carrot nose, coal eyes, and a hat.
- Grinch – Use green items. Once done add his eyes and his crooked smile to the outside.
- Favorite animal – again fill with associated color and add minimal characteristics to the outside.
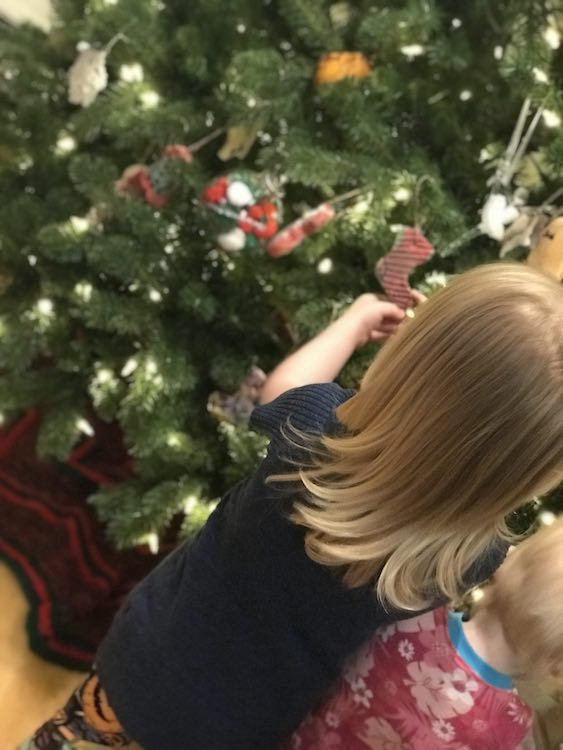
Overall this is a fun ornament to decorate the tree with. Your kids are excited because they made it and you don’t have to worry when the tree is redecorated or if the ornaments take a trip in the shopping cart or under the seat in the push car.
I would love to see what ornaments you come up with! You can share in the comment below, post on my Facebook page, or connect with me on Instagram.