
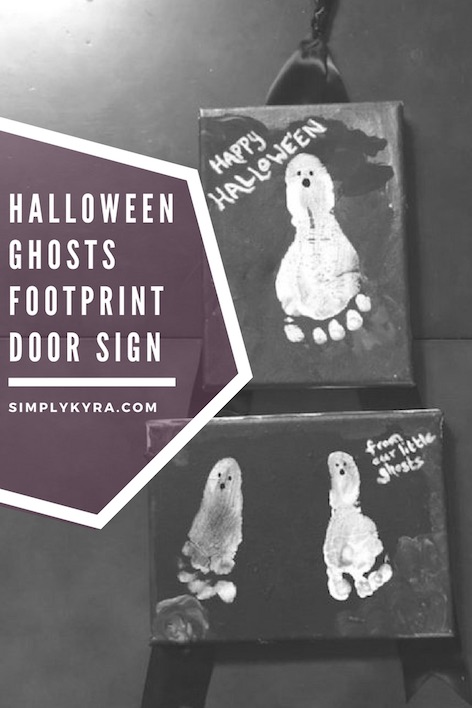
Halloween Ghosts Footprint Door Sign

This craft was done last year, but the pictures were taken this year showing the final result at different angles.
This was a project from last year, but I wanted to share it in case people were looking for decorations for their front door. It was super simple this year to pull out my ready to hang decoration and was fun to be able to look back at how little their feet were even if it was only a year ago.
Materials
Overall you need
- Canvas, light wood board, or anything that’s light enough to be hangable
- Acrylic paint
- (optional) Glow paint
- (optional) Mod Podge
- Ribbon or string to hang the canvas with
- Hot glue gun
- Hot glue sticks
- Command Hook
The first step to making the canvas door sign is to paint the background. This can range from an extremely detailed background (first thing that springs to mind is a haunted cemetery or a neighborhood for the ghosts to be trick or treating in front of) to a simple single color background (black would be the perfect contrast with the white ghosts). With a toddler and a baby in the house I decided to use this as a ‘distract the toddler’ craft while the baby slept and have Ada paint the background abstract style. Before I decided to make a door hanger the canvases had been decorated with a couple stickers, brighter paint, and had empty patches so I was going to have Ada add more to it. I pulled out my gold paint and a large tube of black acrylic paint for her, let her paint it however she wanted, and she ended up painting over the previous design. So, ideally, if you decide to go the toddler route you could limit the colors choices to your color palette and, optionally, extend the craft over multiple sessions until you both like the design.
After your canvas dries and you chose how you want your ghosts laid out then your next step is to lay out your supplies: white paint, paint brush or something to apply the paint, optionally a paint tray, copious amounts of diaper wipes, and depending on the age of your kids make some finger food and/or reward cookies accessible but hidden. Once you have your kids in a happy and mostly cooperative mood it’s time to create your ghosts. It’s much easier if you have another adult to help… though sometimes it’s easier to just plow ahead and not have to agonize over who does what. I can’t remember specifically how I did it for the Halloween canvas, but other times:
- Use your front facing baby carrier; for example a baby bjorn or ergo baby. This separates all of your child’s limbs so you can access one while keeping the other hand from grabbing the canvas. I’ve only tried this when the baby was facing me so in that case you’re restricted on which way the arms and legs can bend.
- Use your high chair to hold your child in place. When you’re focusing on an imprint of the feet you can leave the tray off the high chair so you have more room to work and you can distract the child, if age appropriate, with their favorite handheld snack. If you choose to get a print of the hands you can attach the tray and you have a surface to work on that hopefully separates the feet from the work space.
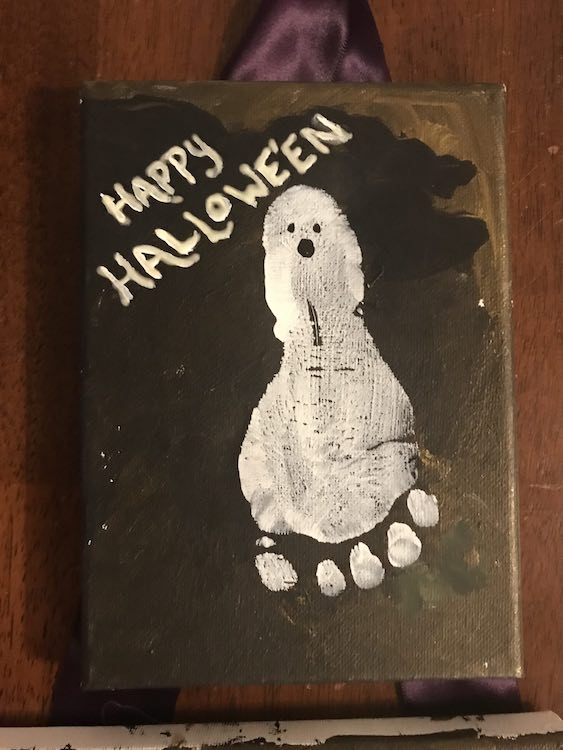
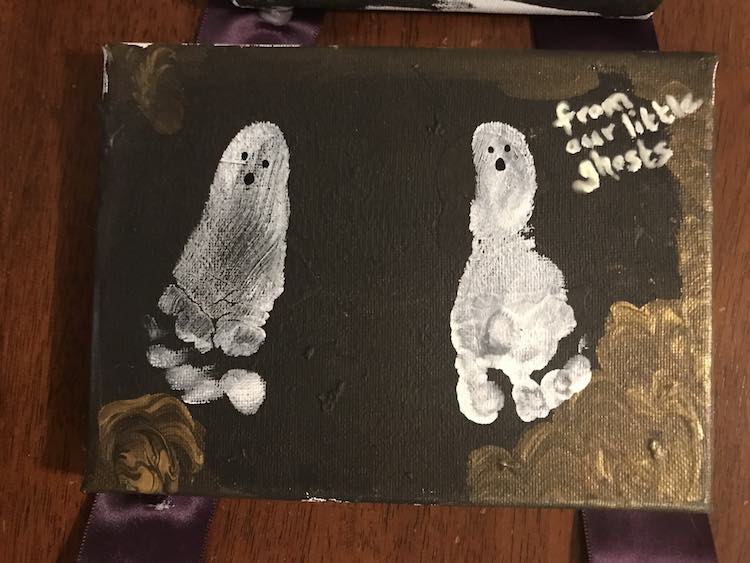
Do whatever works for you. Just remember for the ghost think upside down as the heel of the foot will be the head and the toes will be the bottom of the ghost. What you want to do is paint their foot with your white paint; I had a large squeeze bottle so I squeezed it directly onto the paintbrush… less stuff getting in the way. While holding onto their foot with one had you switch out the paintbrush for the canvas with the other hand, press the foot and canvas together, and then pull them apart. For Ada I let her pick which foot she wanted painted, painted it, held her foot with one hand and the canvas with the other (that may have been on the chair with her), pressed the foot and canvas together, separated them, and then cleaned off her foot. For Zoey I decided I wanted the canvas horizontal so could make an imprint of both her feet and thereby make two ghosts. After making her first footprint I wiped her foot off right away and then went onto the next foot.
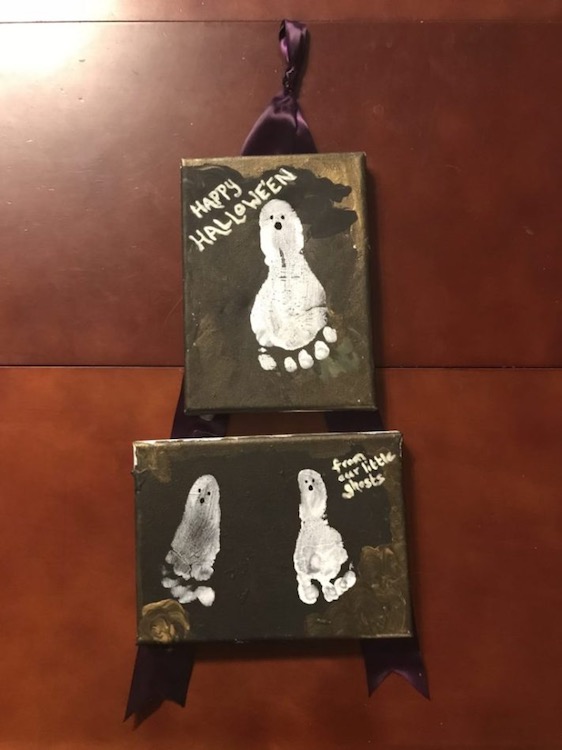
After letting the canvases dry again you can add the mouth and eyes to your ghosts. For this you can use either black acrylic paint and a small paintbrush or you can go the simpler route and use a paint pen. You just need to make two small circles for the eyes and a larger one for the mouth. After deciding I wanted the vertical canvas above the horizontal one I went on to write ‘Happy Halloween’ on the top one and ‘from our little ghosts’ on the second. I didn’t have a white paint pen so I went the more complicated route with paint and a small paintbrush. After it dried I went over it with a fine tipped squeeze bottle of glow paint I had on hand. At this point, after it dries, you could always protect the surface with a layer of mod podge. I didn’t protect mine but my front door is protected from the rain and isn’t directly in the sunlight so there hasn’t been any fading yet. In the future when my kids’ feet are bigger I may feel more protective and add a layer of mod podge.
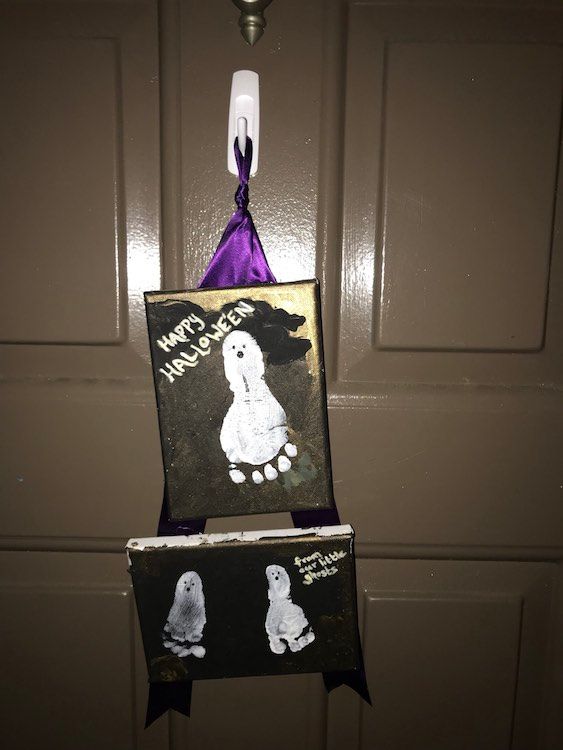
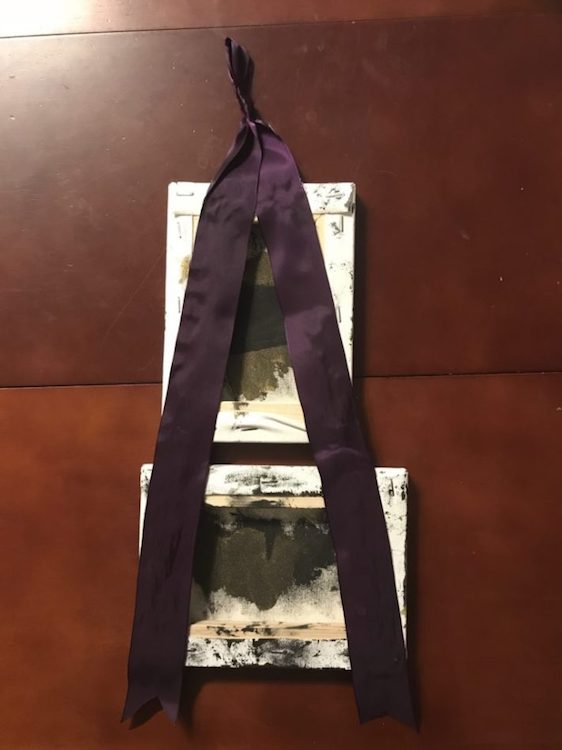
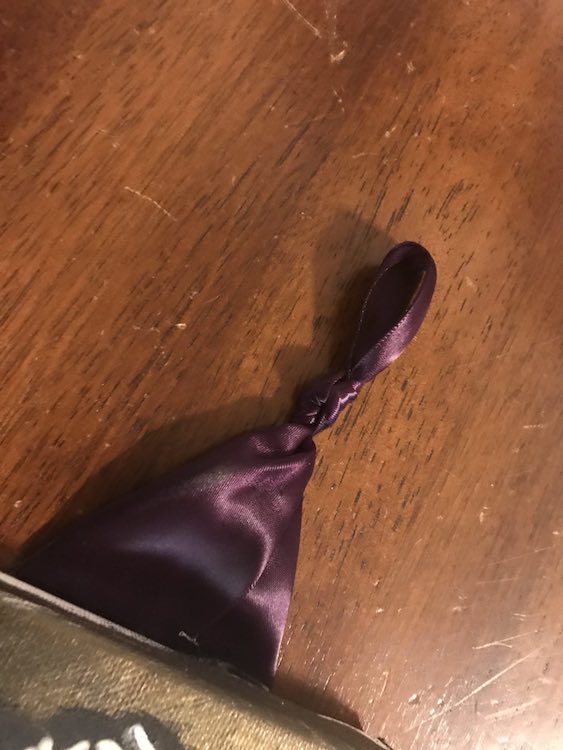
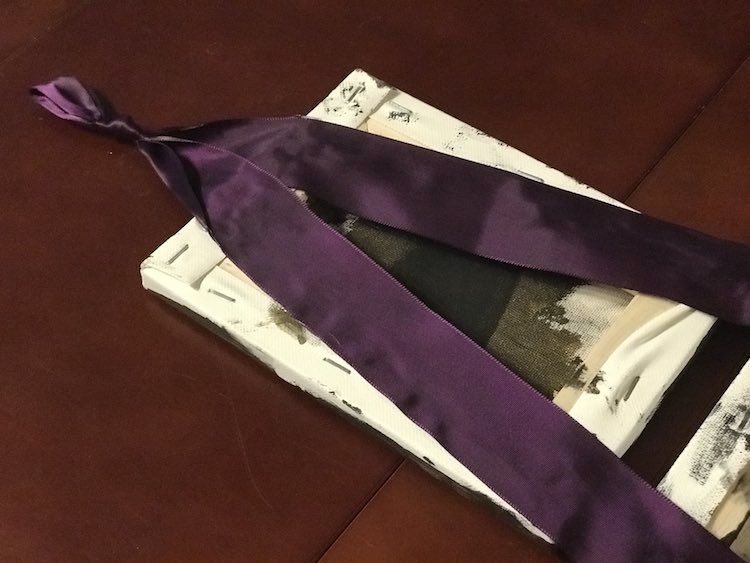
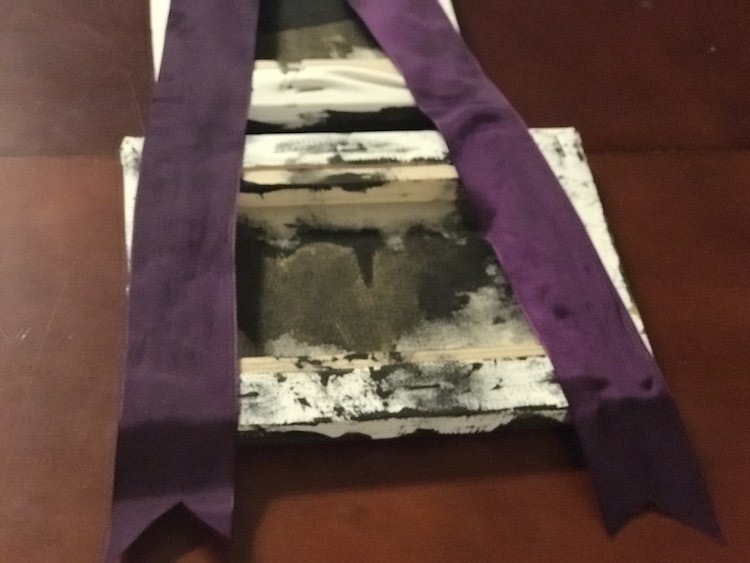
Once the canvases are dried I laid them out as far apart as I wanted them to be and cut a ribbon to size. Basically you want the ribbon to go up from the bottom left corner of the bottom canvas, go to the top canvas’s top center, leave enough ribbon to allow your picture to hang, and then stretch to the bottom right corner. I decided to add a knot to the ribbon to hang it up with so after cutting it to size I tied the knot in the middle of the ribbon which resulted in a loop with the ends of the ribbon hanging below it. Make sure the knot is secure and won’t move. Flip the canvases over so they’re facing down and lay the ribbon out overtop of them so the knot is above the center top of the canvases and both ends are hanging out below the bottom corners of the canvases. Heat up a glue gun and glue the ribbon down where it crosses the frame of the canvases. When completed and the glue is dried you can confirm you like how it lays by lifting it up by the knot. If you need to adjust a ribbon you may be able to peel it off and try again but it probably depends on your ribbon, canvas, and glue. Once you’re done you can trim the bottom ribbon so they’re even. I chose to cut a triangle out of the ribbon so it’s more decorative. You could also cut a straight or angled edge. Depending on what ribbon you have if you’re afraid of it unraveling you could burn the edge to melt it, but that depends on the type of ribbon you have so I’d test it with a scrap piece of ribbon first.
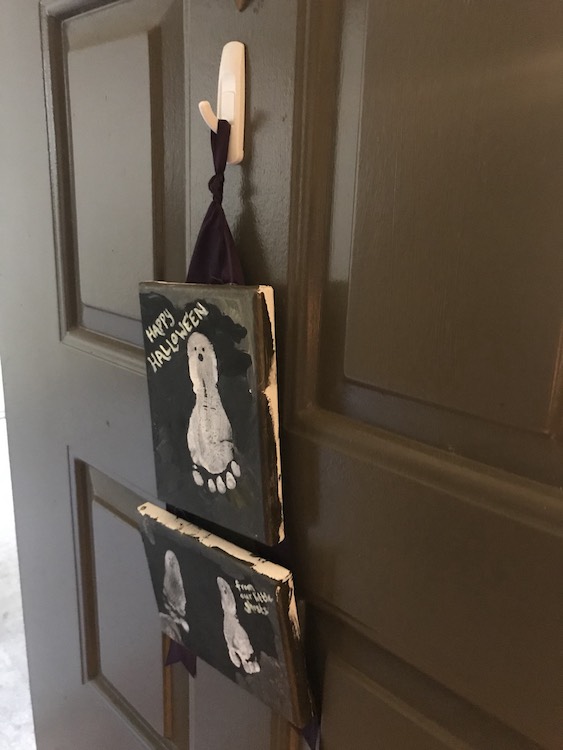
All you need to do now is hang it from your door. I chose to use a command hook and made sure it wouldn’t fall off by cleaning where I wanted the hook to go with isopropyl rubbing alcohol and a piece of paper towel and then attached the large command hook to the door. If you want a temporary way to hang it you could buy a wreath hanger to go over top of the door. Another option, though I can’t remember where I saw it, if you make the ribbon longer there was a Christmas wreath hack where you attach an upside down command hook on the inside of the door and have the ribbon go over the door and outside.
I’d love to see how your little ghosts turned out. Reach out to me through the comments below, on my Facebook page, or through Instagram. I’d love to hear what you think.