
Zoey's Third Birthday - Orange DUPLO®/LEGO® Theme
I wanted to create an umbrella post for Zoey’s third birthday to give an overview of her party, contain links to the stand-alone posts I’ve already published, and go over any items that may help you but didn’t truly merit their own post.
To make it easier, if you’re interested in one of the previous posts about Zoey’s third birthday, I’ve included the links here.
- Sensory Play
- Color themed playdough and oobleck stations
- Water gun targets
- Dessert
- Colorful and simple LEGO® themed cupcakes
- Create custom crayons
Eating
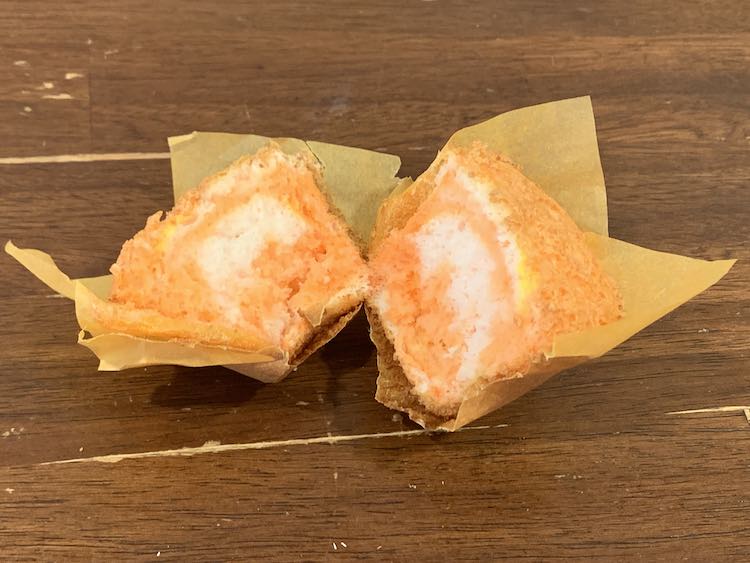
I figured out what we should make for dessert long before I decided what to make for lunch. For dessert (and the means of the birthday candles) we made orange-dyed angel food cake from a box. It was so easy to make. I also bought orange-colored tulip shaped cupcake liners to enhance the orange theme along with topping the cupcakes with colored whip cream, unfortunately we forgot to add dye when making the whip cream. To include the LEGO® theme into the dessert I sprinkled the whip cream topped cupcakes with candy blocks that I bought off of Amazon.
For snacks I wanted to come up with something orange. The first thing that came to mind was cheddar goldfish crackers. I ended up leaving the orange theme and going with a flat of apple juice and a flat of water bottles for the drinks. Figured simple was best here.
To come up with the main lunch idea I took to the internet and came across a list of 10 Fun Food Ideas For Your LEGO Party through forkly. With the many junky items I’d already bought I ignored all the dessert food listed but really loved the LEGO® pizza (number 4 on the list). The link dead-ended but I figured it looked simple enough to make, was healthy-ish, and was on theme so went ahead with it. I was able to find pouches of mini pepperoni through Safeway and knew the pizza was a go.
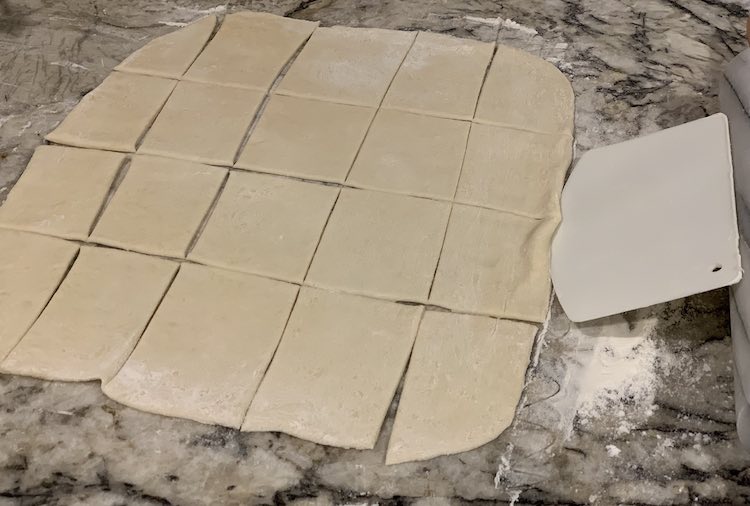
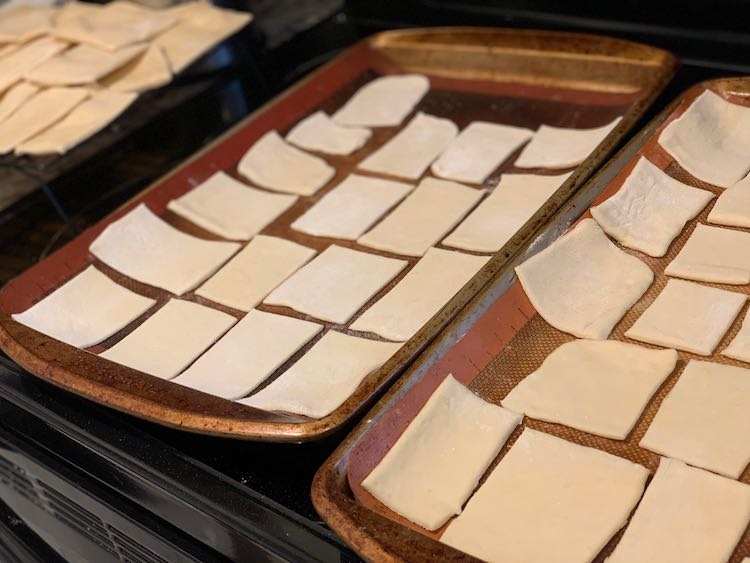
The day before the party I grated a container of cheddar cheese, a container of mozzarella cheese, and made the rectangular pizza crust. I used the same pizza dough I posted previously, doubled the recipe, and ended up with way more than needed. I made the pizza crusts in batches. For each batch I took a ball, rolled it out while trying to keep it rectangular, and used a bench scraper to cut it into squares and rectangles. I then moved the dough to cookie sheets and cooked it for 10 minutes in a 425°F preheated oven. When each batch was done I moved them to a cooling rack and started baking the next batch. Once they were all cooled I packed it up in fridge so it was ready to go next day.
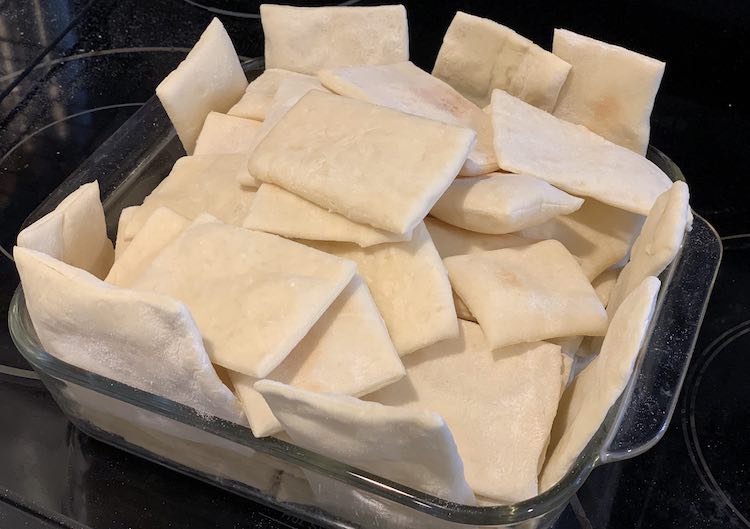
I forgot to take pictures of the finished pizzas the day of the party but they were simple to make. I, once again, preheated the oven to 425°F before placing as many crusts as would fit on two cookie sheets, spread canned tomato sauce over the crust, sprinkled the grated cheese, and placed the mini pepperoni slices on top. I then baked the pizza until it was heated through and the cheese melted. It was so simple and the kids loved eating LEGO® inspired pizza. The most time consuming parts were making the pizza crust (made ahead of time) and trying to place the pepperoni slices properly on the pizza to represent the studs on the LEGO® bricks.
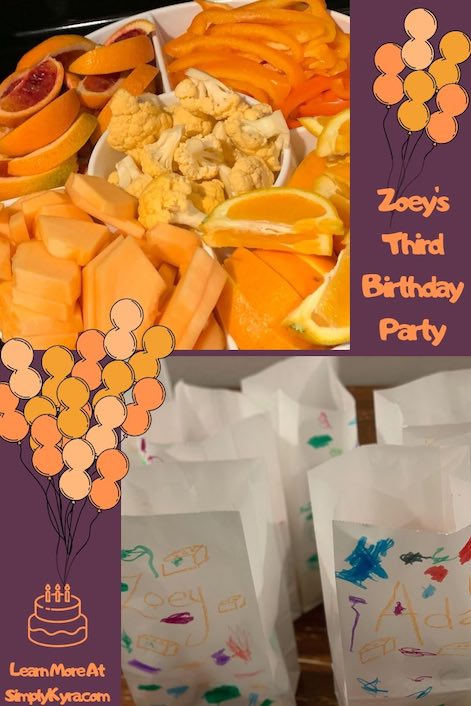
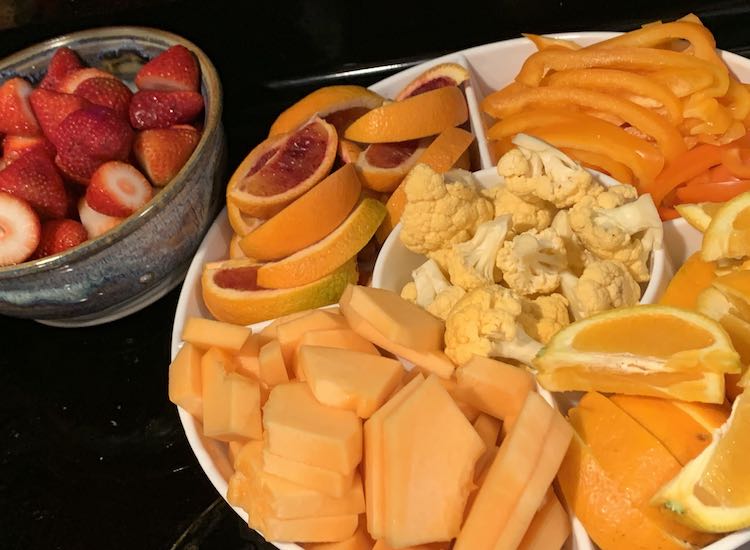
I wanted to round out the rest of the lunch with healthier food. To go with the pizza I made a healthy bean salad; mainly for the adults. I also wanted to add some fruit and vegetables to snack on. The day before I made an instacart order and looked though the site to see what I could get that fit the orange theme. The morning before the part I cut up two trays worth of orange peppers, orange cauliflower, oranges, cantaloupes, blood oranges, and strawberries. I also grabbed some ranch dressing in case anyone wanted to dip the veggies. The kids ate at the table with a plastic tray on a lazy Susan between them to make grabbing the fruits and veggies easier. The rest of the food was set on the counter in a buffet style format. When prepping the morning of the party Ada and Zoey heard me say blood orange and starting chanting “blood blood orange”. Ada loved the fruit and told me that the outside was orange for Zoey and the inside was red for her. I was even asked to buy more blood oranges for a playdate a week later.
Sensory Play
I love to add sensory play stations to the birthday parties so the kids can explore. I love how sometimes the kids can all be doing something by themselves and a couple minutes later they’re all congregated at one station having a blast together.
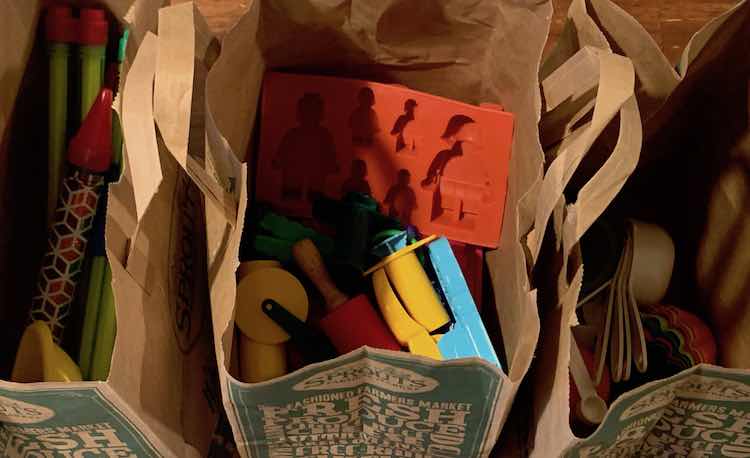
Zoey had requested both DUPLO® and LEGO® stations so I left them where they were stored and accessible in their bedroom and living room for the kids to play with. We also made orange oobleck, three shades of orange playdough, and created laminated targets to spray water at. Two days before the party I finalized what would be in each station and made sure I had all the pieces by collecting them in paper bags. It is less stress the day of the party if you know where everything is.
Favor Bags
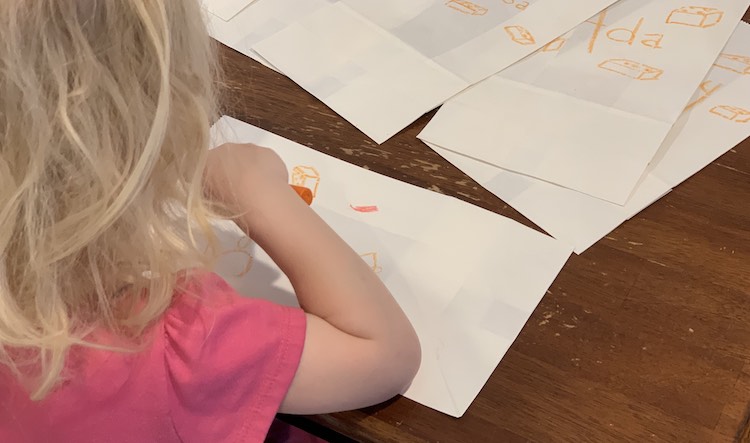
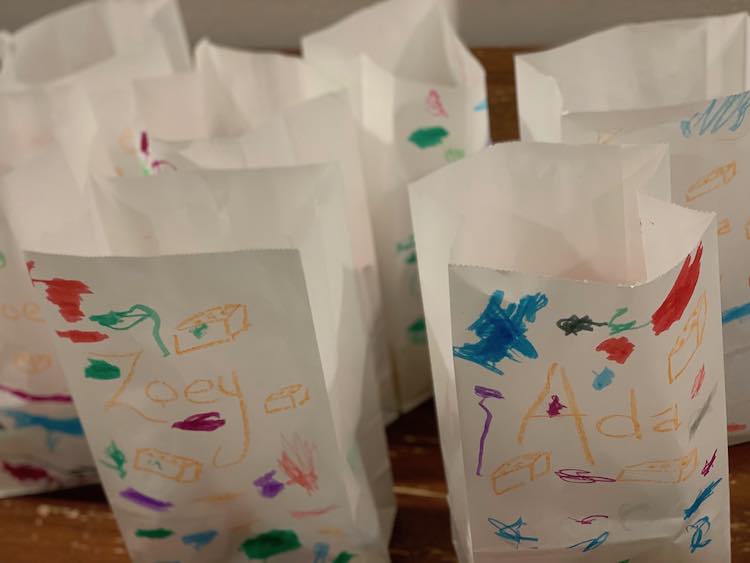
For the favor bags I found the white paper bags we bought for Ada’s science birthday last year. I then used an orange crayon and wrote each kids’ name on the bags along with three quick sketches of LEGO® bricks to keep the bags on theme. I then went over whose bag was whose with Zoey and left her to decorate them. Zoey’s birthday party was scheduled the day before Father’s day so while Zoey decorated the favor bags Ada was decorating a Father’s day bag for Matt and then created cards to fill it up.
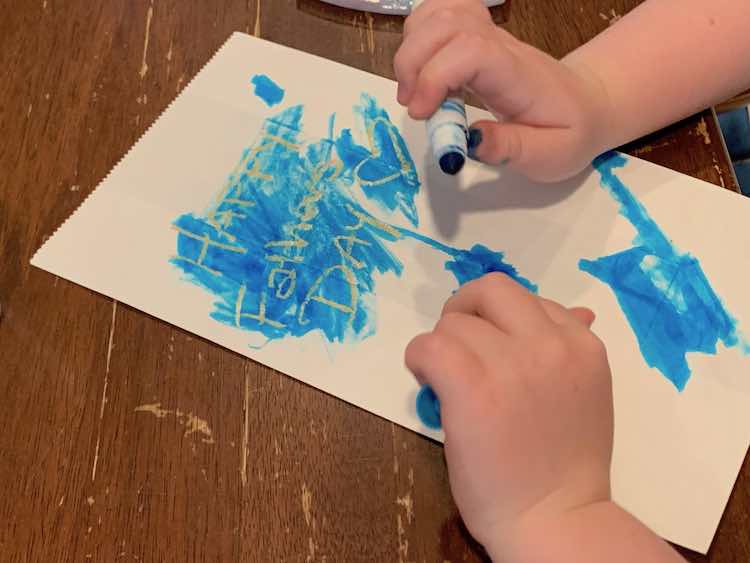
The next step was to fill them. I wanted to keep the bag on theme. For food each bag got a brick party suckers (found on Amazon), a snack-sized Ziploc bag of the brick candy (used and linked in the cupcake post), and a bag of goldfish crackers. After I made the playdough I used some emptied Play-Doh containers and filled enough to go in each person’s bag. Ada, Zoey, and I also made LEGO® themed crayons and filled a snack-sized Ziploc bag for each kid. I then added a couple miscellaneous things I found in the store including a Happy Birthday blowout, a star whistle (Zoey’s favorite shape), and some emoticon stickers.
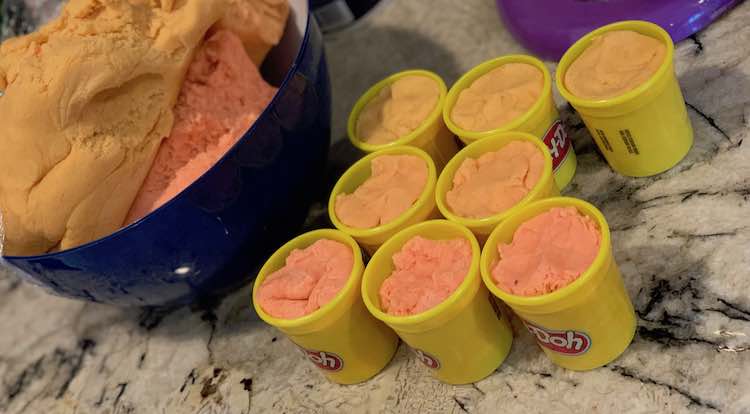
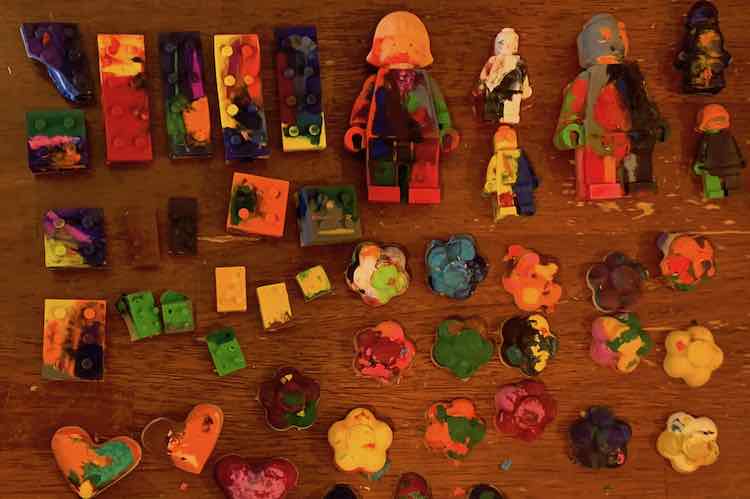
And the bags were done!
After The Party
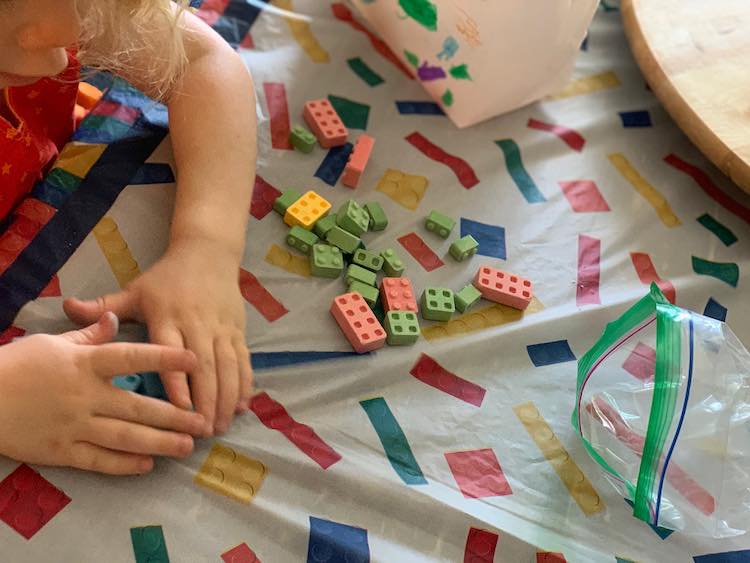
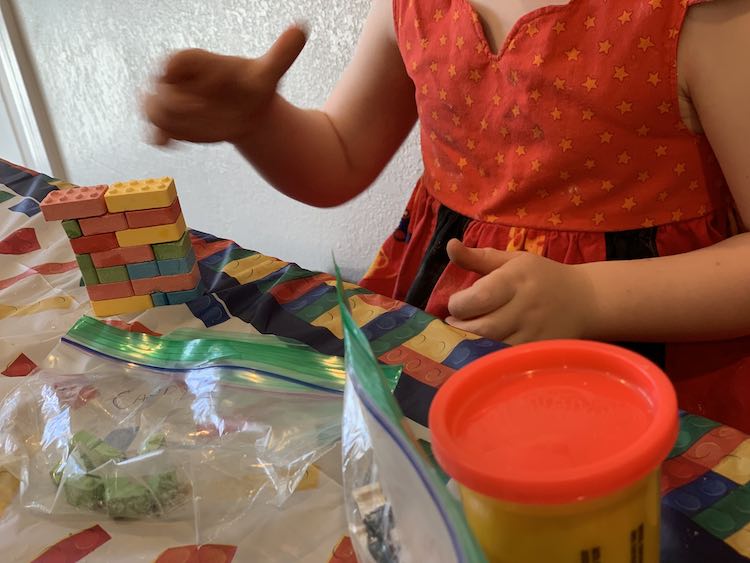
Right after the birthday party Ada and Zoey had a blast looking in their grab bags and eating their candy. I showed the kids that you could build with the brick candy which Ada loved. Zoey preferred separating them based on their color although she also tried to build.
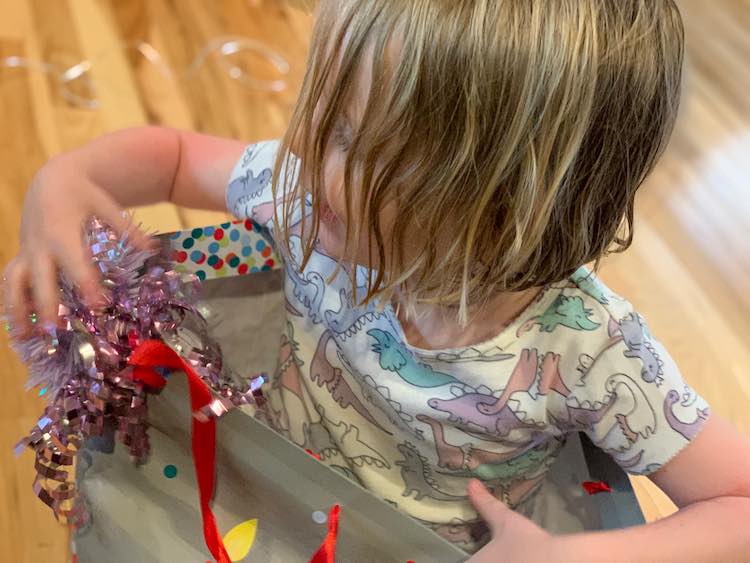
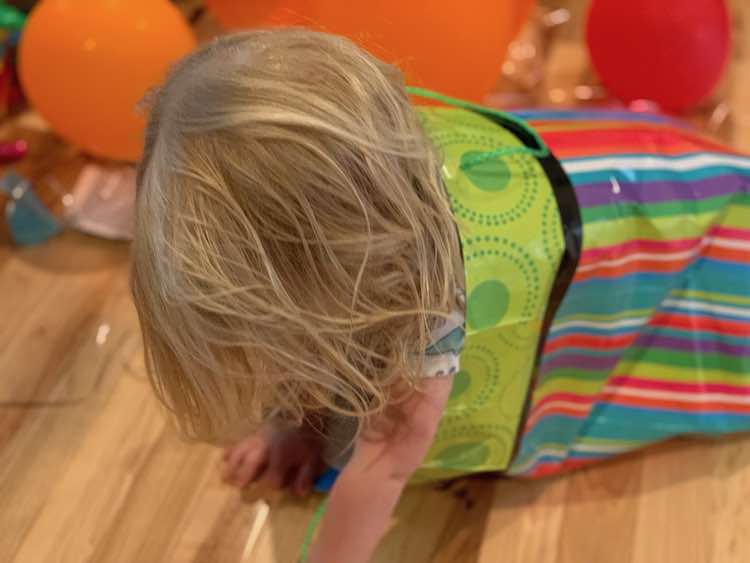
And then later that day the kids had a blast sitting in the gift bags. Overall the party was a great success made because our friends were able to join us and make it amazing.
I hope this helped you plan your own party. I love how simple all the pieces were but all together it made a great orange LEGO® themed party. I’d love to know if you used any of these ideas and would love to hear how you altered them to make them your own. Feel free to let me know in the comments below, on my Facebook page, or through Instagram. Hope you have a great party.

