
Toddler Blanket Topper to Comfy Couch Afghan
A while back Mich in the Fabriculous Fabric Facebook group posted a diagram showing how she took the toddler topper that Fabriculous Custom Fabrics sells and turned it into a child sized blanket. I loved that idea and, at the time, wanted a cozy afghan for our couch. I kept an eye on their monthly preorders and jumped at the end of July when they included an adorable coffee themed topper.
I’m not able to share the specific Facebook post about altering your toddler topper to make a child blanket but if you join the Fabriculous Custom Fabric group you can search for the post that starts with “***Toddler Topper to Child Blanket Hack ***” to find the original post and subsequent questions and answers.
Overview (tl;dr)
- Cut the blanket topper in half separating the top and back sides. Trim the excess white fabric from either side.
- If you want to confirm sizing measure both the top and back.
- Set aside the top.
- Cut the back into four strips
- The first two strips will be cut skinnier. Both the Fabriculous post and I made them four inches wide.
- Then cut the remaining backer in half. The Fabriculous tutorial had these set to 10 inches across but since these strips are going to be added to the blanket after the skinny strips it doesn’t matter how wide they are so I just cut the remaining backer in half.
- Clip and sew your two skinny strips to either side of the blanket topper (along the tall side).
- Clip and sew your two wide strips (along their side) to the top and bottom of the blanket (perpendicular to the last seams).
- You’re done. I left it at that but you could continue by backing the blanket to hide the seams or add binding along the sides. This fabric was so fluffy and cozy that I left it as is without the seams bugging me.
Planning and Prepping
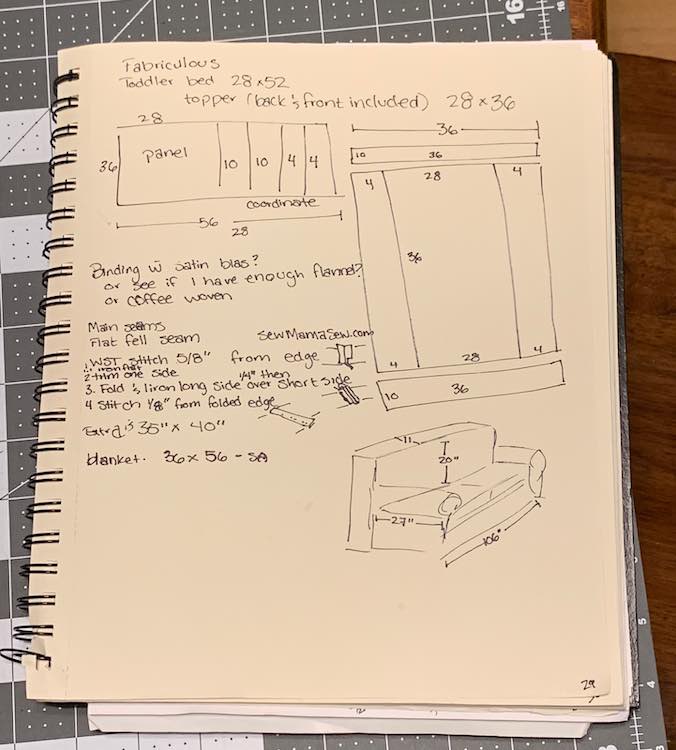
I may have started by overthinking the concept of the blanket and went over the calculations in my sketchpad before starting. Since this was taking, essentially, a blanket topper and bottom and making it into a single layer I knew the seams would be exposed on the back of the blanket.
Even though I wasn’t too worried about the comfort of the seams, I debated whether I should attempt to hide them so started thinking about doing a flat fell seam (I looked up a list of seam finishes on Sew Mama Sew) but was worried it would waste too much fabric and make my blanket too small or maybe the fabric type would result in a seam too large my sewing machine. I then thought about making an edge to edge seam (abutted seam) by having both fabric pieces touching without overlapping and then sewing them together with a zigzag stitch. I found an example to show what I was thinking of on Whafi.com: How to sew an Abutted Seam. I wasn’t sure if the loss of seam allowance on the blanket would affect the measurements but was still going to go ahead with an abutted seam to maximum the size of blanket and thus coziness before realizing I didn’t have an edge joining (or stitch in the ditch) foot for my sewing machine. I instead ended up going with a small seam allowance and used a stretch zigzag stitch to join my fabric together.
Calculations and Cutting
After I prewashed my fabric and decided I was ready to cut into such luxuriousness I started by cutting down the center of the fabric to separate the blanket topper from the back. The topper is going to become the center of my blanket and the coffee beans backer will frame it. At first I was going to leave the white edging on the two outer sides of my fabric and have it disappear into the seam allowance but was worried it would show on the front of my finished blanket so I didn’t take the chance and later trimmed it too.
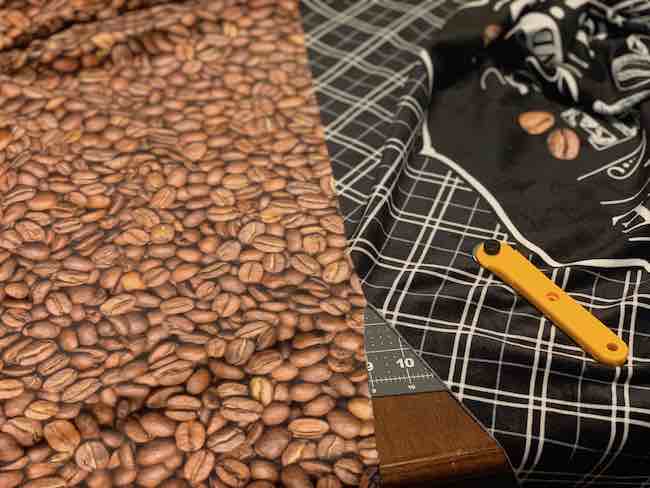
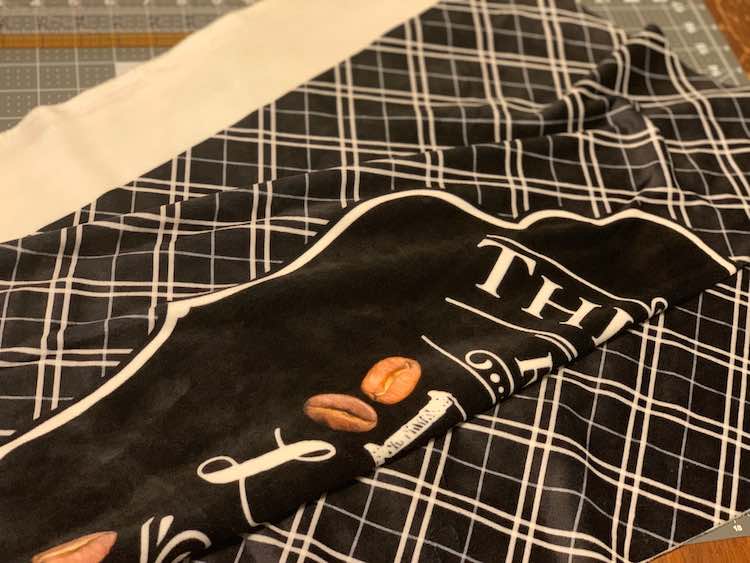
The next step is to cut the blanket backer into your four stripes. The two smaller strips are going to be sewn to the sides of the blanket topper first and then you’re going to be adding the two wider strips, on their side, to the top and bottom essentially creating a frame around your blanket topper. The smaller strips are the most important to get right.
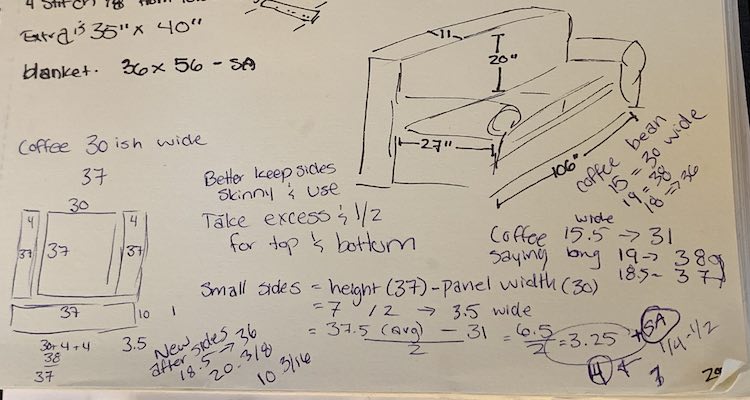
Right before I started cutting my fabric I decided to measure the blanket topper and backer to check against the diagram from Fabriculous. I was pleasantly surprised to find mine was about an inch taller and about two inches wider than the diagram but after re-calculating based on the new measurements I still cut my first strips to four inches wide. In case you also wanted to do your own calculations this is what I did:
Skinny strip width = ( height of blanket topper – blanket topper width ) / how much side edging you want included
= ( 37 – 30 ) / 2
= 7 / 2
= 3.5 plus the seam allowance
After coming to my calculation and realizing I needed to include a seam allowance I decided it was okay to round up to four inches. Additionally, I knew I could stretch the wider (top and bottom) strips if needed while clipping them onto the blanket if the skinny strips were too wide.
The wider (top and bottom) strips are easier to calculate since it’s their height that matters the most which is already set for you. I took the remaining blanket bottom, after cutting the skinny strips, and cut it in half. I think mine ended up being a bit larger than the 10 inches which I was fine with. Of course since the width of your strips don’t matter as much you could always cut it off-center if you want one end of the blanket to have a wider frame than the other end. Depending what fabric you use for your blanket the design of the backer may factor more into your decision if there are images you want to refrain from cutting. Just remember you’ll be losing some of your image into the seam allowance too.
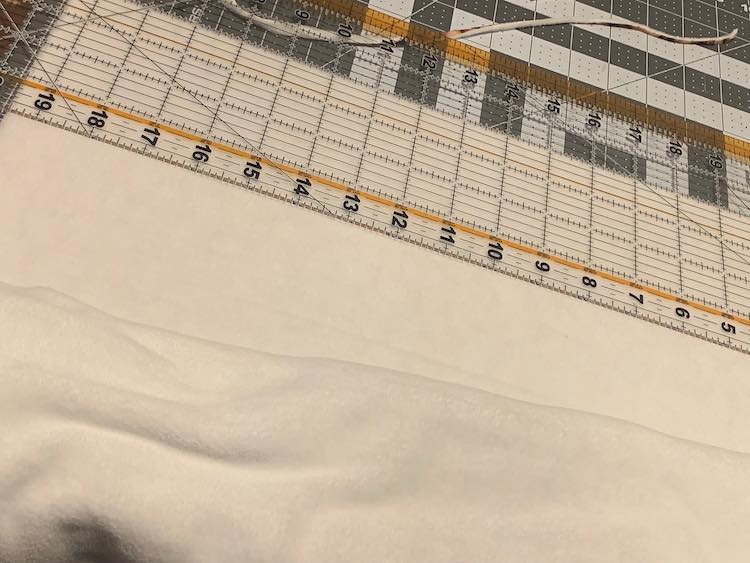
When cutting my fabric I lined up the edges making sure it was perpendicular to the fold line and then trimmed any overhang since the fabric might’ve gotten distorted while washing it. I tried to keep this cut piece as small as possible to not lose too much of my blanket. I then measured and cut two four inch wide stripes. These were the two strips that mattered as they go on the sides of the quilt before you sew the top and bottom on. If these are too wide then you won’t have a wide enough strip to attach to the top and bottom. If you cut them too skinny then the top and bottom will be too long and you’ll have to trim the new strips (and lose some size to the finished blanket).
After cutting the four inch wide sides I had to cut the top and bottom of the blanket. Since these strips are going in sideways it doesn’t matter how wide they are. I took my remaining ‘blanket backer’ and cut it down the center making two equal sized strips.
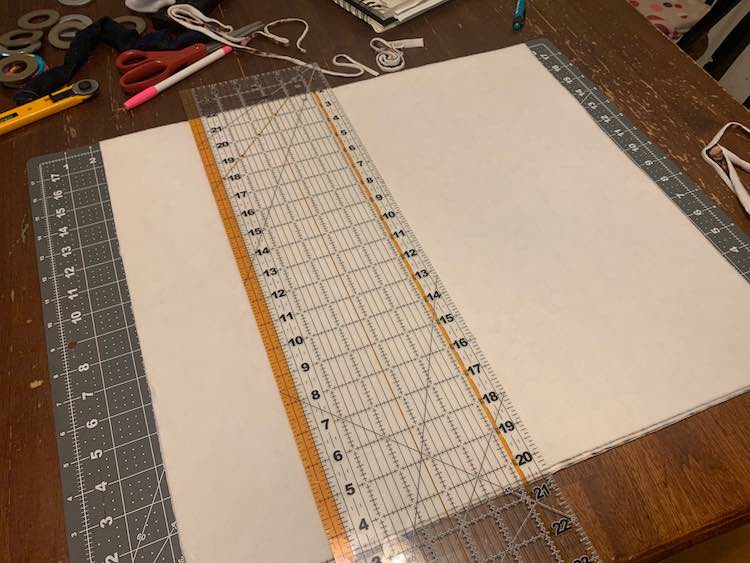
And my cutting was done.
Sewing Your Blanket
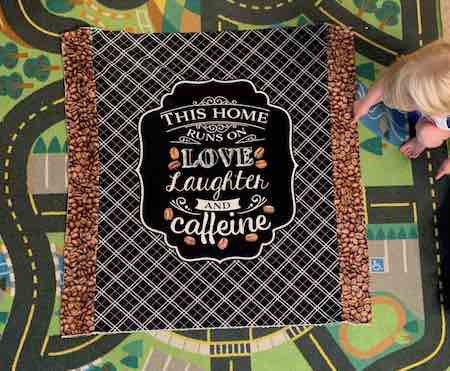
For sewing you take your two skinny (4″) strips and clip them along the long side of the blanket topper right sides together. I found when clipping it was easiest to the start with the corners, then center, and then fill in the between spaces with clips. After both sides were clipped I sewed along the edges with a zigzag stretch stitch.
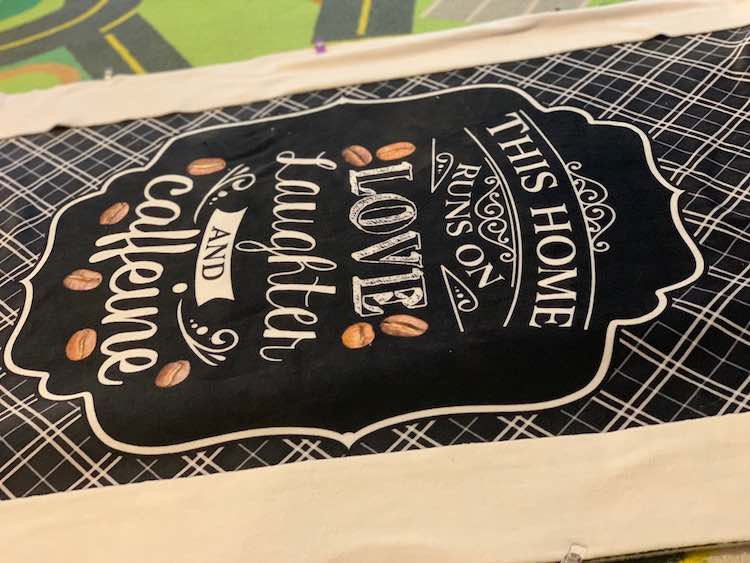
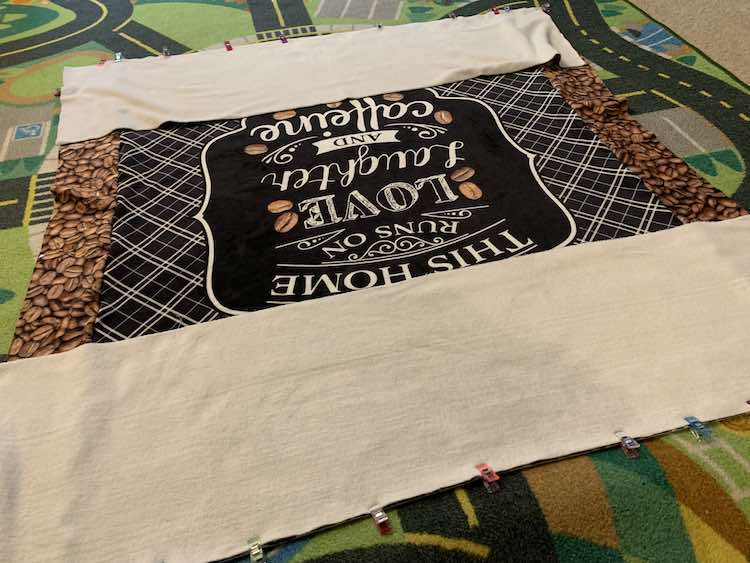
I then took the wider strips and turned them so their long side can be clipped to either end of the blanket. Again I started at the corners, center, and then the empty spaces in between. I also made sure to clip the seam allowance down to help keep it pointed the right way while sewing.
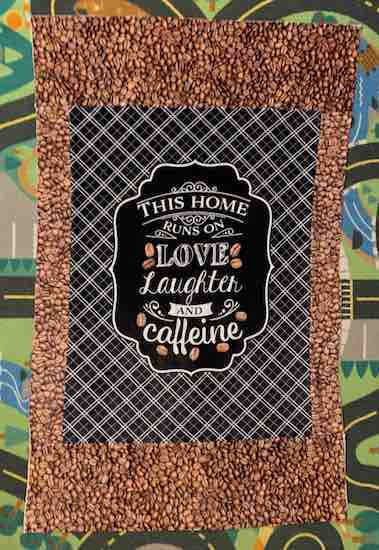
And you’re done. I left the blanket as is but if you’re worried about the exposed seams you could add a backer to your blanket.
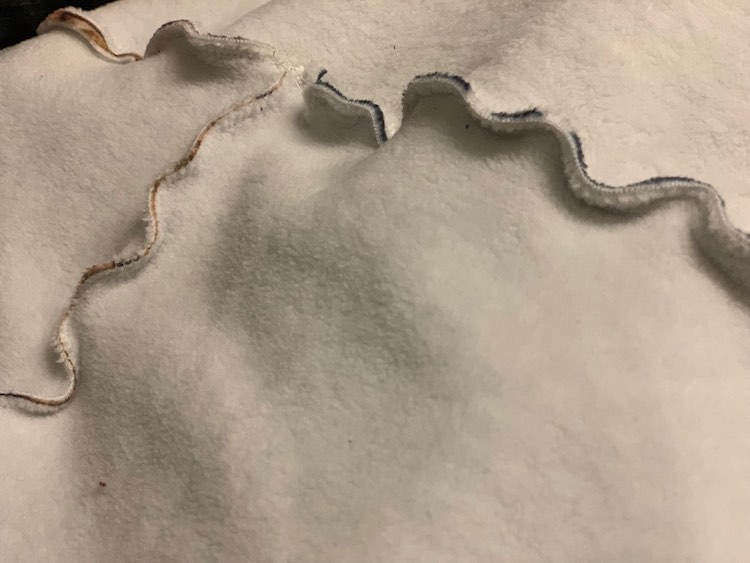
There’s also the option to add some type of binding along the edge but I didn’t want to take away from the coffee beans. This fabric was so fluffy and cozy that I left it with the exposed seams and all.
Clipping The Edges
I wanted to include how I’ve started clipping my edge. If you have a better method feel free to post yours in the comment below. I’d love to hear about it.
For knits in particular I’ve found it easiest to start by clip at the corners, then if you have a large space the center, and finally clip the in between spaces while stretching it a bit to make sure it fits. I go a step further and decide ahead of time which corner I will start sewing from and clip that corner differently. I use two clips and put both a bit further away from the corner so I can start sewing without my clips getting in the way of my machine’s foot and yet still keeping my fabric lined up.
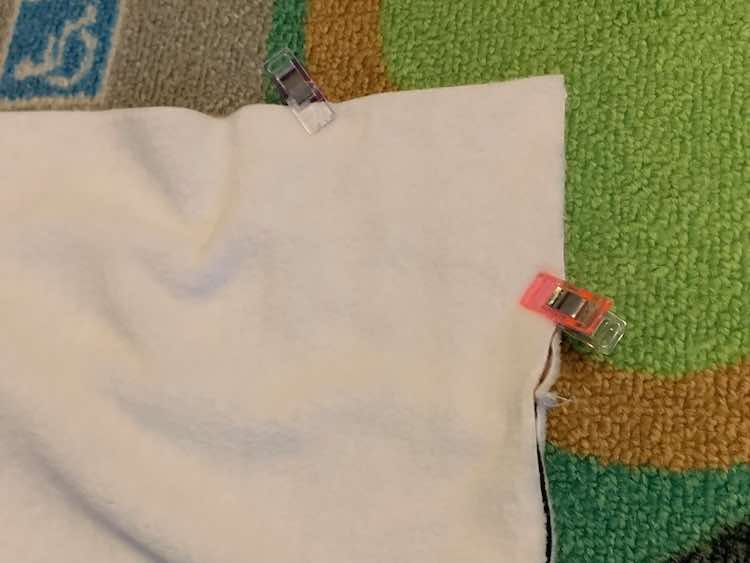
On the other corner I clip the two layers together perpendicular to the seam line. In the picture below I’d be sewing along the bottom from the right side and end at the clip. This way I can hold onto the clip to keep the fabric lined up easily when I approach the end and have that little bit of extra security before having to remove the clip to finish the last stitches.
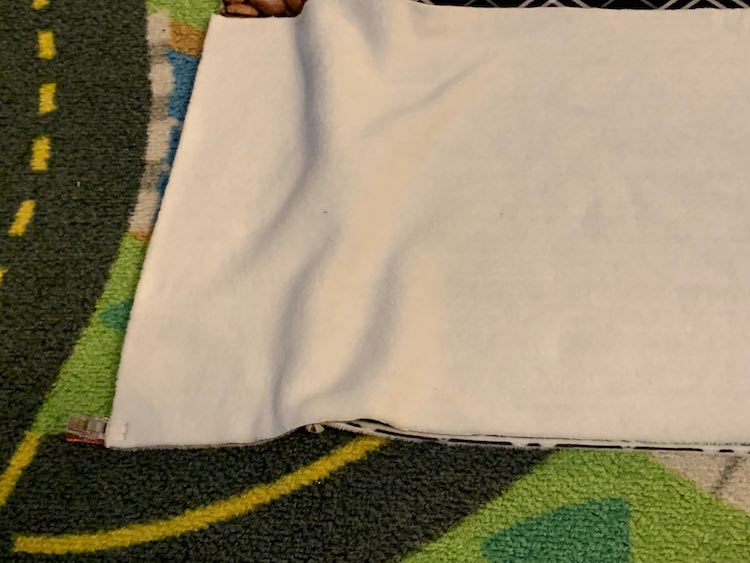
After clipping the two corners I lined up the rest of the two layers of fabric, find the center-ish to clip, and then start adding clips along the space.
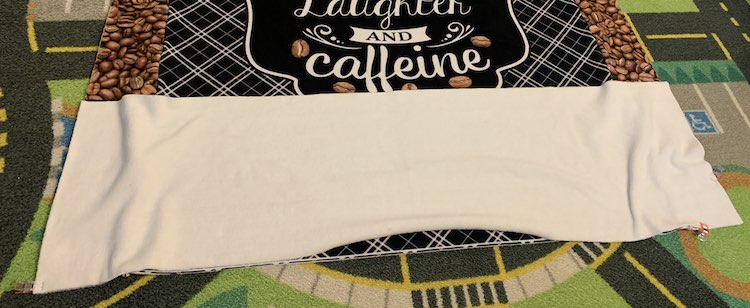
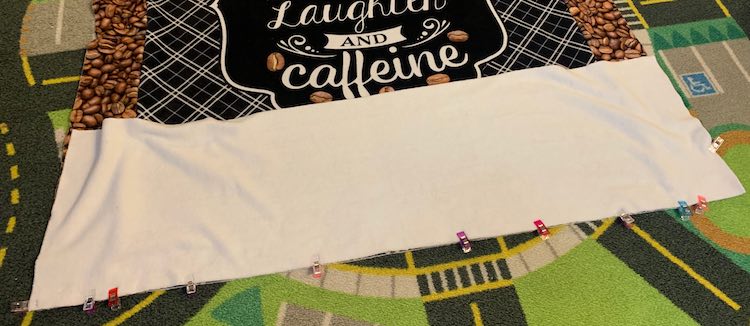
And then it was all ready to sew. I do this for my garments too.
Finished Afghan Throw
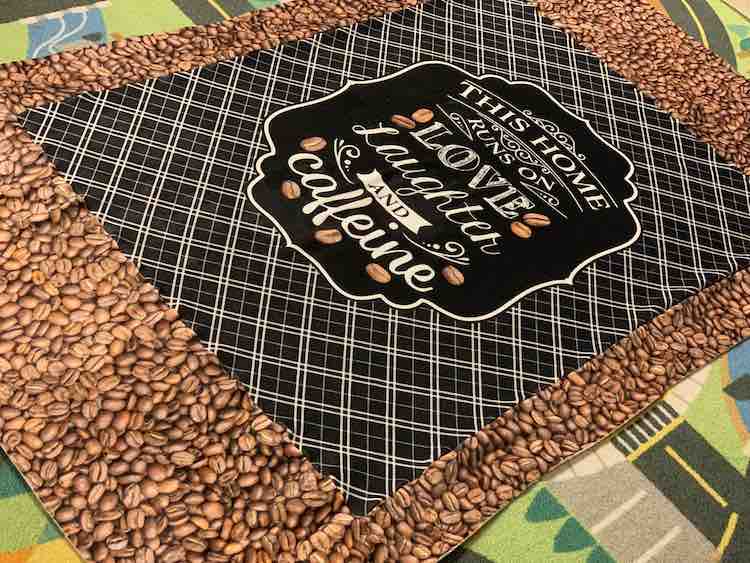
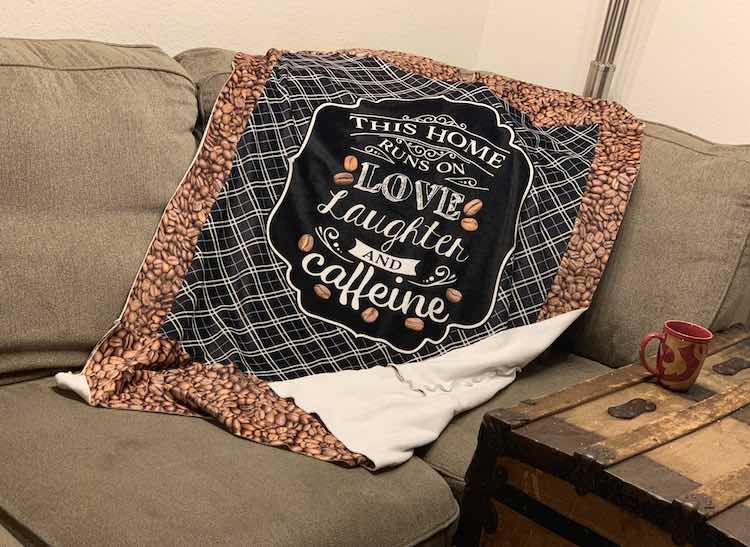
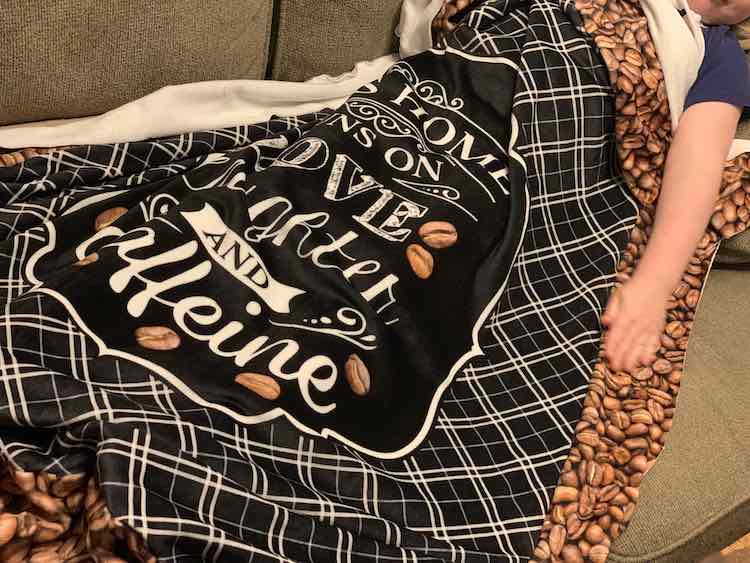
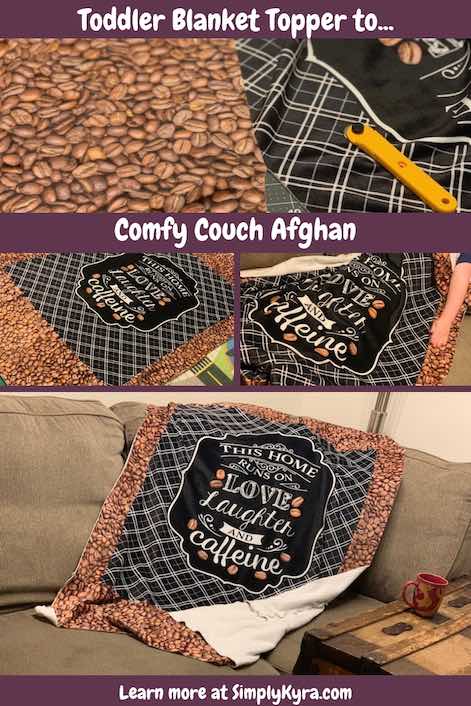
I love how I was able to buy a simple toddler blanket from Fabriculous and make it into an amazing-feeling afghan for the couch. I love how vivid and realistic the coffee beans are on the fabric and how perfectly it frames the blanket topper. In the example on the original Facebook post they turned the toddler backer/topper into a big kid blanket so I can definitely see keeping an eye on the preorders in case your child’s favorite ‘thing’ shows up. Perfect if they might need a new blanket… or you can’t resist one for yourself.
How have you finished your blankets? Is there an easier way to hide your seams without having the find a blanket backer that may change the feeling of awesomeness? I’d love to hear your thoughts in the comments below, on my Facebook page, or through Instagram. Have a great day!

