Simple Script to Help Backup Your reMarkable
Back when I first bought my reMarkable I was enamored with switching out the sleep screen images which quickly led to playing with custom templates too. I knew I needed to come up with some way to backup the contents of my reMarkable in case the worst thing happens and so I came up with this small and simple script. Since creating this script I make a point to run it occasionally so if something happens at any point I hopefully have a recent backup. That said I’ve never needed to recover my reMarkable so this hopeful precaution is all that I can share with you.
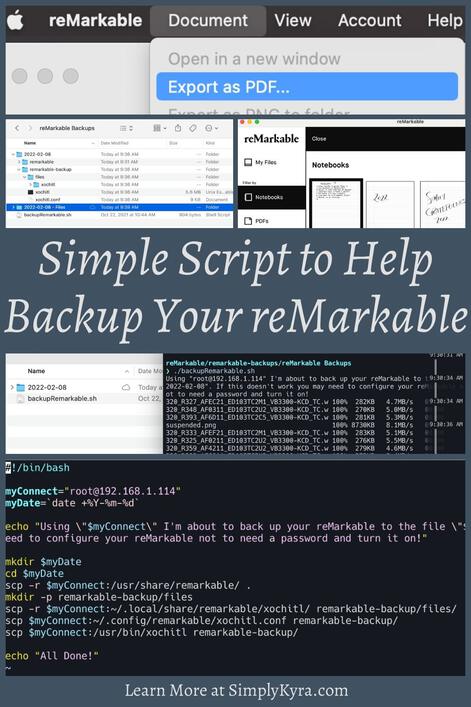
TLDR: If you’re looking for the script that runs the backup it can be found on my blog’s GitHub repository page or directly here: backupRemarkable.sh. You’ll need to update line 5 to include your I.P. address before running it. I embedded the GitHub Gist at the bottom of the post.
Quick Warning
I have never needed to use these backups to restore my reMarkable so I haven’t needed to confirm if they have everything I would need. Hopefully, if it comes to that for you, this gives you something to start with and, if so, I’d love to know in the comments below if it was enough. If not what would be helpful next time?
The Process
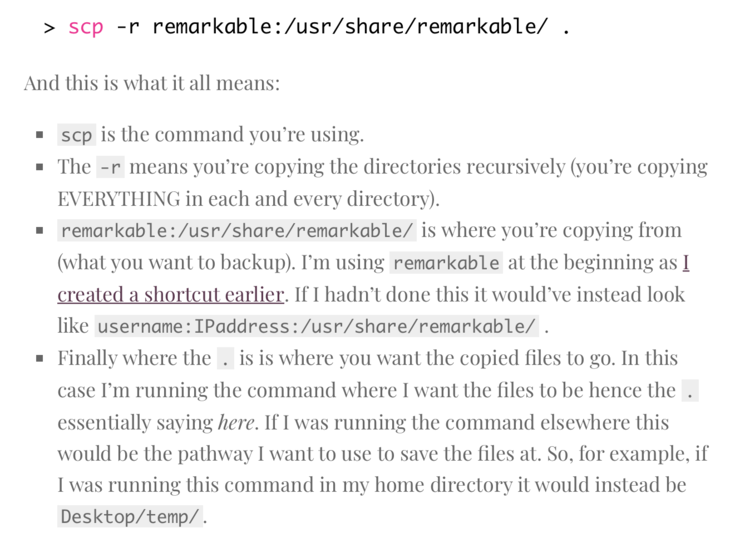
After deciding I needed to come up with some way to backup my reMarkable I took it in bits and pieces. One of the earlier steps was shared at the beginning of my Switch Out Your reMarkable’s Sleep Screen… Plus Easily Back it Up post. Here I navigated to where I wanted the files to be located on my computer and then used scp to copy all the contents of the /usr/share/remarkable directory on my reMarkable to this spot (.).
After a bit I came across reMarkableWiki (specifically the Making Local Backups part at the bottom of their File Transfer post) and realized I should be backing up the xochitl related directory and files too.
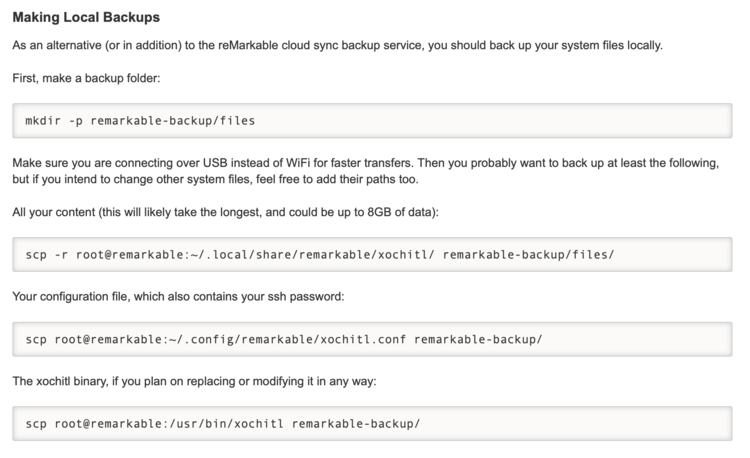
scp commands to back up the system files locally.Like the site says I start by making a directory and navigating to it in the terminal so I have somewhere to store the backed up files. I then run the three commands one after the other. For me I connect to my reMarkable through SSH over WiFi so the last command, backing up the xochitl binary, takes a while. That said the wiki mentions it would be faster if connecting via USB rather than WiFi.

scp root@remarkable:~/.config/remarkable/xochitl.conf remarkable-backups/ and scp root@remarkable:/usr/bin/xochitl remarkable-backups/ run the quickest.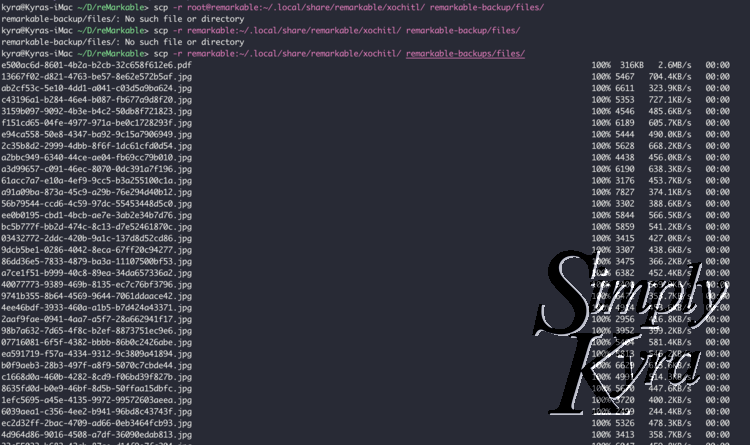
scp -r root@remarkable:~/.local/share/remarkable/xochitl/ remarkable-backup/files/, takes the longest… though it kicks off a bit faster if you remember what you named the backup directory you want to use.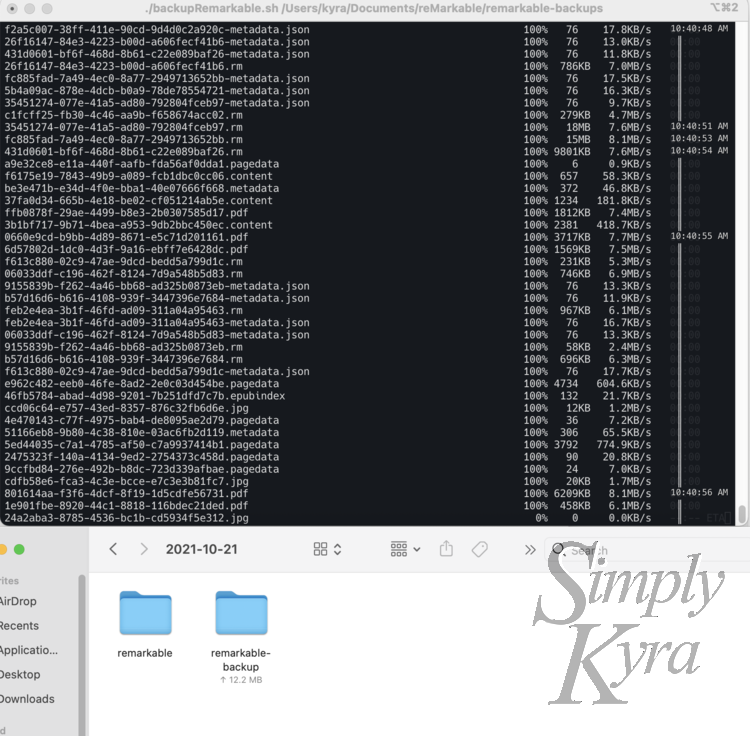
WiFi but the wiki mentions connecting over USB to make the transfer execute faster.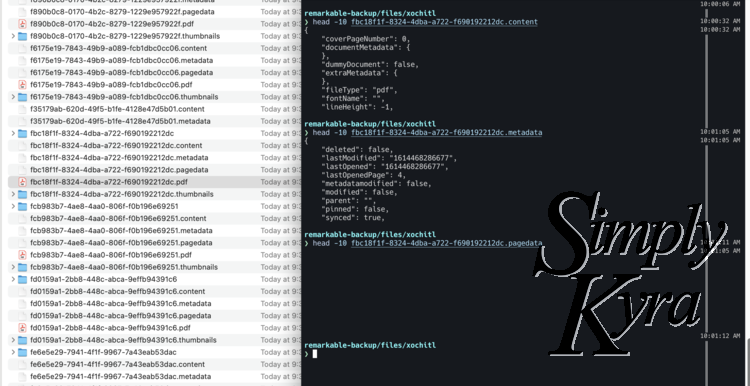
head -10 and this is what I saw.As I’ve never needed to restore my reMarkable I wasn’t quite sure which of the files I’d need so when I started creating my backup script I decided to include both my original command along with these three newer to me commands.
The Script Explained
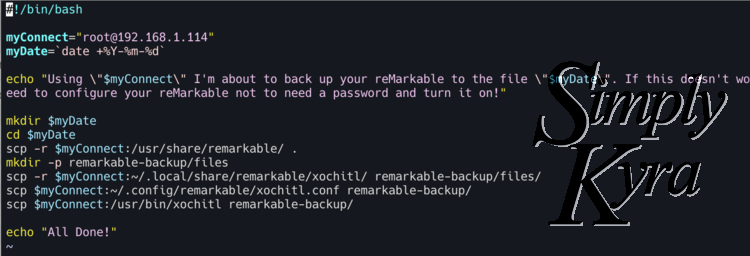
To create the script I took the four commands above, threw them into a script, and padded it with a bit of user friendly text. In it’s entirety it’s:
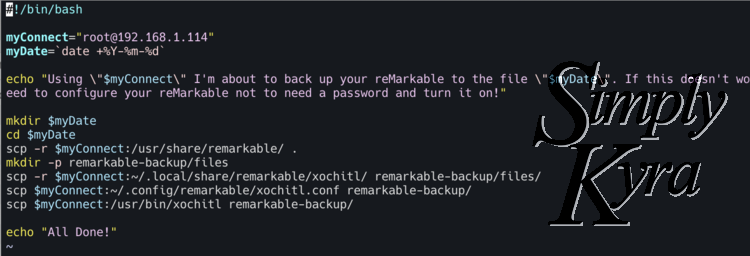
But I’ll quickly go over it in case you want to make it your own. Of course it starts out with:
#!/bin/bashI started out with !/bin/bash so the interpreter knows how to execute the script which, in this case, is Bash installed in my /bin directory. If you want to explore this more you can check out the Shebang wiki on the Linux Shell Scripting Tutorial page or read the three minute Bash Shebang article on Linuxize.
myConnect="YOUR IP ADDRESS"
myDate=`date +%Y-%m-%d`
I then declare and define my main two variables used in the script. The first, myConnect, stores the username and I.P. address information which is the one thing you’ll need to change to run with your reMarkable. You’ll need to replace the “YOUR IP ADDRESS” with your username at I.P. address so, for example, root@111.111.1.111. This is used to access your files when using scp to copy them off your reMarkable. The next variable, myDate, creates a string containing the current date in the right format. This is used as the name of the directory to store the copied files.
echo "Using \"$myConnect\" I'm about to back up your reMarkable to the file \"$myDate\". If this doesn't work you may need to configure your reMarkable not to need a password and turn it on!"With the two variables created I next output a string letting you, the user, know that the script is about to create a directory and backup the files into that directory. It also warns you that you may need a password to make it work. For me I use a public key so when I SSH into my reMarkable or use scp to copy files it doesn’t ask me for my password. If you’re interested in doing the same I shared about how I did it in my Learn How to Access Your reMarkable Through the Command Line post. I also included the two variables in this string so it also shows you what the script sees and, if it fails, it may be easier to troubleshoot as you can quickly see these variables printed out on the terminal screen.
mkdir $myDate
cd $myDate
Since this script is going to live, and be executed in, the directory storing all the backups all I next need to do is create a directory for this specific set of backed up files. In this case I use mkdir to make the directory and then use the date variable I created to name the directory. I then use cd to move into the new directory so I’m ready to create the backups.
scp -r $myConnect:/usr/share/remarkable/ .With the prep out of the way it’s time to start backing up the reMarkable’s files. Here I start out with the original command I used by copying all of the files in the reMarkable’s /usr/share/remarkable/ directory onto my computer and into the current directory.
mkdir -p remarkable-backup/files
# all your content (this will likely take the longest, and could be up to 8GB of data)
scp -r $myConnect:~/.local/share/remarkable/xochitl/ remarkable-backup/files/
# your configuration file, which also contains your ssh password
scp $myConnect:~/.config/remarkable/xochitl.conf remarkable-backup/
# the xochitl binary, if you plan on replacing or modifying it in any way
scp $myConnect:/usr/bin/xochitl remarkable-backup/
I then want to execute the commands listed on reMarkableWiki’s File Transfer page. To do this I need to start by making the proper directory needed to store the files. Here the -p flag is added which means to create a directory structure with the missing parent directories (if any). Once the directory is made I execute the three commands.
echo "All Done!"With that we’re done so I output the proper text just to make in a bit more obvious before the script fully ends.
Running the Script
With the script created I saved it to a directory that will hold all the reMarkable’s backed up files. I then open a terminal here and use ./ to run the script. Of course you’ll also need to make sure your reMarkable is turned on so it can connect properly.
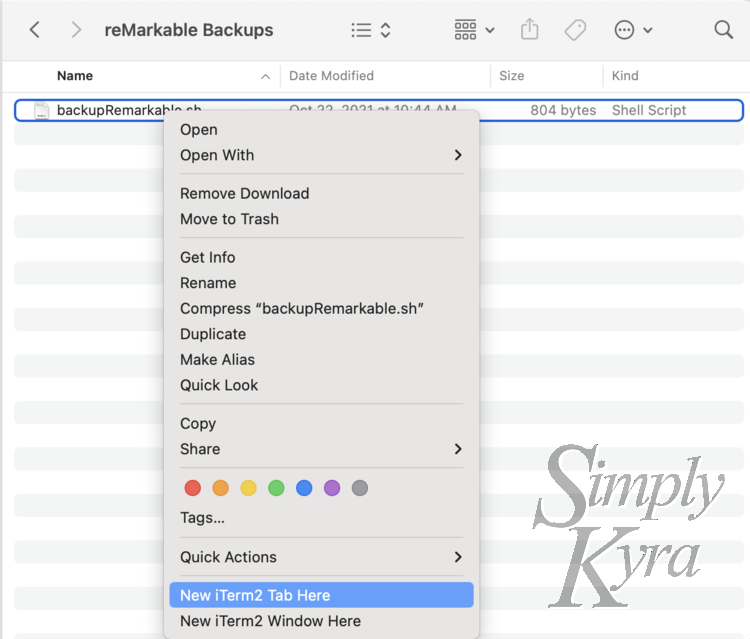
iTerm so when I have the file dialog open I can right-click on a file and open a new iTerm tab with a pathway already set.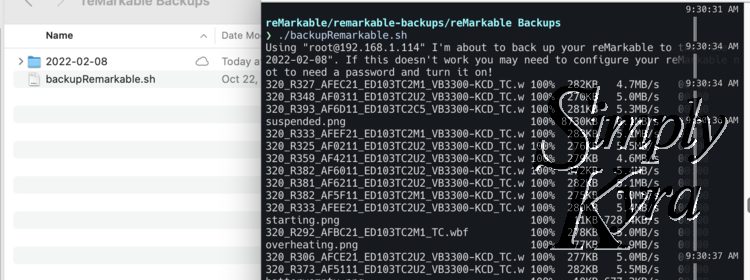
./backupRemarkable.sh. Essentially a . and a / followed by the script’s filename. You can see on the left side that the dated directory was created and, on the right side, the string was outputted with the variables and now the reMarkable’s files are being copied over and thus backed up.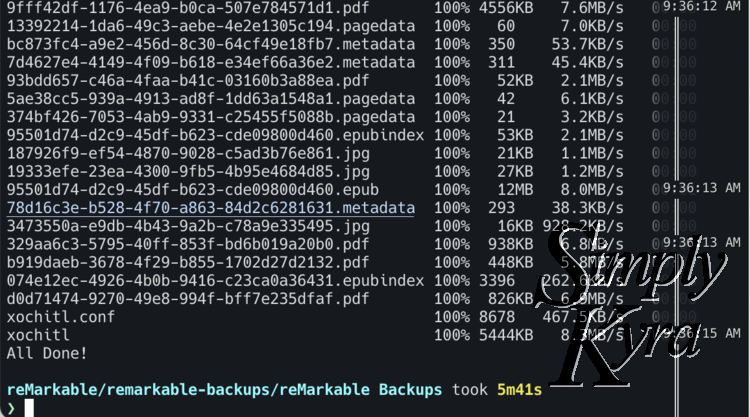
All Done! and then waits for you to enter any other commands. In all, this time, it took 5 minutes and 41 seconds. I’ve only done this over WiFi and haven’t tested this over USB so I’m not sure how much quicker it would take in that case.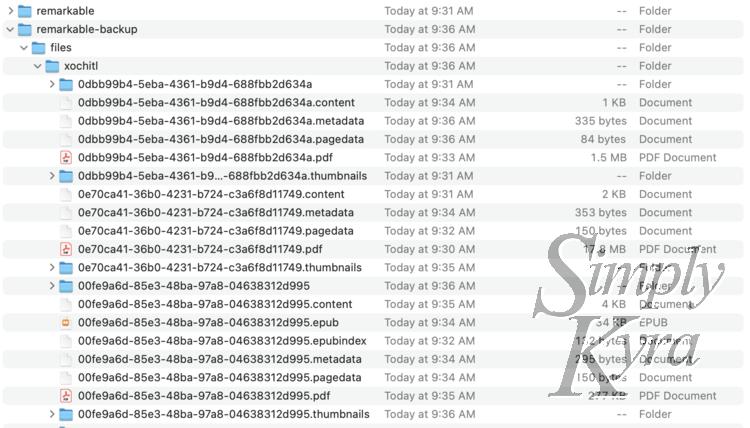
Directory filled with, hopefully, all the files you’d need to restore your reMarkable if something does happen.While typing this up I was curious what would happen if the script was run twice in one day so I kicked off the script twice in a row to answer this. It tells you that the file exists when attempting to create the directory but then continues on and backs up all the files. As it takes the same amount of time to execute as the first time and as we can easily see that there’s no duplicate files we know that the script is just overwriting the files from the first run. Thus if you want to backup your reMarkable twice in one day I recommend you either change the script to include the time in the myDate variable or manually rename the directory after the first backup before running the next one.
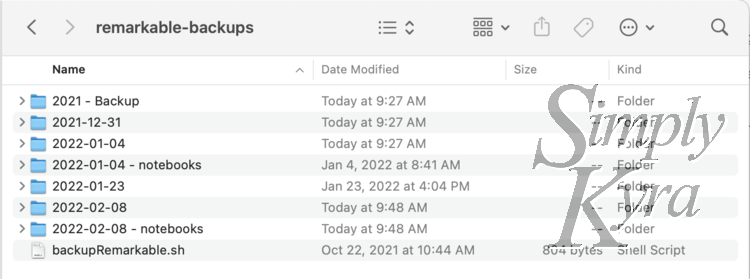
Anyway I keep my backups in this one directory and make sure to run the script every once in a while so I’m hopefully covered if something happens. I also make sure to run the script before executing any potentially problematic commands so I know I have a failsafe. Sometimes I go back after running an update and add text after the date in the directory name explaining why I ran the backup or when I ran it… like if I ran it right after a reMarkable update or before trying thing X.
I also sometimes create another directory named date – notebooks and manually export any notebooks I know I wouldn’t want to lose.
Manual Backups
Sometimes I want to be extra secure so I decided to backup my notebooks. I’m assuming the backup from before includes the notebooks themselves but just in case I wanted a more human-readable method. So far I’ve only exported my notebooks as PDF files and haven’t figured out an easy way to do this… but I figured I should show you how I do it manually.
Anyway before exporting the files I go to my backups, create a new directory, and add the text - notebooks after the date.
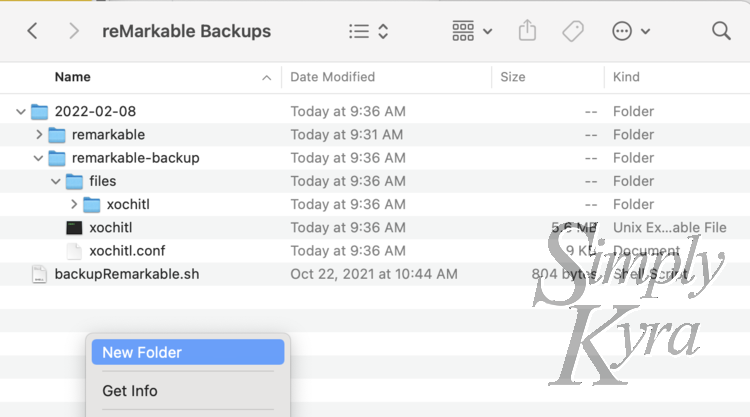
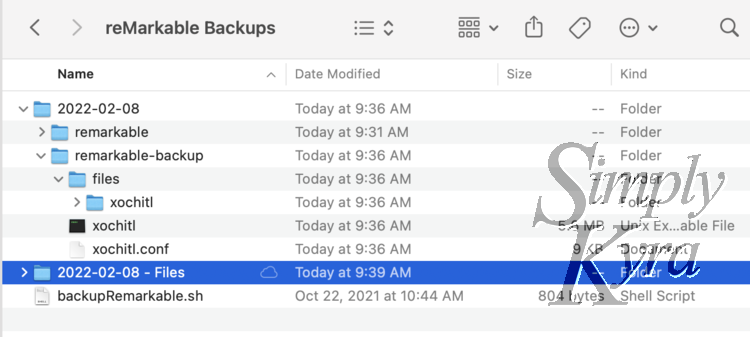
- Files to the end. Later ones I instead named Notebooks.With the directory created I next went into the official reMarkable application on my computer and filtered the results by Notebooks on the left hand side. After clicking on one I could either right-click to export or I could go up to Document on the menu to see the same options. If I wanted to backup all the notebooks I make sure to select a single notebook, press CMD and A at the same time to select them all, and then right click or go to the menu to export them all as PDF files to be save to this newly created directory. This does take a bit of time to happen but, as of April 14th 2022, there will be a loading line under each file as they export and the finished pathways will be listed at the bottom.
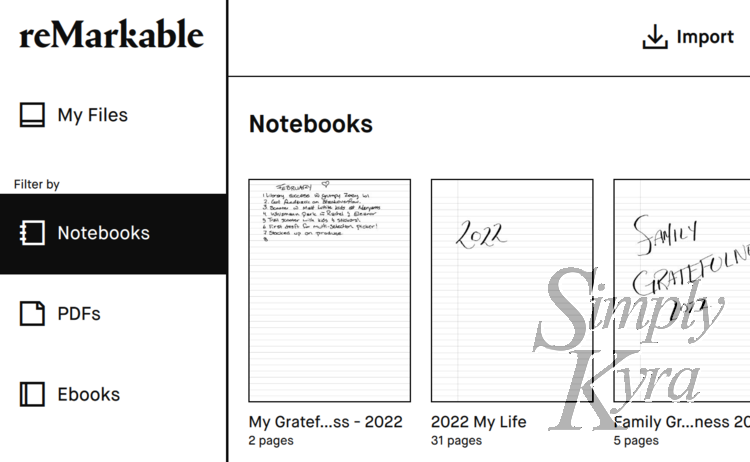
Notebooks on the left to only see Notebooks in my window.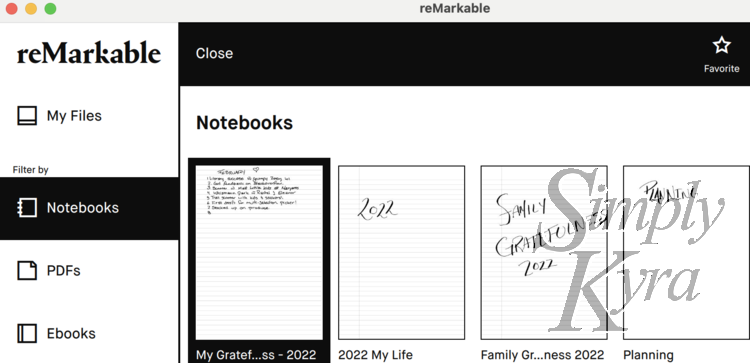
CMD and A at the same time to select all of the notebooks at once.
Document and then Export as PDF....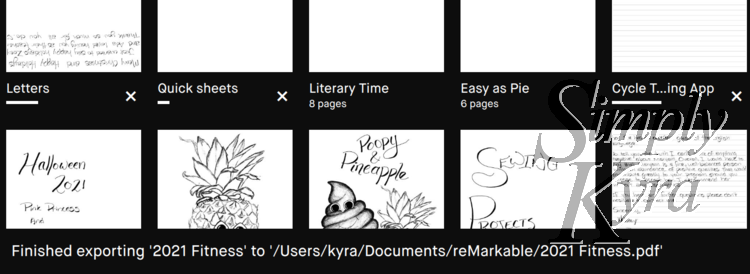
PDF file.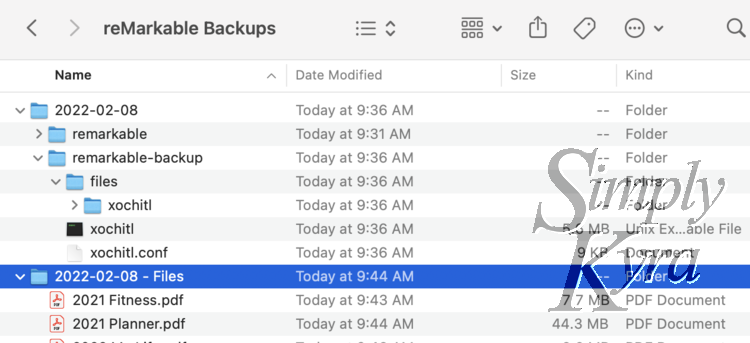
Word of warning about this if you use custom templates. The custom templates are stored on the reMarkable itself so the application doesn’t see them. This means any notebook page that uses a custom template will only show a blank background behind your text if you export it from the app. If you want the notebook backed up with the custom template visible you’ll need to export it from the reMarkable itself. So far I’ve only done this by emailing the PDF to myself but I have noticed that large notebooks won’t email. Thus I’ve gotten around this by emailing subsets of the notebook and combining them on my computer later. This is a longer process though.
The Code
Here's the Github Gist:
Conclusion...
I considered, briefly, looking into making this script into a cron job so my device could be backed up regularly and automatically but quickly realized that wouldn’t work as my reMarkable would have to be turned on for the scp connection to take place. That said, if you do deck out this script I’d love to hear how in the comments below.
I hope you never need to use this BUT if you do I’d love to know how you recovered your reMarkable. Was there something you wished you had backed up that I could add to this script? Was there something you were really glad you had? And how did you go about recovering it? I’d love to hear about it in the comments below and maybe it can help someone else in the future too.
I hope you’re having a good day and a great week.
If you’re interested in getting any of my future blog updates I currently come out with a new one every second Wednesday and share them to my Facebook page and Instagram account. You’re also more than welcome to join my email list located right under the search bar or underneath this post.

