
Simple and Exciting Sensory Play Gift Ideas
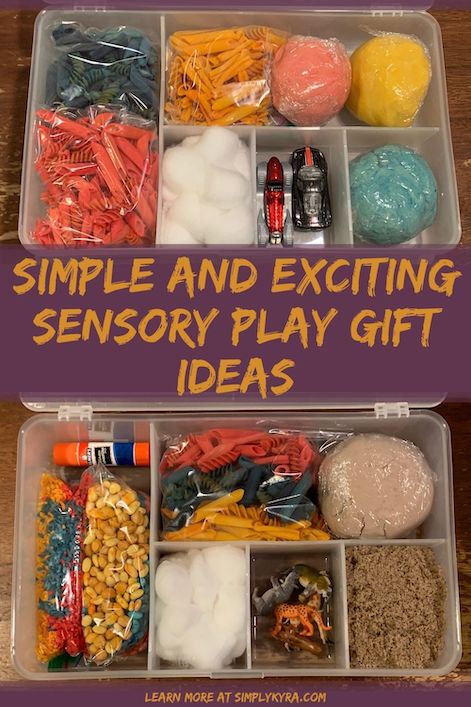
Are you looking for a last minute kids’ sensory bin gift idea? Over the years I’ve been staring at the incredible containers Jen, through Mama.Papa.Bubba., has been making and loving them all. This year I couldn’t put it off any longer so when we made an Ikea order several months ago I just had to include the same GLIS containers that she uses. The containers arrived much larger than I had expected, should’ve checked the measurements, but I went ahead with them to make sensory gift packs for our friends this year. I wanted to share with you what I did in case you’re also interested in the same. If you don’t have the container that’s totally fine. You could always bundle the pieces together in a gift bag or wrap it within a shallow container so there’s some way of containing the resulting sensory fun. Plus there’s so many ways you could change this up to fit who you are and who you’re gifting it to.
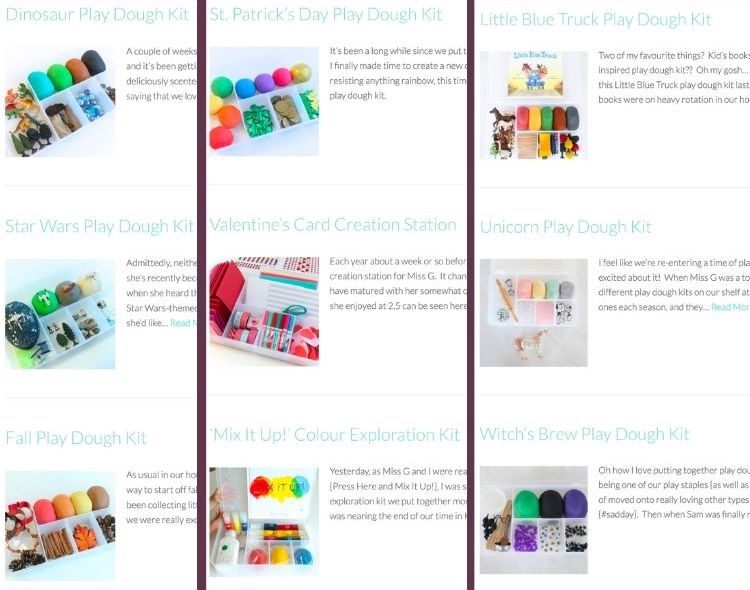
First let’s take a moment for all the amazing sensory bins I’ve seen through Mama.Papa.Bubba.’s website and Instagram page using the IKEA GLIS plastic containers. I actually took a screenshot of many of them after searching on her website’s for GLIS. My absolute favorite is the Mix It Up! kit using the primary colors as sensory materials and including the book by Hervé Tullet. The other ones that jumped out at me the most were the Little Blue Truck Play Dough Kit, the Valentine’s Card Creation Station, and the Snowman Play Dough Kit.
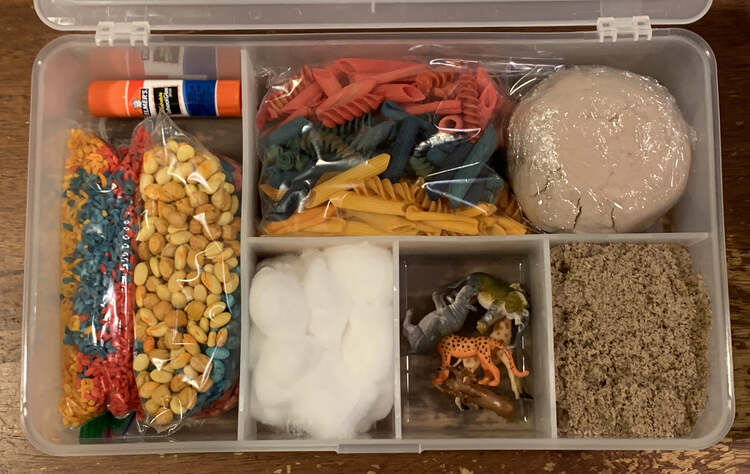
Anyway with COVID keeping us inside more I’ve decided to make my own sensory kit for our friends as I thought it would be the perfect gift. Once my IKEA order arrived with the GLIS containers I set to work deciding what to put in it. I wanted the containers to be open ended enough that I could make one set of items that would work for everyone we gifted it to and have multiple ways to use it depending on the child. After a bit of pondering I decided to include:
- dyed pasta which quickly expanded to include several different dyed pantry items including pasta, beans, and rice. I figured colorful sensory materials were a very versatile item as they could be used as a material within a sensory bin (to drive vehicles through or feed to toy animals) or be used to create gorgeous artwork. Last week I shared how I dyed these materials using water-based food colors.
- playdough. I really wanted to include playdough in some way but as I didn’t want it to take over the whole entire kit I ended up making a single type of extra special playdough instead. I had recently bought an amazing bedtime essential oil blend for the kids so I decided to add some of that to the playdough so it hopefully has a peaceful and calming effect. However, as one of the kits were going to a younger child I decided to leave one essential-oil free so there would be no worries about them tasting it. In case you want to include playdough in yours here is my go-to recipe and, as I’ve posted many times about playdough before, here’s a link to a list of all my playdough-related posts in case you might want to explore further.
- kinetic sand. I wanted to include many different ways to allow the kids to play and explore on their own… and let their parents relax. I figured some kinetic sand would be a great thing to include so I bought some through Amazon. This can get everywhere as my kids don’t keep it in the bin but I’ve started limiting the play to the day before we vacuum so it isn’t too annoying on the floor as no matter how much you sweep up there’s still some left behind.
- cotton balls. It sounds incredibly random but right before Thanksgiving I came across an image of a slice of playdough pie with a cotton ball whip cream placed on top. It looked so realistic and got stuck in my head so when I was making these kits I knew I had to include cotton balls. I also figured the cotton balls could be used like snow in a pretend world sensory bin or used as an art project becoming a snowman glued to a sheet of paper or something.
- glue stick so the children can create and glue pasta and cotton balls into amazing works of art.
- toys. I wanted to include some kind of toy to make the sensory worlds truly livable. Ada had recently been asking me for some small plastic animals so I bought a container of small plastic wild animals off of Amazon and split them between the girls’ Christmas stockings and the sensory kits. I loved how the toys looked so I went back and bought a set of ocean animals and did the same. I figured including animals would generate the creation of whole worlds for them to live in.
Originally, back when I somehow thought the containers were half their size, I had planned on putting all the sensory materials loose inside the kits so the children could pick what they wanted either one at a time or all at once. Once seeing how big they were I decided to package each material up so they could be better rate limited, if desired, rather than a complete free for all.
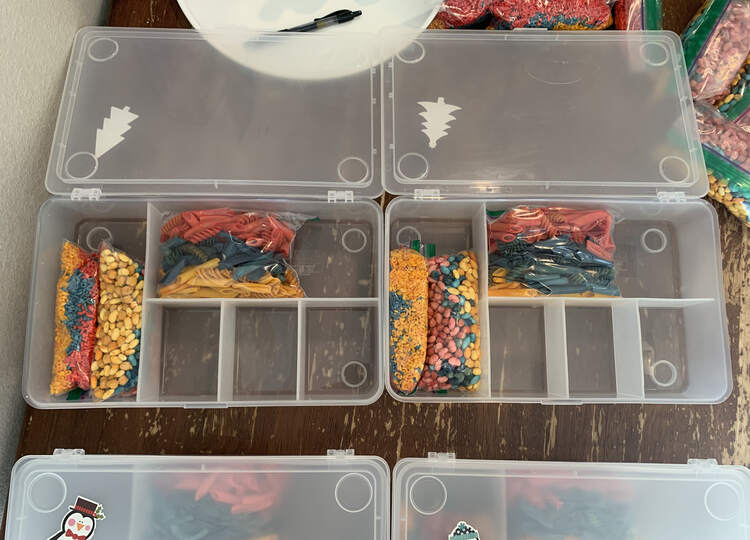
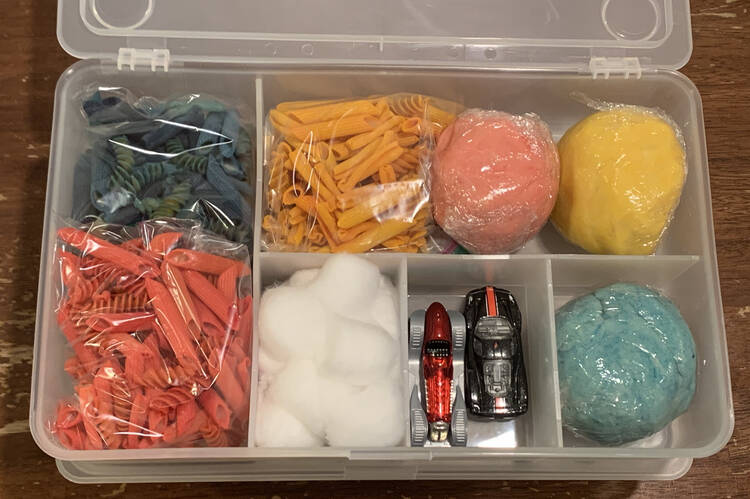
I chose most of the above objects so the kids could create imaginary worlds with the animals and all of the materials. We’ve had playdough last until we tire of it and have dyed pasta from years ago in our home so I figured these materials could last for years as sensory bin items or be happily used up in fun art projects.
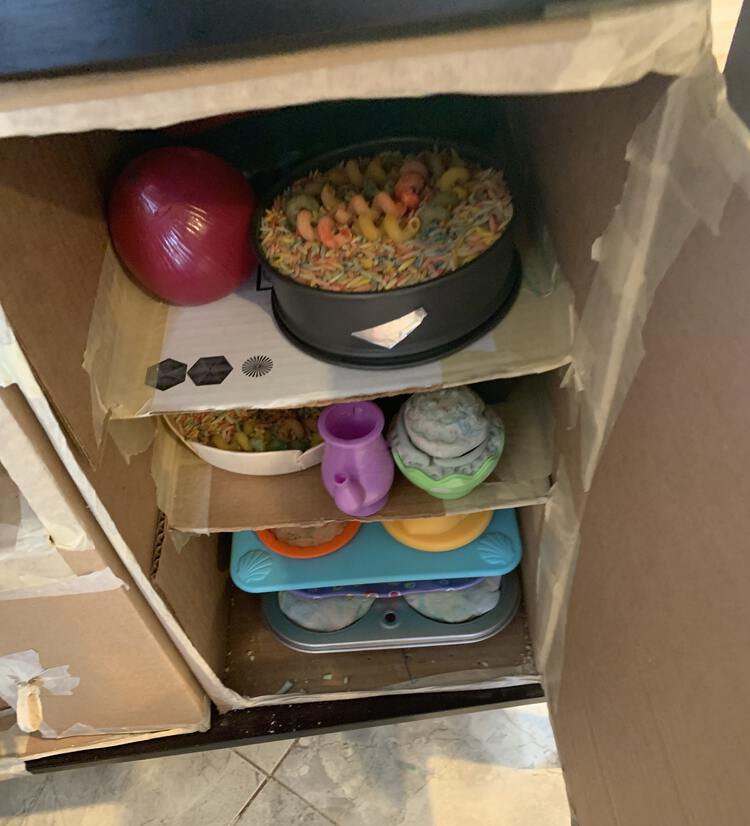
When the kids were younger most of their pasta-related play consisted of moving the pasta between small containers, then it became separating out the pasta based on type and/or colors, and now it’s mostly pretend play either with plastic characters or using the pasta with our kitchen set. To help encourage the kids’ pretend play I’ve kept a selection of plastic characters in our sensory cupboard that they can choose from to play with.
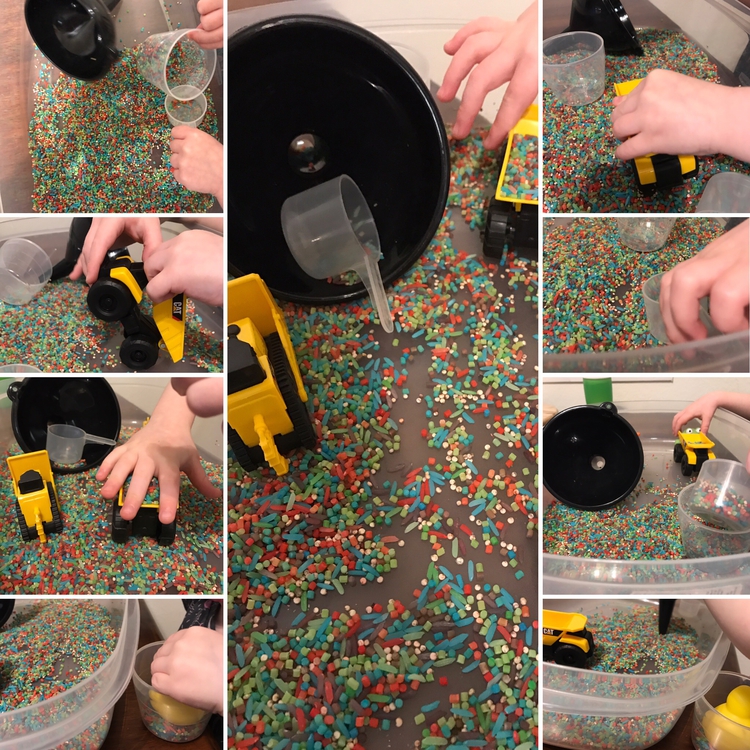
We haven’t attempting beading with pasta yet but I can easily see making necklaces with dyed penne or some other holed pasta. If your kids are too young for necklaces or don’t care for them you could have them thread the pasta onto pipe cleaners or some other cylinder. I’ve often seen people stick straws or spaghetti noodles into playdough and then a toddler can try to thread pasta onto them. I just looked this up so you’d have an idea what I was talking about and I found Speak. Pray. Love.‘s post where she stuck the playdough to a highchair tray and used wagon wheel pasta.
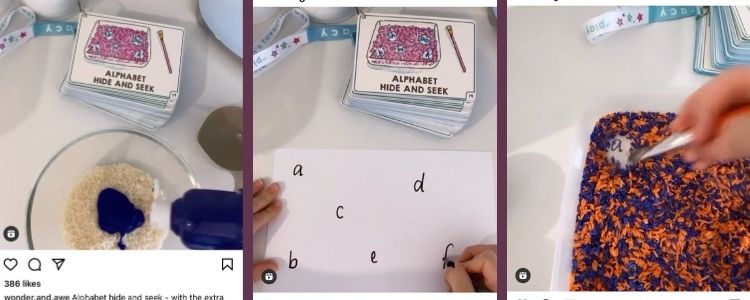
Recently I came across this Alphabet Hide and Seek game on Instagram through wonder.and.awe and I absolutely love it. She basically wrote out letters spaced out on paper, covered it up with a clear tray, filled it with colorful pasta, and then the kid has to go searching for the letters by cleaning the pasta away. A while back I bought smaller clear trays to practice letter writing with and now I’m wondering if they’re still clear enough for us to do this with them.
If the kids don’t feel like sensory play they could always create art with the sensory materials. My kids haven’t created pasta art yet but I could see blowing their minds with it at some point in the future although I don’t know where we’d put it once we finished hence why we haven’t yet. To get an idea of the range of things you could create with pasta I just searched pasta art kids on both Google and Duck Duck Go and got so many results that it was easier to look through them in image mode.
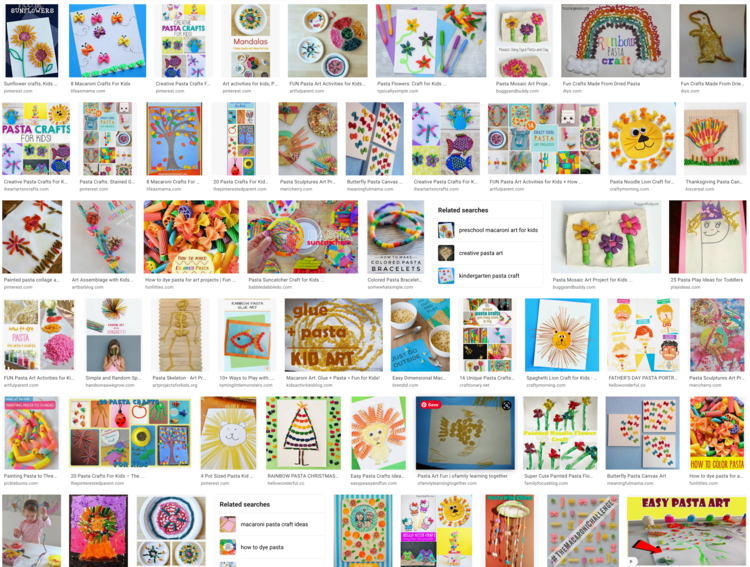
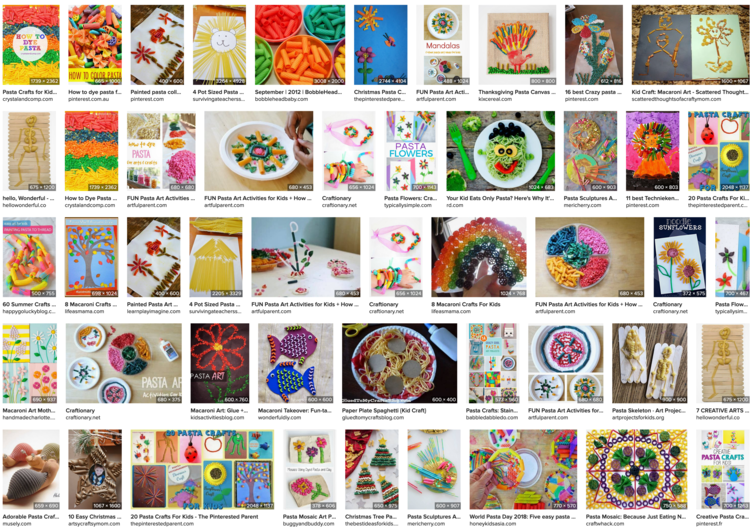
Some of the images that caught my eye were:
- A list of Fun Crafts Made From Dried Pasta through DIYs.com. I specifically loved the image of the pasta dinosaur so I just clicked through and found it came from Muslim Learning Garden and was a step on the way to create a T-Rex playdough cast after visiting the Royal Tyrrell Museum. I also loved the clay and pasta shells snails from Oeil2cha, Chica Circles’s pasta gingerbread birdhouse, and the lasagna noodle stained glass through Babble Dabble Do.
- The Artful Parent created a great post on different Pasta Art Activities for Kids and I loved how it looked like her dyed pasta art was limited to a single paper plate. I adored the mandalas they created and the adorably cute pasta sculptures.
- The Pasta Flowers shown on Typically Simple were beyond adorable. I love how if you don’t have green pipe-cleaners you could just draw in the stem too.
- Life As Mama included a list of other pasta-related art with some adorable bow-tie butterflies flying above some halved bow tie grass that links back to Crafty Morning. I love how bright their butterflies were and realized they had colored them in with chalk markers. There’s also a really intricate pasta decorated pencil holder that links to a Parents list without any obvious directions.
If you love the idea of making a sensory play kit but just don’t have the time I was previously gifted from a friend two kits from PlayAtHomeMomCo (no affiliate) on Etsy and we loved them. She has tons of themed kits either in a small plastic container or in a wooden tray along with extra sensory mix if you wanted to expand one out.
I hope this helps you out and I’d love to hear what sensory bins you’ve made in the past. I love the kits but have kept our sensory cupboard more open ended by having the kids pick and choose what material, tools, and toys they want each time. How does your sensory process work? What’s your favorites sensory activities? Feel free to share in comments below. I hope you’re having a great week.
If you’re interested in getting any of my future blog updates I currently come out with a new one every Wednesday and share them to my Facebook page and Instagram account. You’re also more than welcome to join my email list located right under the search bar or underneath this post.

