
Pumpkin Explosions Sensory Play
Are you looking for a fun way to say goodbye to your Halloween or Thanksgiving pumpkins? Ada and Zoey had so much fun painting and drawing on them (shown in several photos on my Halloween Trick-or-Treating Bags post) and then went on to add stickers to their pumpkins that I knew I couldn’t just throw them away without a proper send off.
Just a word to the wise be sure to keep track of your pumpkins. I left the kids alone while they were decorating their pumpkins and Zoey ended up ‘losing’ hers. When pressed for details she revealed the pumpkin was hidden in the bedroom… but four days later I finally found it hiding under our Duplo bag in the living room. After that the magic of the pumpkins wasn’t as strong for me but I didn’t want to just throw them away either which led to these pumpkin contained explosions.
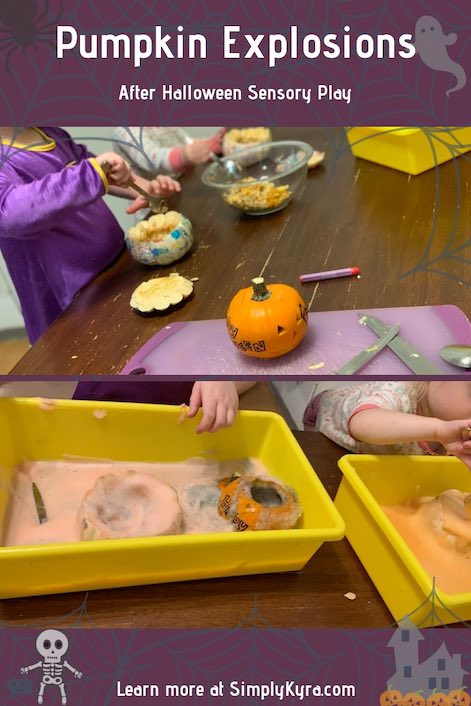
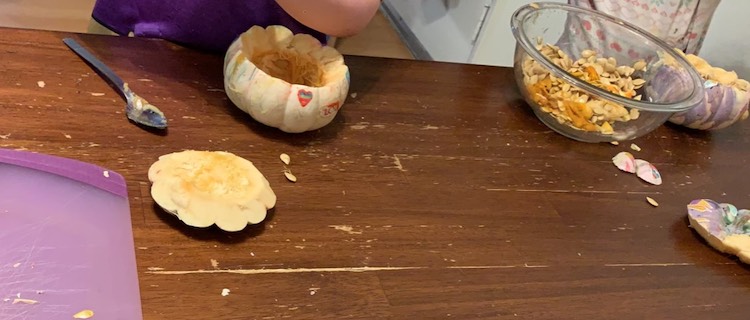
When I started this activity I through I was going to do a really simple baking soda and vinegar pumpkin explosion. I had planned to give the kids a container of baking soda and a squirt bottle or pourable container of vinegar and then leave them to it to see what they did. While the kids removed the guts of the pumpkin I realized I was almost out of vinegar and went looking for other ideas. I had made elephant toothpaste once before and hadn’t liked the yeast smell that resulted the first time but it seemed like the best bet for our pumpkins. Last time we did the experiment outside where the sun heated the leftover elephant toothpaste so I decided inside and in a bin was the best bet this time.
If you don’t have yeast or hydrogen peroxide available or if you’d prefer to do the baking soda and vinegar volcano pumpkins I looked up two great blog posts. You can find more information over at “Pumpkin Volcano Science Activity” through Little Bins for Little Hands or Growing A Jeweled Rose’s “Erupting Pumpkin Experiments for Kids”.
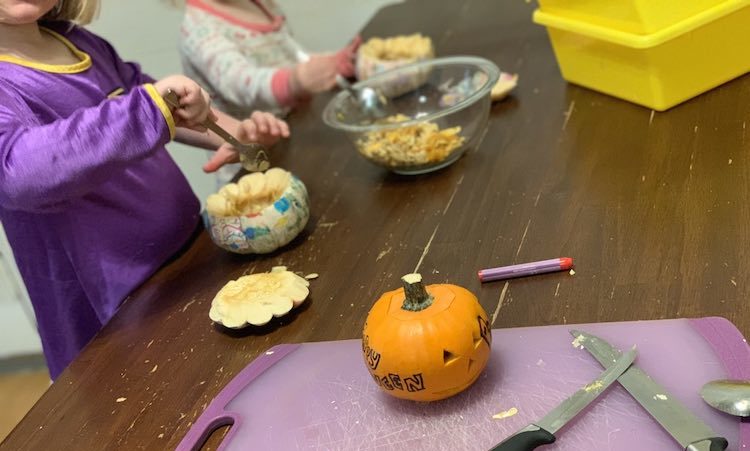
While trying to quickly figure out what experiment we should do on the pumpkins I came across a blog post on Sciencing called “Homemade Volcano Alternative to Baking Soda and Vinegar”. In it they included four alternatives you can do including elephant toothpaste, mentos and diet cola, ketchup and baking soda, and finally salt and soda/pop. The elephant toothpaste is so named “because the resulting eruption looks like an elephant’s trunk squeezing out toothpaste”. To find out the exact ratio of ingredients needed I went to wikiHow’s “How to Make Elephant Toothpaste” article and discovered you could make a home version using 6% hydrogen peroxide and dry yeast or you could make a lab version using 30% hydrogen peroxide (H2O2) and a saturated solution of potassium iodide (KI). Since I wanted this to be safe for the kids, and I only had 3% hydrogen peroxide on hand, I went with the home version and ended up with less foam than if I had bought the 6% solution. WikiHow posted that the 6% solution isn’t readily available but “beauty supply stores will sell 6% hydrogen peroxide as [a] bleaching agent.”
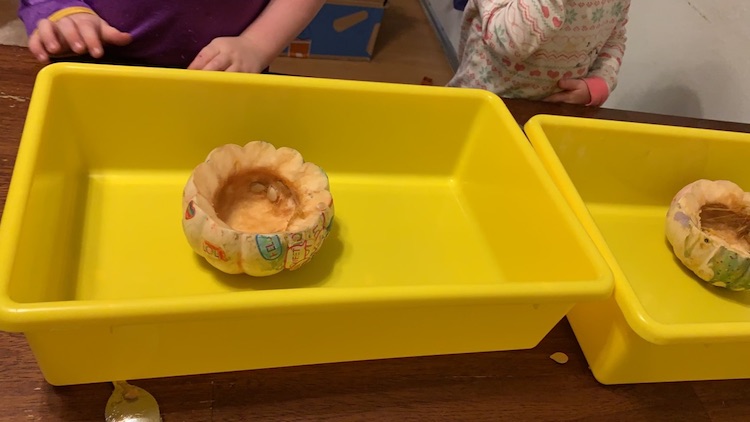
I started by pouring a tablespoon of dry yeast and three tablespoons of warm water into either kids’ pumpkin and then had them stir their own mixture together. While the yeast activated I then mixed up half a cup of hydrogen peroxide with some liquid dishwashing soap and food dye. I mixed either kids solution seperately so they could choose what color they wanted their elephant toothpaste to be. I then had them stir their own solution (while watching carefully) and then had them pour it into their own pumpkin. If they pick a secondary color this is a great opportunity to mention which food dye colors you’re mixing together to get their color.
After creating a reaction in both of their pumpkins (red and orange foam) I went on to create a reaction in my pumpkin (purple foam). I had cut a face out on the side of my pumpkin so some of the yeast and warm water escaped before I could pour the hydrogen peroxide solution in. This time I left out the dish soap to see what would happen and the bubbles still resulted althrough they were slightly larger and much more fragile since the dish soap wasn’t there to trap the reaction’s created oxygen.
I also wonder if the reaction might’ve been bigger if we let the yeast and warm water mixture sit longer. It would be interesting to know how the wait time may affect the end reaction and how long is too long to wait before mixing it togther.
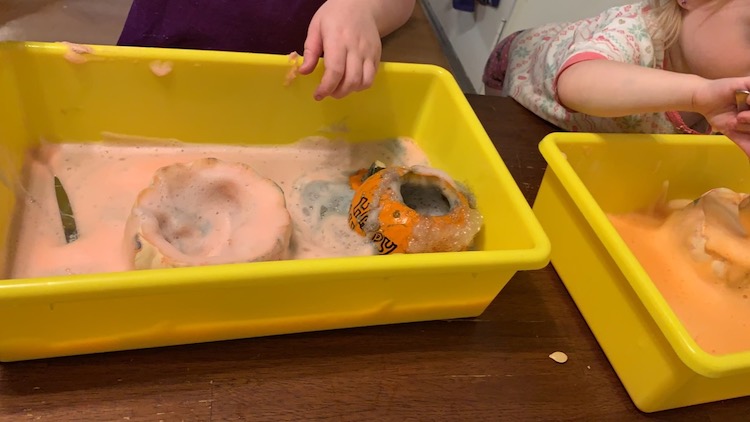
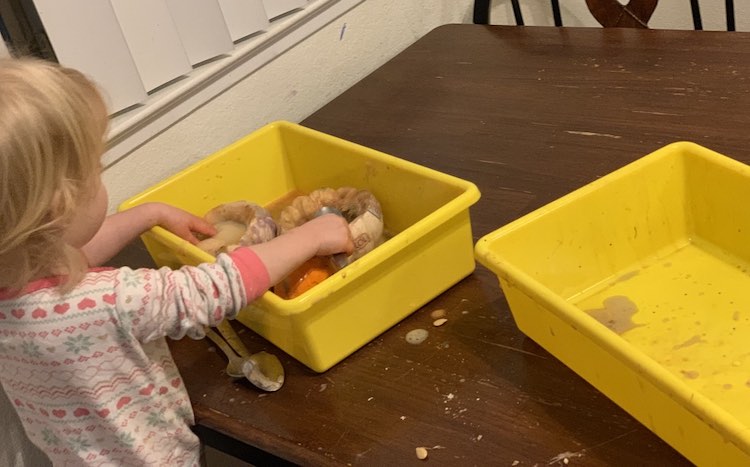
The kids had a blast watching the explosions and went on to use their spoons to scoop the foam back into the pumpkin and then used their hands. We didn’t touch the foam while the reaction was happening although it’s apparently an exothermic reaction and thus generates heat. The foam produced isn’t toxic as it’s only water, soap, and oxygen although I’d still be sure your kids aren’t going to try to eat it.
Pumpkin Explosions Sensory Play
Prep Time: 10 minutes
Play Time: 30 minutes
Ingredients
- 1 tablespoon (25.5 g) dry yeast
- 3 tablespoons (44 ml) warm water
- 1/2 cup (120 ml) 3% hydrogen peroxide liquid 6% would create more foam but might need more protection
- liquid dishwashing soap optional to trap the oxygen produced and firm up the bubbles
- food dye (optional)
- hollowed out pumpkins or plastic bottles
Instructions
- Put your pumpkins (or containers) in a bin or somewhere that would make the cleanup easier.
- Mix the dry yeast and warm water together to activate the yeast. You could do this in the pumpkin but be careful you didn't cut a hole to low that it comes out before you're ready.
- In another container mix the hydrogen peroxide, liquid dishwashing soap, and food dye together and mix.
- Pour the hydrogen peroxide mixture over the yeast and watch it erupt.
- We then repeated this experiment on the remaining pumpkins with different colors.
- Since the resulting foam is composed of water, soap, and oxygen we went on to play with it. This is a perfect opportunity to swirl around the different colored foam if you made it multiple times.
I hope this helps you come up with a spectacular way to say goodbye to your pumpkins when you no longer have a use for them. Even though I told Ada several times that this was goodbye for her pumpkin she still got disapointed that the pumpkins were thrown out so it was helpful that I took a couple photos beforehand and had the timelapse to show her.
I’d love to hear from you if you conduct this experiment. Feel free to share what you did in the comments below, on my Facebook page, or through Instagram. Have a great day!

