
Family Covid-19 Handprint Sign
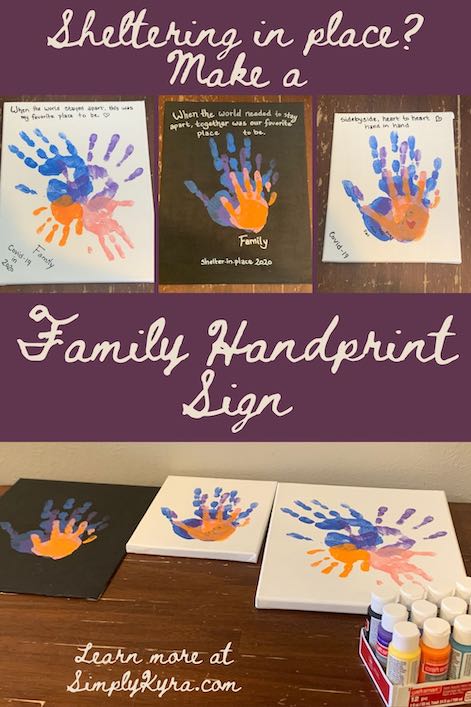
I can’t remember why but a couple of months ago I looked up handprint artwork, for fun, during the Coronavirus and came across several different types of family handprint art that were all so adorable. Essentially, the easiest version looked like you trace and cut out a single paper hand shape for each member of your family, stack them from biggest to smallest, and add a quote like “when the world stayed apart, this was my favorite place to be”. I’m not sure who had the first idea but it was amazing and I knew that if we did only one Covid-19 memory keepsake it had to be this one. After making other handprint art over the last several years I knew immediately I wanted to create ours with acrylic paint on canvas rather than with paper and glue. Although we haven’t yet gotten around to adding wire and hanging these up I’m so happy that we finally attempted them and, just in case I screwed one up, decided to try three versions of these family acrylic painted canvases. I love how they all turned out and I had to share these with you in case you’re also thinking about making something similar.
If you like the idea of preserving your kids’ hand or footprints in art but don’t want to specifically make this one I’ve previously posted our holiday-related canvas door signs. These include Halloween, Thanksgiving, Christmas, Valentine’s Day, Easter, and a general loved one for the kids bedroom wall. I left these Covid-19 canvases with only the acrylic paint on them but if you want to protect your canvas I’ve previously coated mine with outdoor Mod Podge since they are hung outside for about a month each year.
After discovering the Covid-19 shelter-in-place family handprint art I knew we had to make a painted one. It took me a couple weeks to get to it as I kept putting off looking for my canvases but finally realized that the shelter-in-place may actually lift (it’s been slow since then) and I knew I had to get the handprints done before then. I was also worried about a handprint getting smeared or writing the words wrong so instead of stressing about each step along the way I decided to simply create three different canvases and if one or two got screwed up oh well as I had a third. In the end all of the canvases turned out great so we ended up with three pieces of artwork. Matt and I each have our favorite one, out of the two larger canvases, and the kids like the small one so when we finally hang it up we may just put the small one in the kids room and the larger ones in our bedroom and the living room but who knows for now. The handprints themselves were the only time sensitive part so I’m not worried about getting them hung up right away.
I knew I needed to paint the canvas before we could start with the handprints so as soon as the canvases were found I quickly got the ball rolling by painting the entire front and sides of the canvas. I wanted the prints to show up easily so I started with white paint but then I wondered how black would look against the prints and decided to experiment by painting one of the three canvases black. I absolutely love how the handprints ended up standing out against the black paint so looking back I wish that I had painted all the canvases black. For the background itself I squeezed the paint onto the canvas and then spread it with a foam brush. If I needed more paint in a spot I squeezed some directly onto that spot of the canvas and then brushed it in. I made sure to paint the sides of the canvas and then, once the paint was spread, ran my brush over the entire canvas going in a single direction so the grooves made by the paintbrush would line up. Once the paint was fully dried I went over it again, with the same color, going across the canvas in the other way to minimize the grooves. I then left the canvas to dry overnight as I wanted to be sure the handprint wouldn’t smudge into the background.
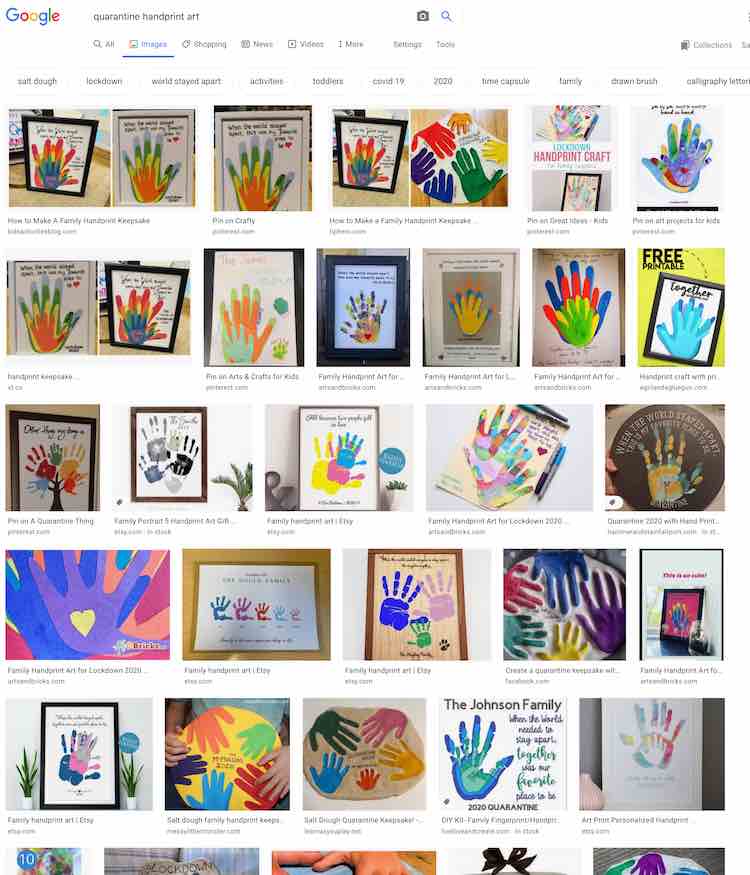
While the background dried I went online to look up the artwork, again, so I could figure out exactly how we should position the hands and what quotes I wanted to use. Looking at the results I realized that my favorite designs were when the hands were stacked and I especially liked it when the palms were overlapped so the size difference of the hands were more apparent and the fingers stood out more. Since I was making three different canvases I considered whether I should make each one different. I considered making one where each hand was slightly rotated a bit to make a fan-like shape and while talking it over with Matt he decided he liked it if I made a circle which ended up with us creating an X-shape with our hands. Looking back if you have a wide and short canvas I could also see lining up the hands so they all stand alone so nothing is hidden by another hand.
Whenever I previously made these canvases I used my art-grade acrylic paint I purchased a while back. This time around I had a set of acrylic paints I bought for the kids artwork so instead of digging for my tubes I decided to use these ones instead. I considered deciding ahead of time what each person’s color should be and making sure they all stand out from one another but I knew the kids would prefer to use their favorite color causing a snapshot into what our favorite colors where over this time. I briefly considered having them choose their favorite colors for one of the canvases and having me decide the colors for the other two but realized it would be simplest to stamp all three canvases with the same color so the kids wouldn’t have to wash their hands between each one. In the end I went with the simplest idea and each person chose a color and used it to stamp all three canvases so I just had to reapply a coat of paint to their hand each time and we left washing the hand until the end. And I’m so glad they all wanted different colors.
After I did two separate coats of the background color and made sure it was completely dried it was time for the handprints. We started with the biggest hand in the family, Matt’s, and after he choose the paint color I squirted it directly onto his hand and spread it out before he pressed his hand to the canvas. After the first one I reapplied the paint to his hand, by squirting directly onto the paintbrush, before he stamped the next canvas and then we repeated the process again with the third. On the two canvases where we wanted the stacked hands he made sure to leave his handprint in the center of the canvas while with the third canvas, in the shape of an X, he made sure to angle his handprint outward and put it on the upper left side of the canvas leaving just enough room to write above his hand.
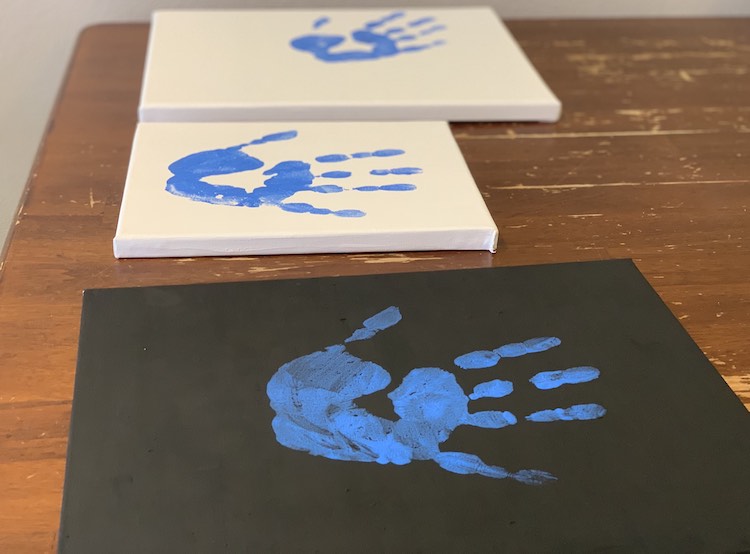
Quick word of advice? Make sure your paintbrush is completely dry before doing your handprint. Matt, mine, and Ada’s handprints went great but Zoey’s almost seemed too watered down because of the wet paintbrush. This was because there was less time between Ada’s and Zoey’s handprints compared to the other ones so the paintbrush didn’t have time to dry. If I were to do this again I’d blot out the brush with a paper towel, or something dry, before leaving the brush to dry so I’d be sure it wouldn’t water down my paint when we went to coat the next hand.
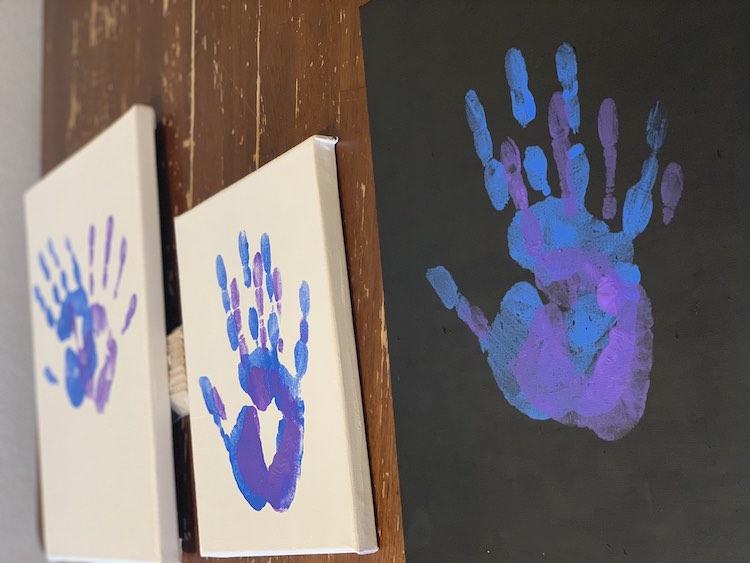
Once I was sure the blue handprint was fully dried I chose purple paint and, using my left-hand, painted my right-hand. Once my hand was coated I pressed it onto the canvas and then pulled it back up leaving a handprint behind. I then added more paint, evenly, to my hand and stamped my hand onto the next canvas. For the stacked handprints I made sure my hand was lined up with the bottom right side of Matt’s handprint allowing the fingers and thumb to stand out while the palms overlapped. For the X-shaped print I angled my hand away from Matt’s and stamped it so the palm and my thumb overlaps with his palm.
Once the paint dried, once again, it was time for the next handprint. When I asked Ada what color she wanted she chose pink… the one color I didn’t have. Since I wanted her handprint to be one color without any hue or shade changes, to match the style of the other ones, I premixed the red and white paint together on a plastic paint dish before applying it onto her hands. As I didn’t want to run out of the pink paint halfway through I made sure to mix more paint than I needed so after she stamped her hand on all three canvases, with me pressing lightly on top to make sure it was even, I let her use the rest of the paint for paper so we wouldn’t waste it. Once the pink handprints dried I let Zoey choose what color she wanted and she went with orange. Like with Matt and my handprints I squeezed the paint directly onto her hands and, for top ups, brush. Once her hand was coated I then helped direct her hand down and then gently pressed the top of her hand down to make sure it was pressed firmly.
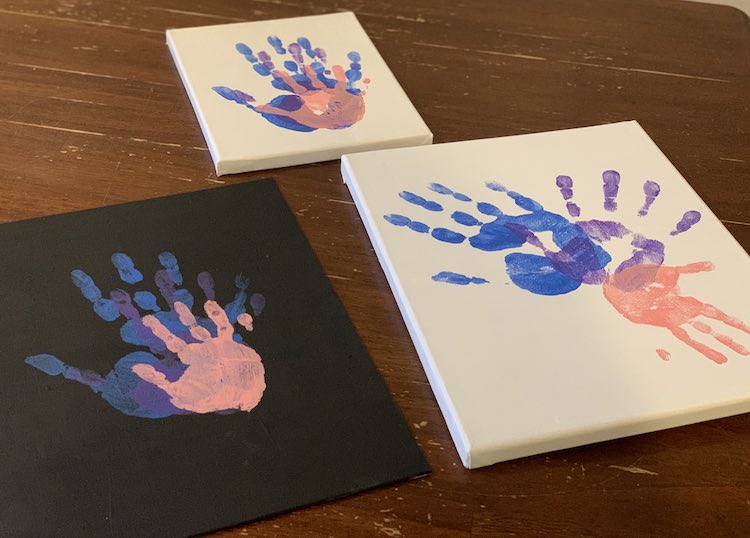
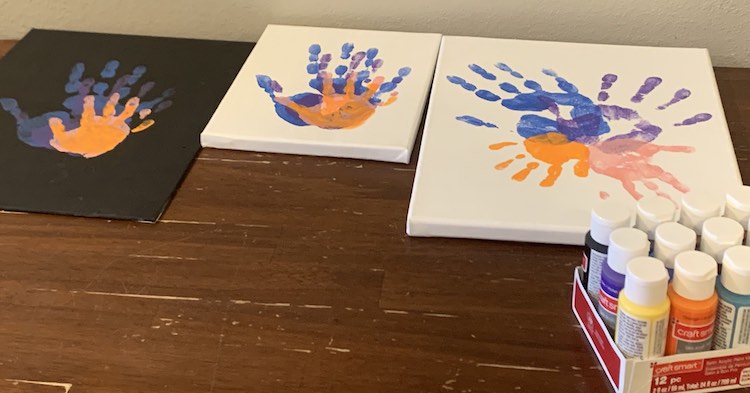
I absolutely love how gorgeously the handprints came out and I love all three of them; although the black one was my favorite as the colors popped extra magically. Once they were dry I was moving them around for a photo when Ada pointed out that I had forgotten to add a heart on them, as she had seen the ones that did online, so we quickly decided on a red heart and I added it to the stacked and overlapping palms on the smallest canvas.
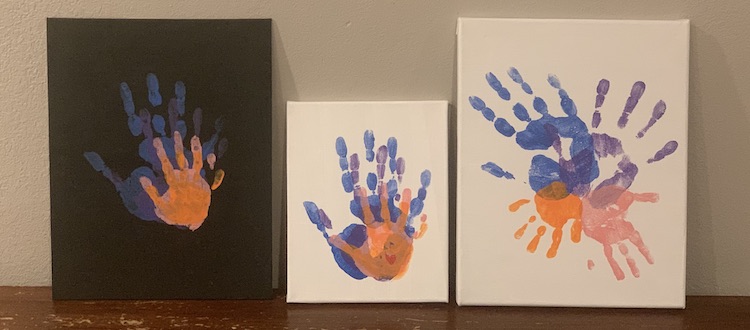
Once the paint dried it was time to take my oil-based paint pens and write out the text. I actually did these while the kids ate breakfast so they got to listen to the logic of my thinking while I did the first two and then got an input on the last one.
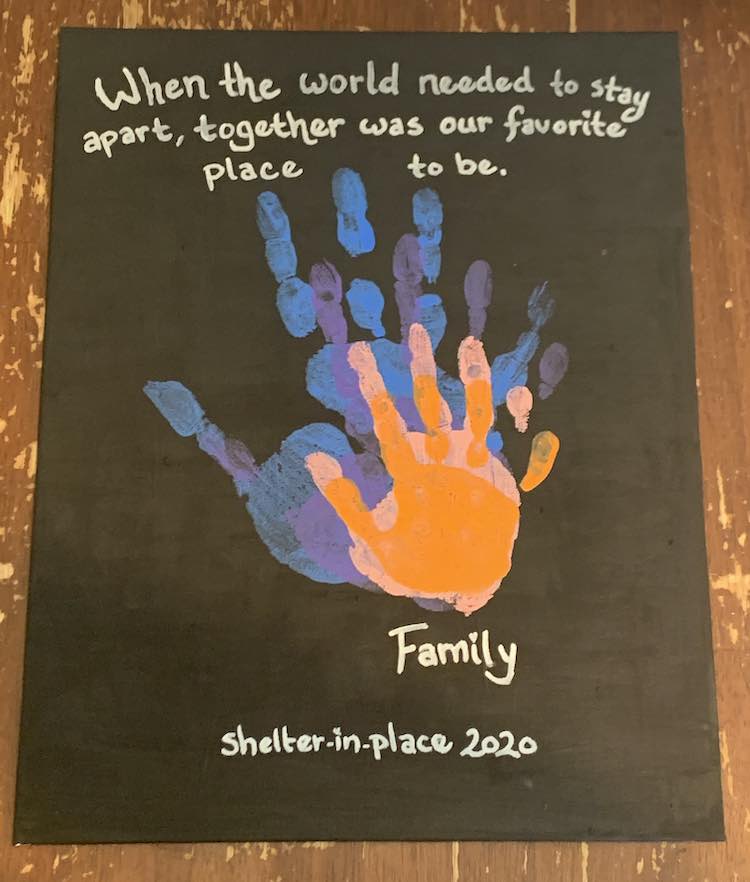
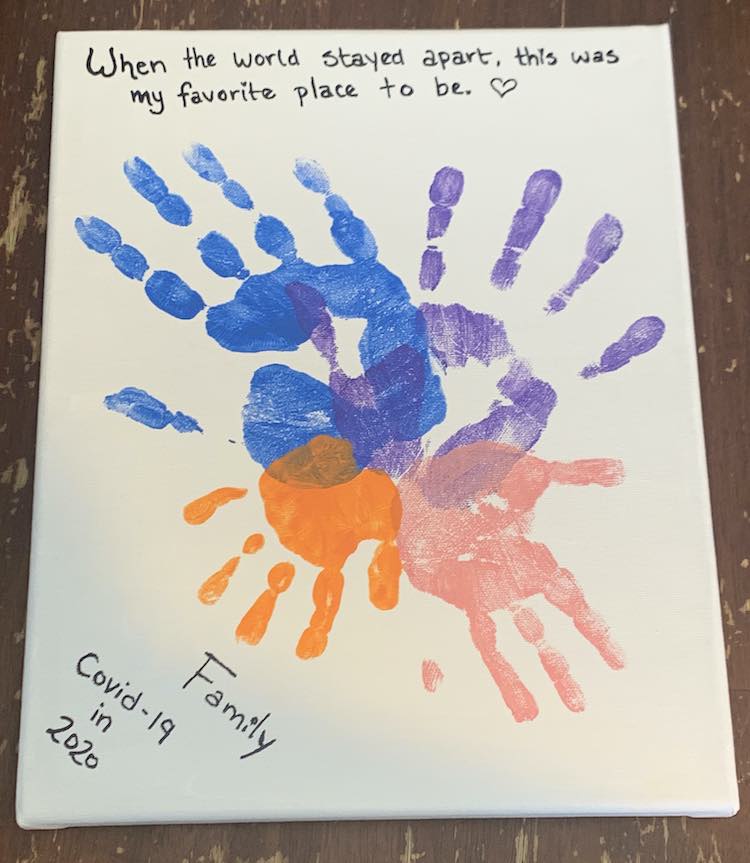
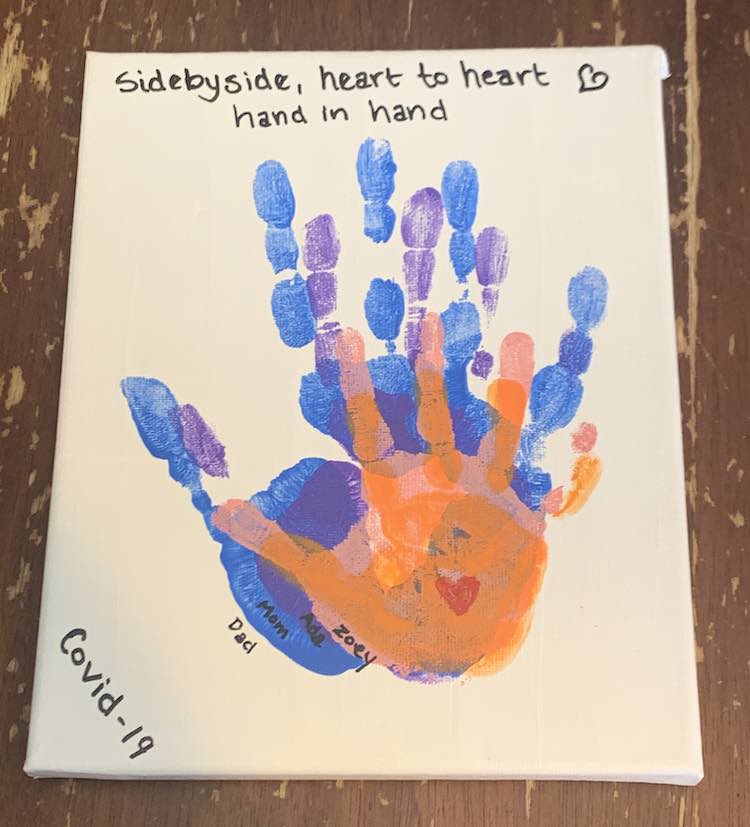
I absolutely love how each one of the canvases turned out. Matt and I both love the one with the black background, even though he loves the X-shaped design the best, so if I were to go back and do this again I would paint all three canvases black. Like I said before we haven’t gotten around to adding hardware to hang these yet but since the handprints themselves are done I know there’s no rush. I love how I made these keepsakes, from this time, to remember the positive times we had together and am so glad I came across this idea. If you’re interested in how to hang these I’ve previously used a glue gun with ribbon or yarn on some of my smaller canvases (Two Person Hand and Footprint Canvas Art and my Christmas Scene Door Hanging Sign) and for our larger canvases, which we’ll probably do for these, Matt and I had purchased a picture hanging starter set. In the kit you get D-rings to attach to the vertical wood bars in the back and picture wire to string between the two rings so you can hang the canvas on a hook. I just looked this idea up and found a tutorial on Spruce Crafts if you’re interested in hanging yours.
Have you made any Covid-19 or shelter-in-place themed crafts and/or mementos in your house? Have you made something similar to this? How did it turn out? I’d love to hear about what it was and how it went in the comments below. If you’d like to be notified about any future blog updates feel free to follow my Facebook page, Instagram account, or join my email list. The email list signup is located in the upper left menu, if you’re on a wide screen device, or below, on any device. Wherever you are or whatever you’re doing I hope you’re doing well and have a great day.

