
Create a Fabric Name Tag
After Christmas last year I made new heirloom-quality stockings for the kids, Matt, and I… then promptly set them in an unfinished objects (UFO) drawer and kept putting off figuring out how I wanted to label them. With Christmas fast approaching and knowing I wanted to hang up the stockings when the tree comes out of storage I knew I needed to come up with labels.
Originally, when I first sewed the stockings up I was going to attach a cuff around their top which was going to be a simple spot to monogram or label them some other way. While sewing the stockings I decided to leave the cuff off so instead decided to put the labels centered at the top of the stocking. The placement of the name tag made it more difficult as the stocking was too thick to reasonably monogram and the diverse backgrounds would make it harder for the names to pop.
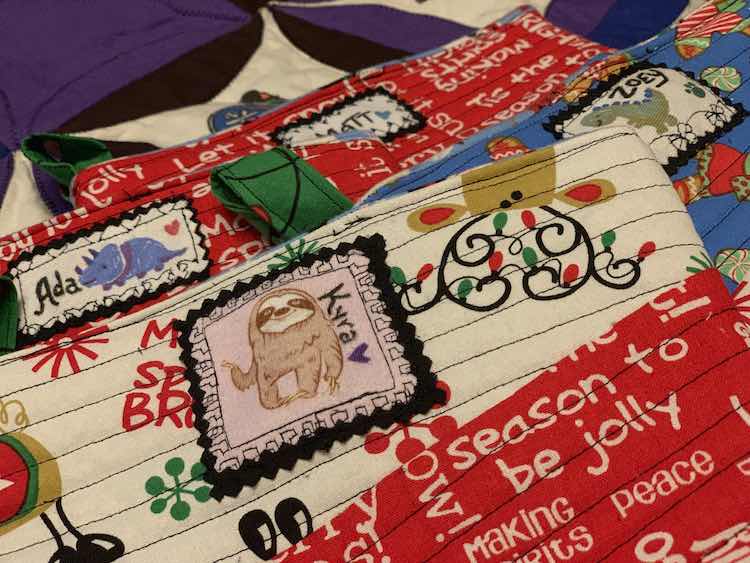
I, instead, decided to create custom stand-alone labels that could then be sewn to the stocking and be easier to remove if the kids ever want updated ones. I attached the knit labels to black woven fabric to stop them from stretching and help them stand out from the surrounding stocking fabric. The matching frames also helps make all the labels match a bit better. I sewed my label layers together before attaching to the stocking so I don’t have to worry about the knit separating from the black woven and I could easily keep the hand sewing to a minimum so they’re secure but still easy to remove.
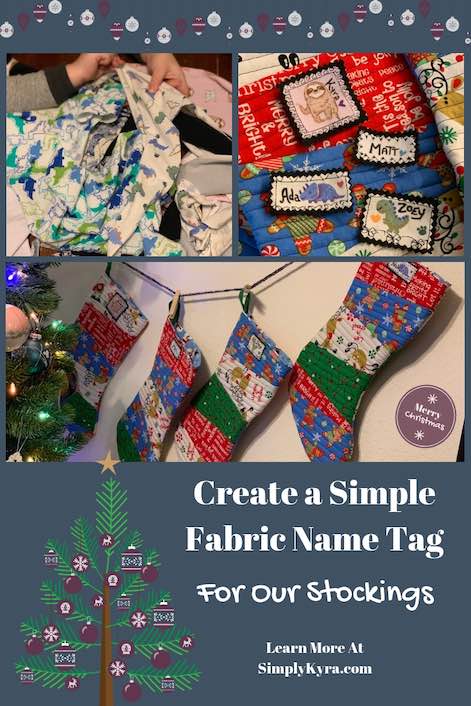
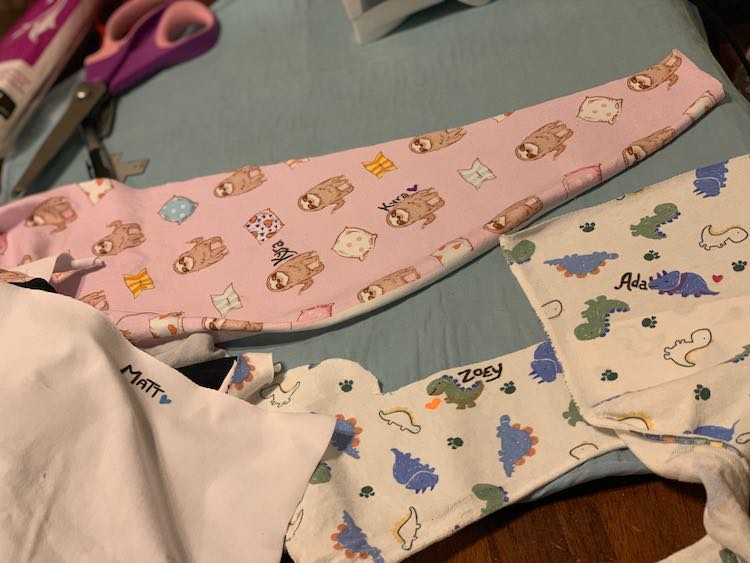
Even though I had a plan in case I ever wanted to replace the labels I still wanted to add a personal touch without being too over the top and ‘too young’ for the kids’ next year or, hopefully, the years after that. I wanted labels that looked great, stood out, and yet were simple to make. I mentioned before you could monogram the labels with your sewing machine; so at first I was going to keep it simple and grab some white woven fabric and either monogram or use fabric markers. Instead I decided to pull out some scraps from my scrap bucket to give my labels an easy and adorable start. I picked out my leftover sloth fabric for me and Matt decided he wanted a plain white label (I went with available white knit). Zoey ended up going down for a nap before I remembered I had to get her opinion so hers was chosen by me after Ada picked the leftover dinosaur knit fabric. I then had Ada pick out her favorite dinosaur on the fabric, the Triceratops, before picking Zoey’s current favorite dinosaur the Tyrannosaur Rex.
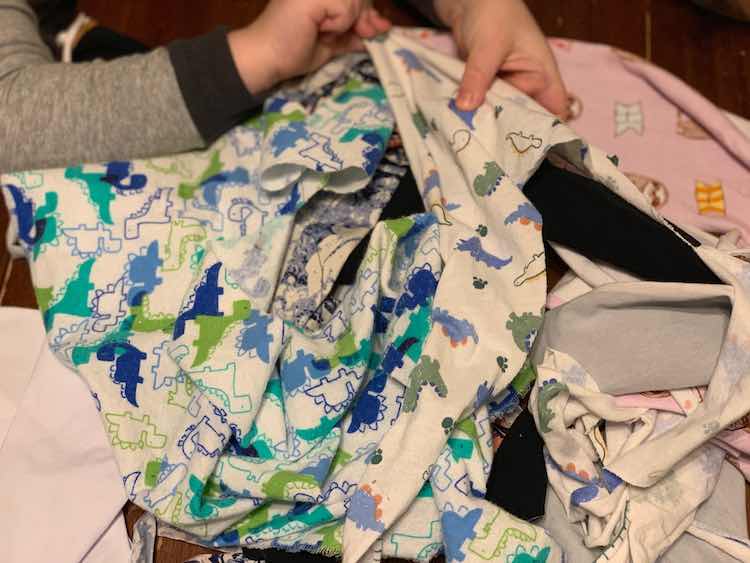
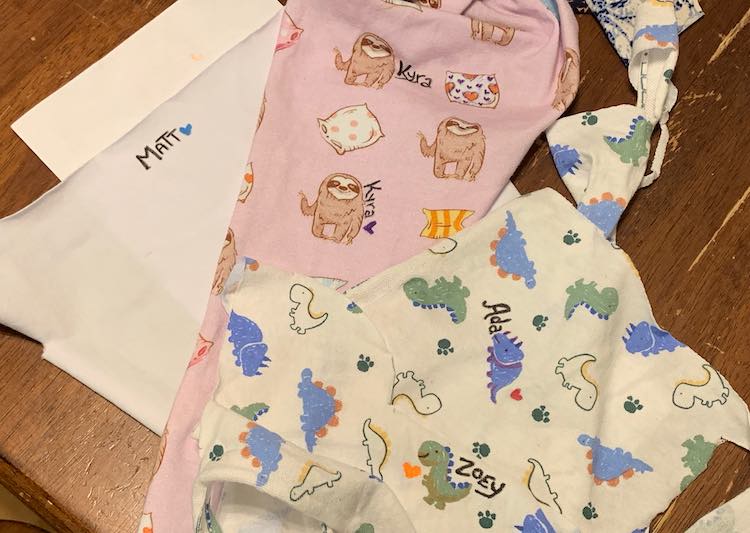
After deciding on what fabric we wanted I sat down with my fabric markers to write our names on them. For the names themselves I decided to go with a black fabric marker so they would match and stand out from the background fabric. I also decided to add a heart to each label using our current favorite color since Matt’s label looked so plain with just a name. For the kids and mine I started by looking at the space around the chosen and decided which space made the most sense for a name. I ended up putting the names right beside or on the animals so the names stand out more on the solid background than on the animal. I also thought about how large I wanted the label to be. For instance if my labels are going to be longer or taller I would’ve tried to include a paw print for the girls without trying to cut another dinosaur in half. For the kids I used their favorite color to also shade their dinosaur, helping it match their heart a bit more, and then couldn’t resist adding a smile and going over the eye either. For mine I started by adding my name beside a sloth, wasn’t sure if I liked it so I decorated the pillow next to my name, and then decided to keep it simple and moved onto another sloth. While doing this Ada offered her opinion while also doing her art. I loved that we could both work on our own art together.
After I finished using the markers I set the labels aside to dry for a bit as I went to collect the Heat’N Bond, scissors, and iron for the next steps. My first fabric markers had you let the ink dry for fifteen minutes and then set the ink with an iron so I decided to roughly follow that since the markers I’ve bought since didn’t come with directions. This gives you the perfect amount of time to grab your stuff and heat up the iron.
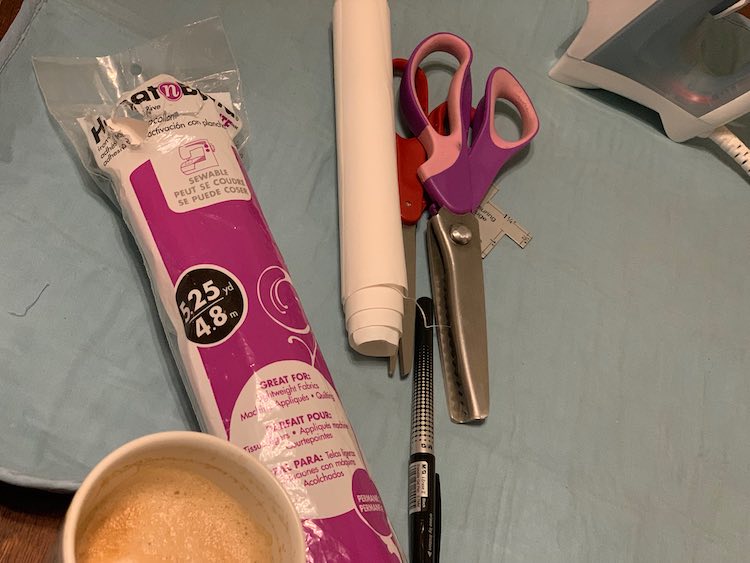
I set the ink in my labels while also pressing my fabric to remove the wrinkles. At this point you could always go back and add details if you want since there’s no chance of the first color bleeding into the new colors if set properly. I then cut my labels into more manageable pieces while still keeping them larger than I’d originally want.
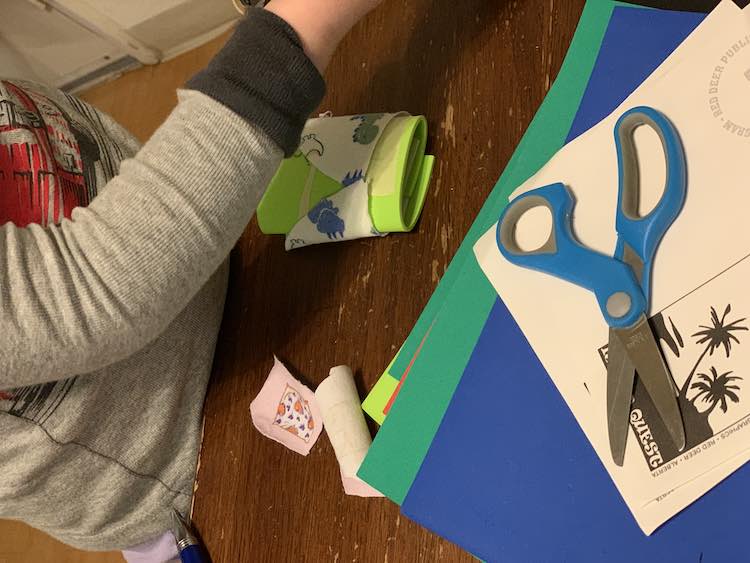
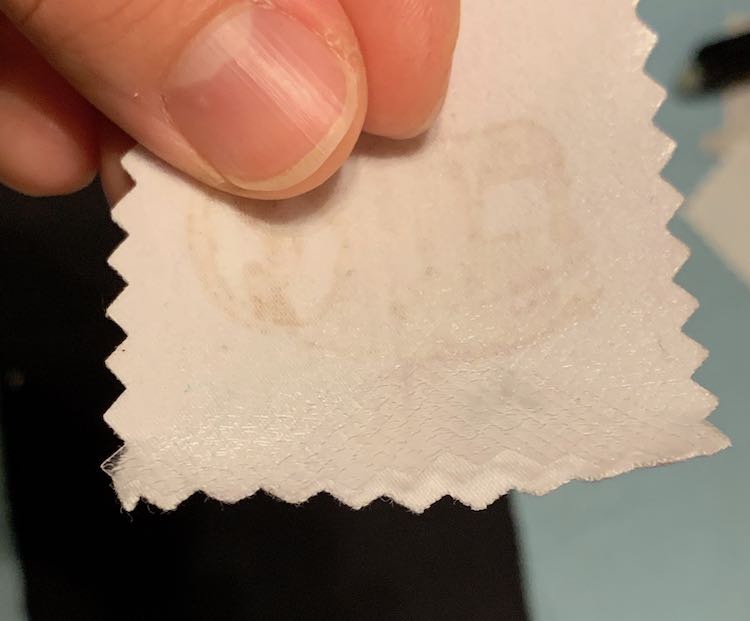
I now took my labels and placed them on my Heat’N Bond being careful to keep them close while also not overlapping the fabric pieces too much. I then added another scrap of fabric overtop so the adhesive won’t attach to my iron then ironed the labels to attach to the Heat’N Bond. After the first go over I removed the scrap of fabric and, being careful not to iron the adhesive, I added more heat to the areas that weren’t yet fully attached.
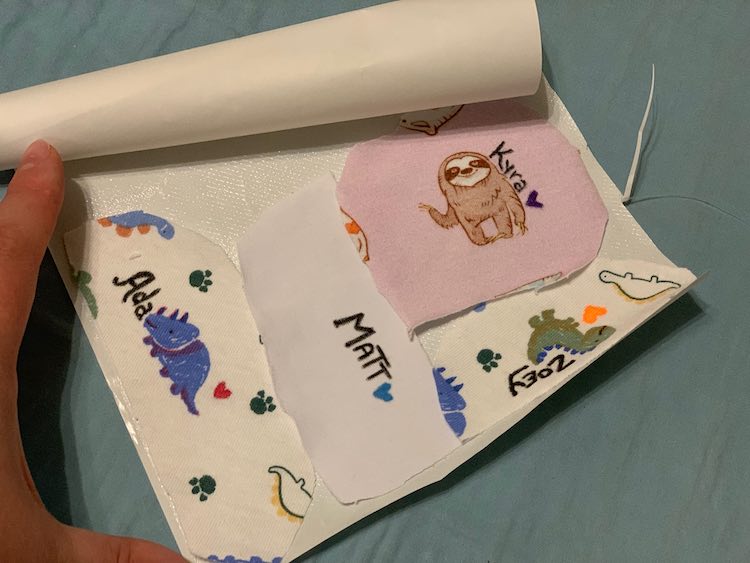
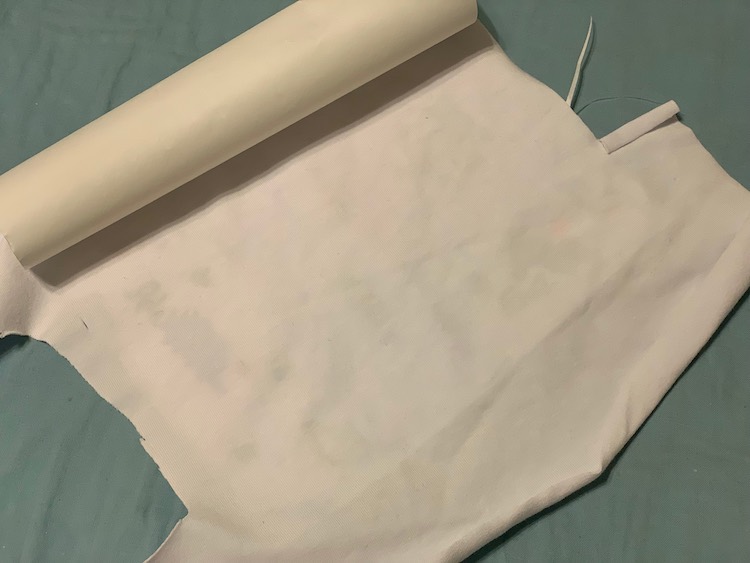
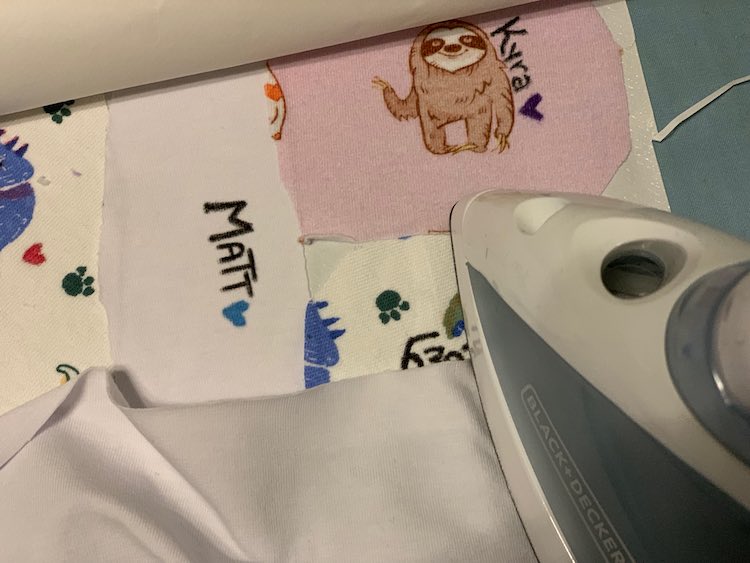
Even though the fabric was knit and not woven I still decided to use pinking shears to cut them out.
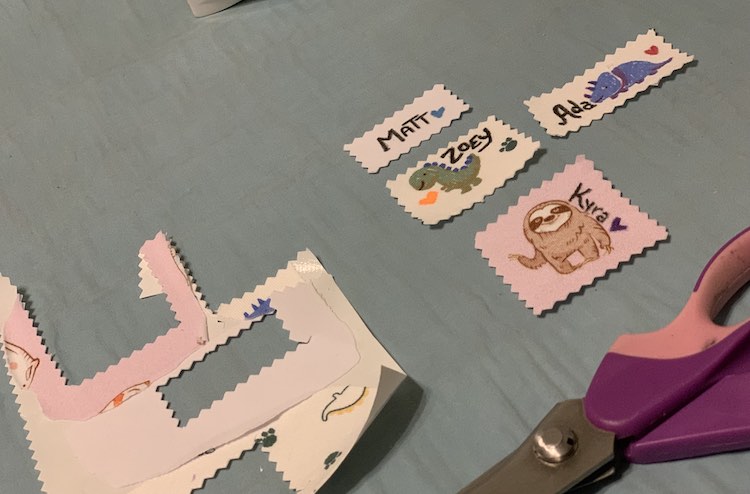
The Heat’N Bond essentially made my labels into iron on stickers. Originally, I was going to iron them onto the stockings but I instead ironed them to black woven quilting cotton so each label would get the same overall feel and match better. I peeled the back of the paper off of them and spaced them out on the quilting cotton before ironing them to attach.
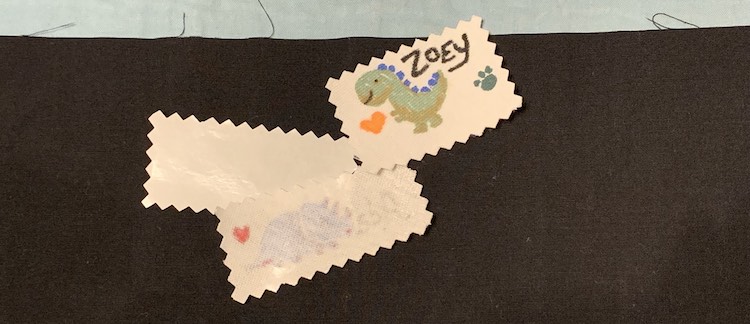
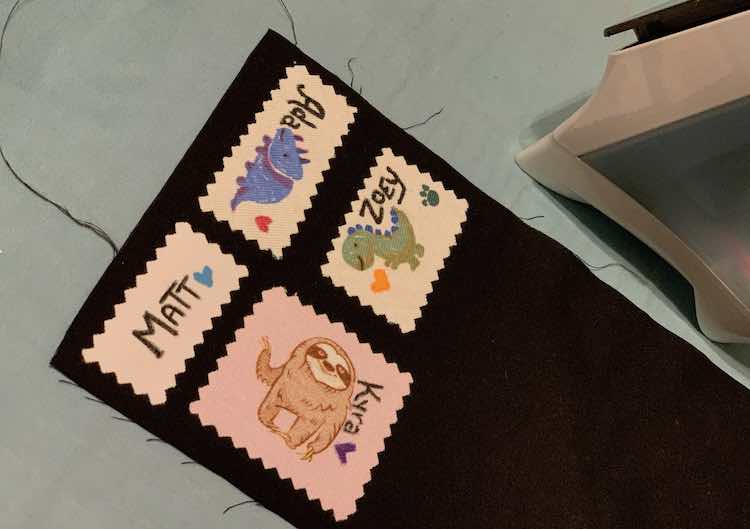
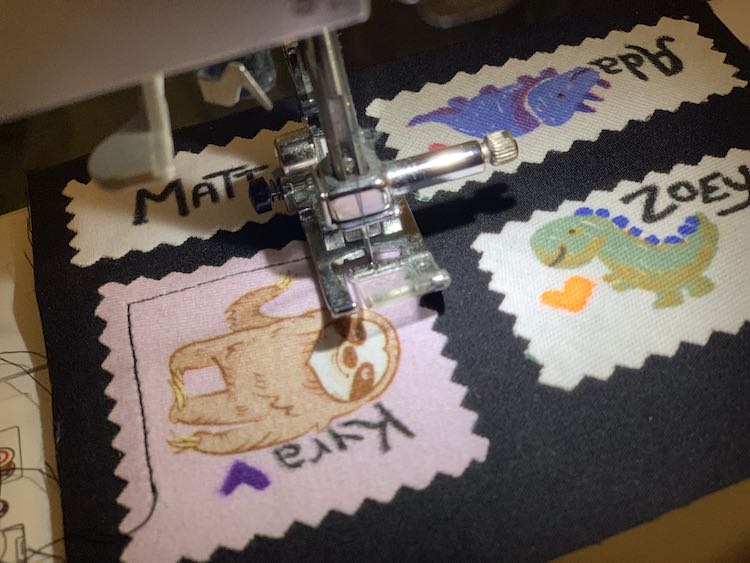
Before cutting these labels apart I decided to topstitch them in case the Heat’N Bond starts separating in the future. At first I was just going to sew a straight line and let the edge separate and roll in the future but I couldn’t resist adding decorative stitches on the labels too. Since I used black thread some of the stitches, in particular the hearts, are harder to see as they blend into the background fabric. Once they were done being sewn I used my pinking shears again to cut out the labels while being careful not to cut the stitches too much while separating them.
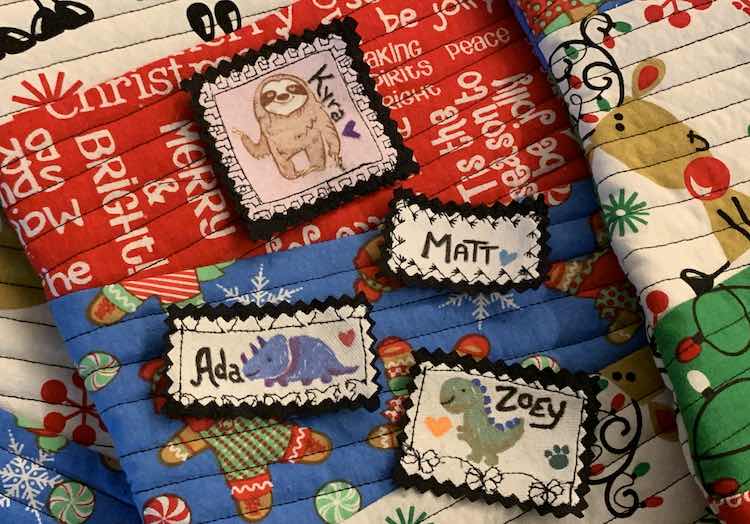
I wanted to hand stitch the labels onto the stockings so the stitches wouldn’t be visible from the lining and I’d be able to hide the stitches better from the front too. Now was the time to grab a snack and sit down to a television show… combine some relaxation with getting things done!
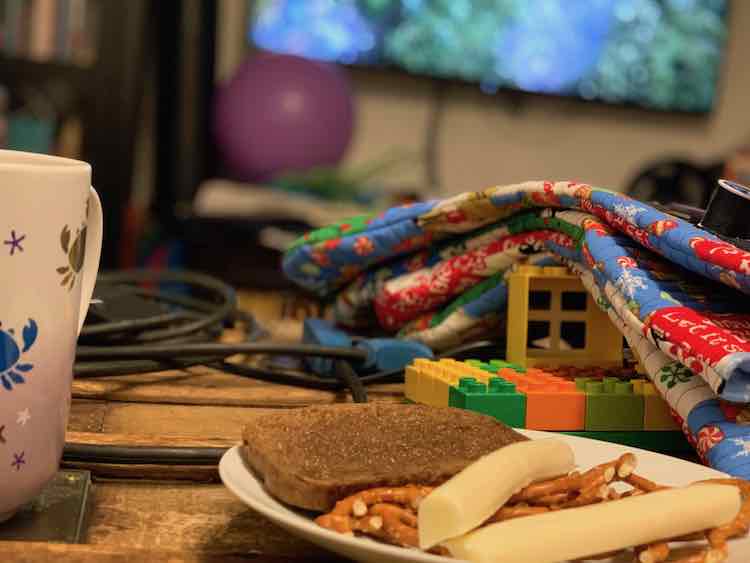
While sewing the labels on I was careful to hide the first knot underneath the label and then keep my stitches to the black fabric so they weren’t apparent. I few times the stitches ended up catching on the lining fabric but it wasn’t too apparent. Once I stitched around the label I tied another knot before bringing the thread under the label and trimming it. I may have done this because of crocheting in the past and having to knot and weave in my ends but I figured this way the end is hidden inside the label and if it becomes untied somehow I still have a bit of thread to tie off.
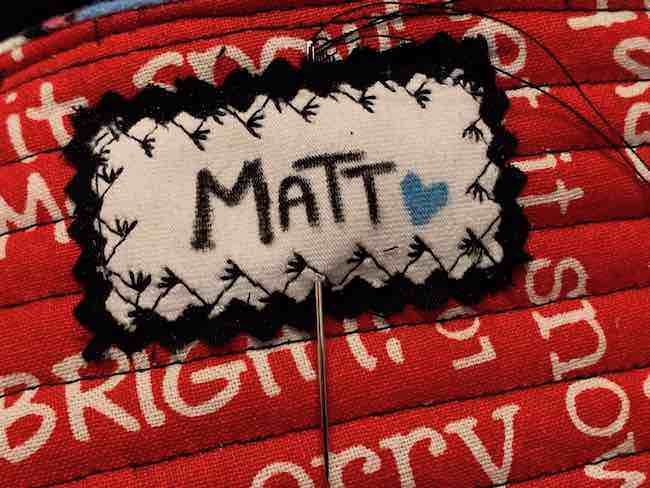
And they were finally done after almost a year!
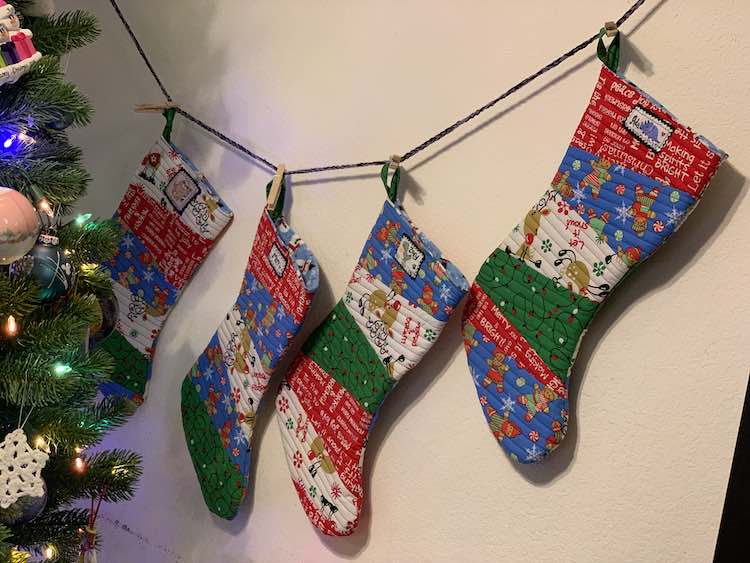
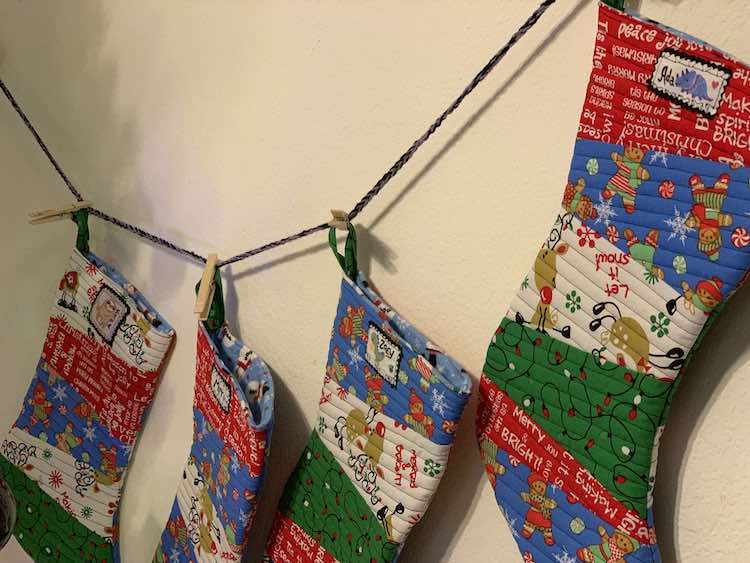
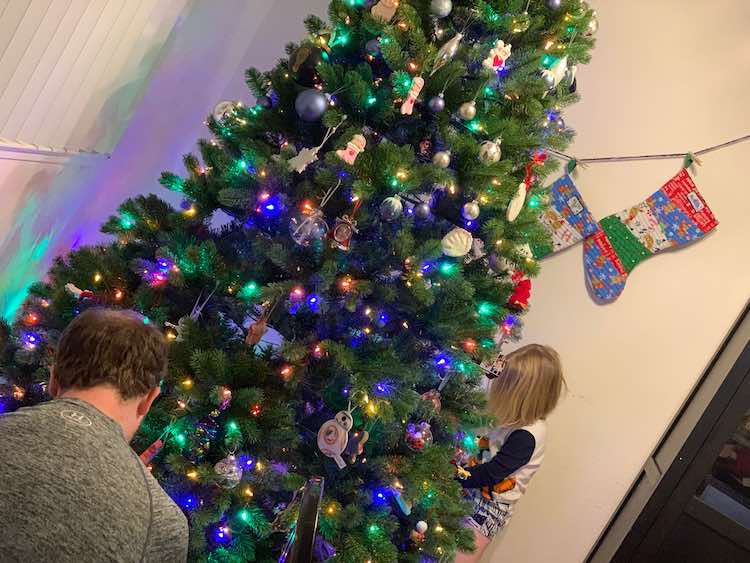
They were ready to be hung up at the same time as when the Christmas tree went up. The wall behind the tree is normally behind the table where I have an art line hung up so I took down the art and all but four of the clothespins before hanging up the stockings. The line has stretched out a bit and probably should be replaced so I wasn’t too concerned about the clipped up stockings stretching the line a bit more.
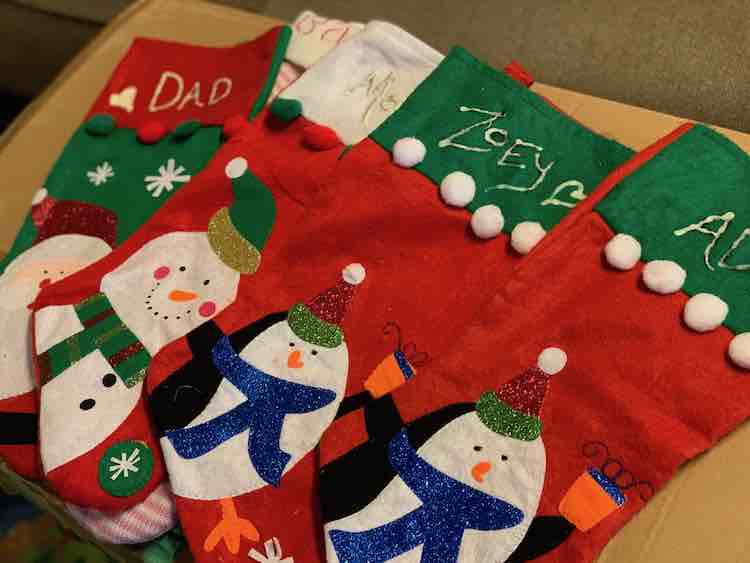
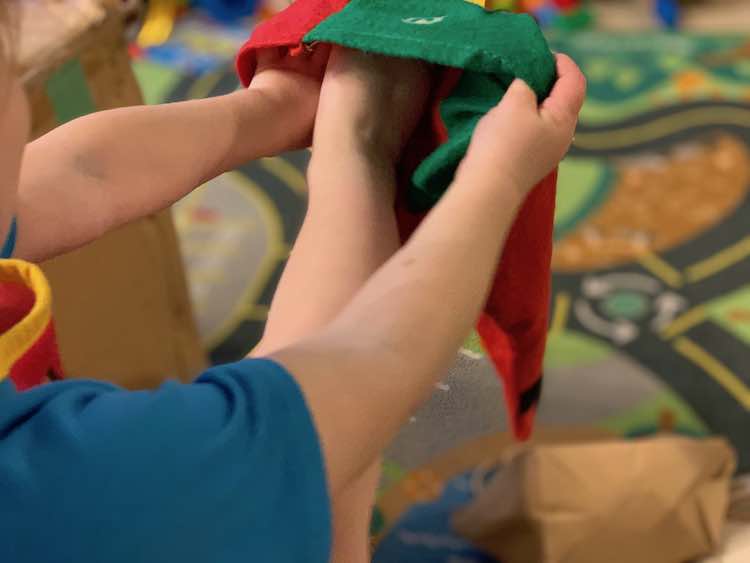
I guess we can now get rid of our old stockings. When I bought these I knew I wanted to eventually replace them but wasn’t sure how many Christmases we’d be using them for. I ended up leaving them for now for the kids to play with. If you want a quick stocking for this year I bought them several years ago from Dollar Tree and quickly labeled them with a sharpie and then some glow paint I had hanging around. I guess adding hearts is something I did then too.
I hope this helps you label your amazing creations. I love how this is a simple add-on after the fact so it can work on homemade or store-bought items. I hope the labels last for a long time but also love that if the kids’ taste change drastically I could always whip up a new label, include black woven fabric so it matches, easily seam rip the old label off, and sew the new one on. If this happens I could see saving the old one as it’s adorable, cute, and offers a snapshot at the kids’ toddler-hood.
I’d love to see what you choose to add a label to and see your custom labeling. Go ahead and share what you did in the comments below, on my Facebook page, or through Instagram. Have a great day!

