
A Simple Way to Keep Track of Your Tea's Steep Time and Temperature
Over the last year Matt and I have dramatically increased our tea drinking habit and through that realized that some teas need to be steeped at a different water temperature than simply just by boiling. As we start each day with a fresh pot of tea, that is then continuously re-steeped throughout the day until one of us chooses to switch it out for something new, I’ve discovered that we need a way to keep track of the tea. At least, specifically, our chosen tea’s water temperature and how long it should be steeped for. With those two requirements decided, this incredible tea tracker was born. It’s extremely simple and saves us so much hassle each day so I knew I needed to share it with you.
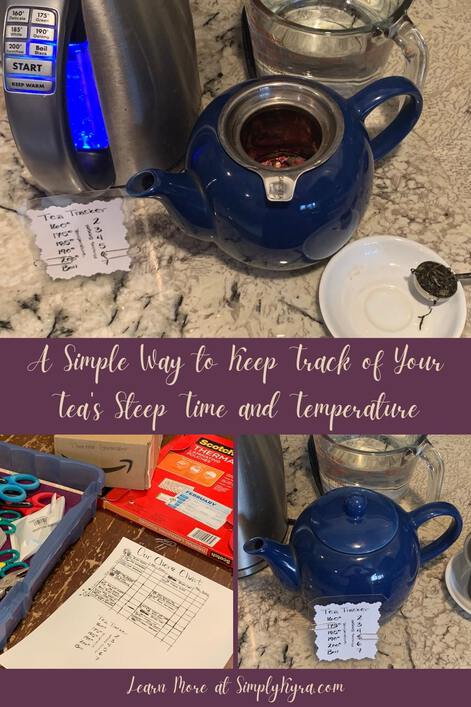
For years Matt and I have loved the fun selection of teas through David’s Tea and remember frequently browsing in their store, packaging up tea samples for our wedding, and creating our own tea-themed advent calendar. That said, last summer between David’s Tea being located further away, both of us drinking less coffee, and wanting to find a tea with no added sugar as I had started intermittent fasting we looked online and came across Tea Spot from Colorado. With our new tea source decided we quickly discovered that you don’t just steep all tea at boiling and instead each tea pouch we purchased came with a temperature you should ideally steep it at along with how long you need to wait to cool the just boiled water to reach that temperature. I love how the directions were included on each tea package allowing us to quickly refer to each tea as we made it and continue to use our simple, just on or off, electric kettle. That said, over time, Matt went online and found a new electric kettle that has six preset temperatures allowing us to have more control over the water and save time as we no longer need to wait for the water to come to boiling and then cool back down again.
Anyway, at first we had no issues as we only steeped our tea once or twice. That said, over time we added more and more teas to our collection and found ourselves re-steeping our tea batches more and more frequently. In particular this started when we purchased our two pu’erh teas as the black leaf variety says that it can be used in three to four infusions while the wild harvest green leaves are listed for more than three. With the number of potential teas increasing along with the number of infusions per each batch of tea leaves I found it sometimes hard to remember just what we were steeping sometimes and even if I did remembered I’d still need to grab the pouch out of the cupboard again to check the preferred water temperature and steep time. Rather than needing to repeatedly pull the tea out of the cupboard or ask Matt what tea he started I decided to instead create this simple tracker. This way whoever starts the tea, whether it’s Matt or I, can simply move the paperclips to show what temperature and steep duration we used. Now I don’t need to bug Matt while he’s working to check which tea he started and the tea only gets pulled out of the cupboard when it’s needed for a fresh infusion.
The Tea Tracker
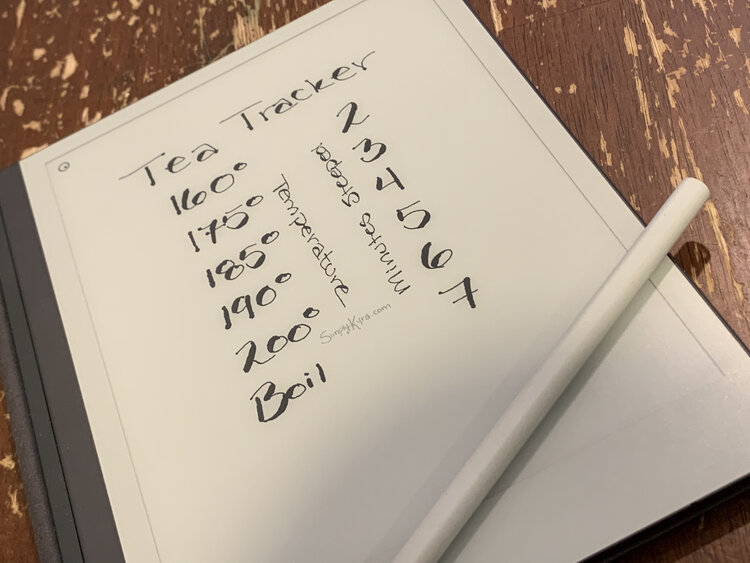
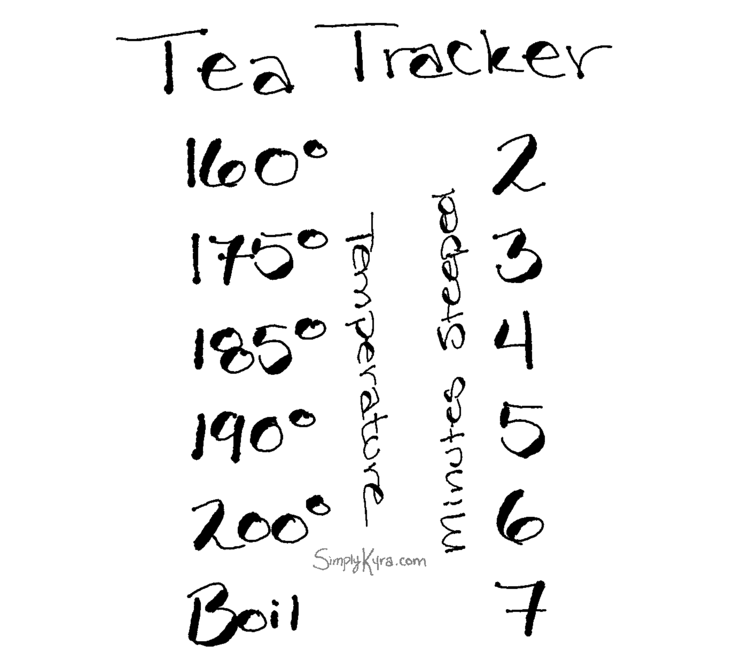
Before starting the tea tracker I went through all of our Tea Spot teas and quickly jotted down the steep temperature and steep duration for each pouch. I quickly realized that some of the teas didn’t match the preset temperatures on our electric kettle and so it mattered more what temperature choices were on the kettle itself rather than the listed temperatures on the teas since we often chose the cooler setting when heating the water. Thus the Tea Tracker only needed to include the six temperatures listed on the kettle: one for each of the preset buttons. I next looked over the steep times I had jotted down for the tea and saw that the shortest time was only two minutes long while the longest was six. Since I was planning on drawing the data out as a mini table with six rows (matching the temperature settings) I decided to have the list of times go up to seven minutes, rather than start at one, since there was probably a higher probability of needing a longer steep time rather than a shorter one.
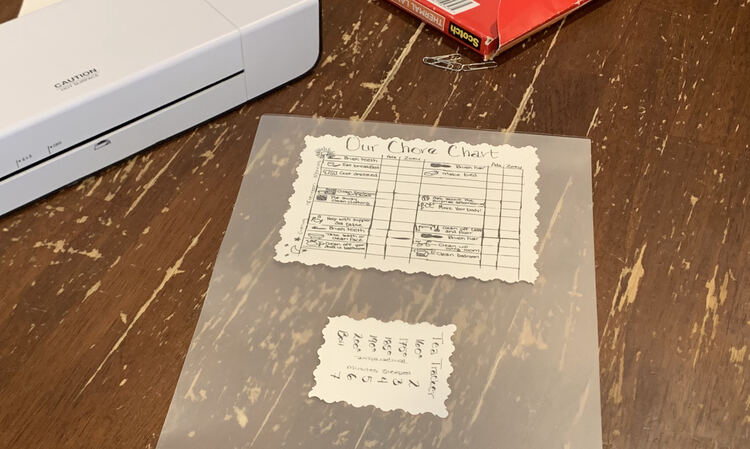
I could’ve grabbed paper and pen to sketch out my idea but I had bought myself a reMarkable2 device over Christmas so I grabbed that instead. I walked over to my kettle and wrote down all of the temperatures in one column. Beside that column I wrote out the numbers 2 to 7 for the steep time duration. I adjusted the two columns until they lined up with each other and made sure there was enough room in between the two columns to quickly write the heading, vertically, down the center. I then added a title Tea Tracker to the top and made sure it was centered properly. Once I was happy with how it looked I then exported it as a PNG through my email client to my computer and printed it out. At the same time I was dabbling with creating a chore chart for the kids, that they still haven’t started using yet, so I was able to print both items off on one page and cut them apart. With the paper in hand I next grabbed my decorative scissors and my thermal laminator.
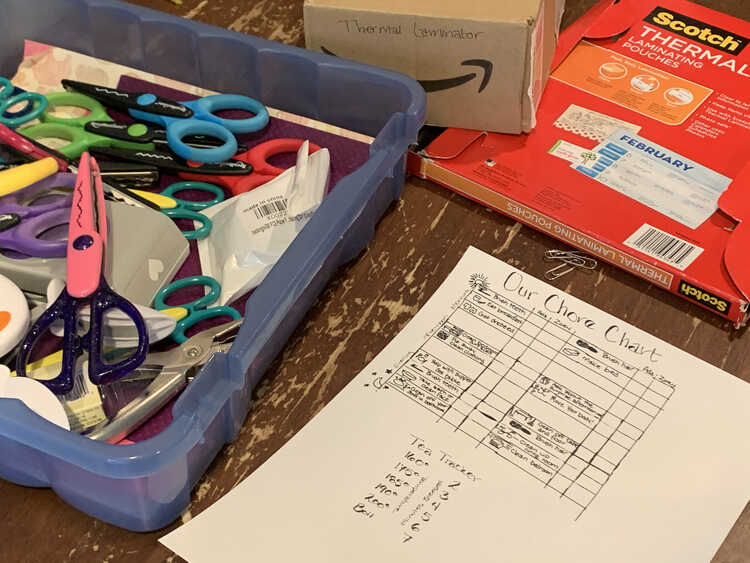
I wanted to use the laminator to make the Tea Tracker more secure and protect it from any future water spills. I also wanted a simple way to make it prettier and figured the scalloped scissors did the trick as a fancy border. I was, originally, also planning on trimming the laminated paper with the decorative scissors but later decided to use plain straight scissors so it would be simpler to cut and less prone to ripping in the future.
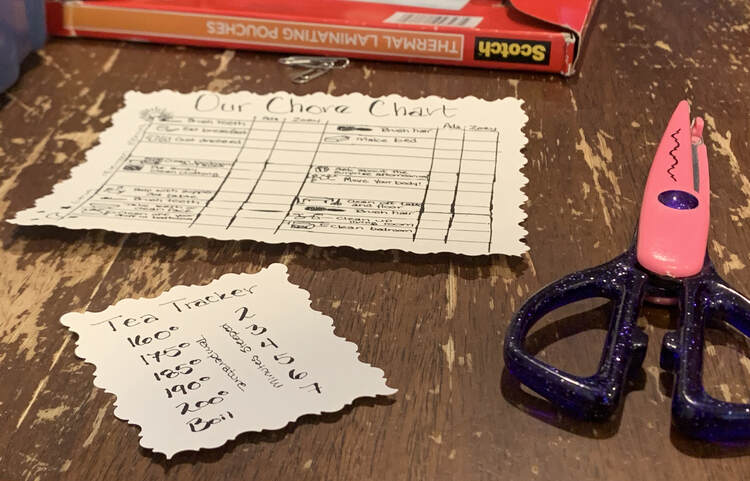
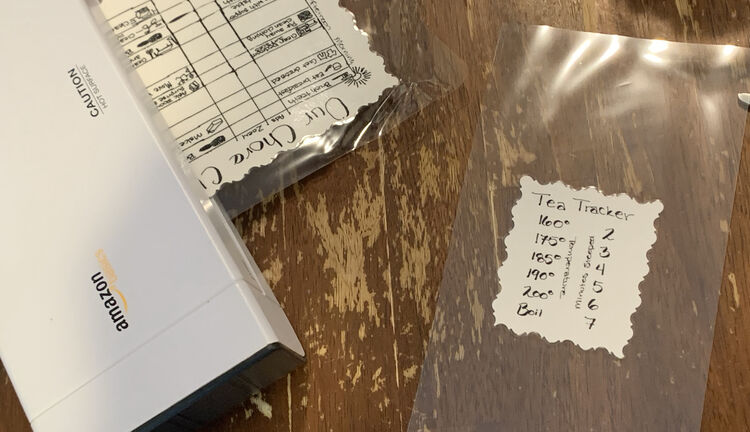
I next plugged in the laminator, inserted the Tea Tracker paper gently into the laminating pouch, and waited while my laminator heated up. Once the light turned green I carefully fed the paper into the laminator and waited patiently for it to come out the back before realizing it had gotten jammed in and I had to help pull it free. This resulted in a bit of crinkling so I carefully fed the pouch back in, turned the other way around, to help flatten the crinkles. I then cut the two sections apart and fed the chore chart back into the laminator once again to help straighten it out some more. After trimming a border around each paper I was still worried the corners were a bit too sharp, at 90 degrees, so I trimmed them off so they were only 45 degree corners instead.
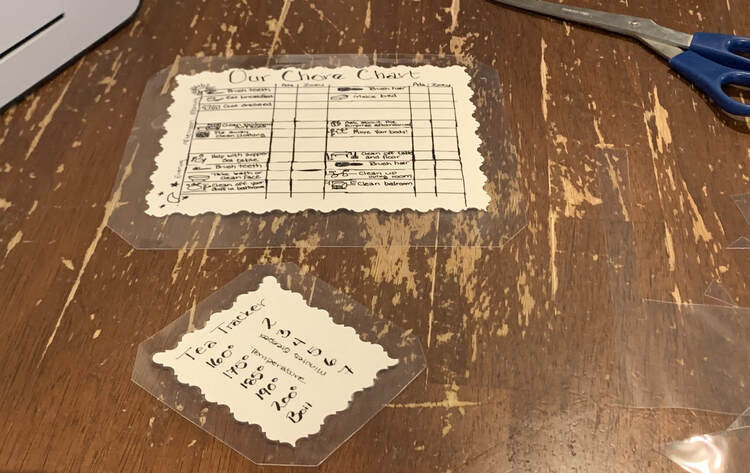
Once the laminated sections were trimmed the Tea Tracker was ready to be used. I went simple and grabbed two paperclips to highlight what temperature and duration I selected. This way whenever the tea type is changed we can easily move the paperclips up or down depending on how the new tea differs from the old tea. Since using this I’ve found a mark, once or twice, left behind by the paperclip but was able to simply wipe it away with my fingers. If you’d rather use something other than paperclips there’s always the option of using chalk markers instead. That said I use chalk markers to mark canning jars and, sometimes, laminated chore charts but wanted something simpler with this one so I didn’t need to go looking for a chalk marker, expo marker, or paper towel whenever I need to quickly use it. Figured simplest was best in this case.
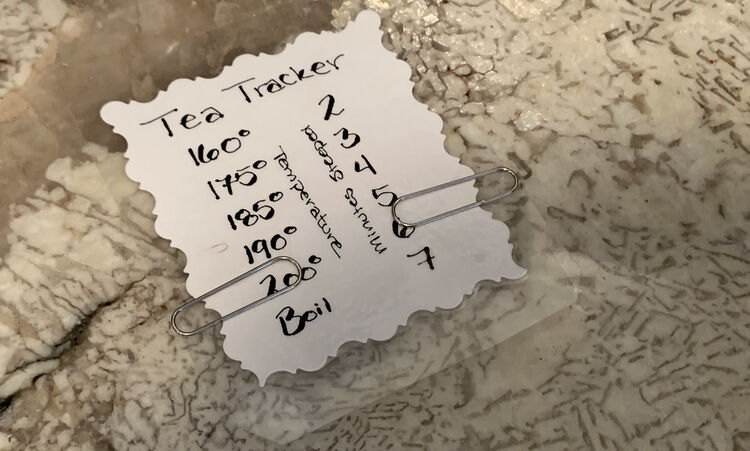
And with that the Tea Tracker is done and ready to use!
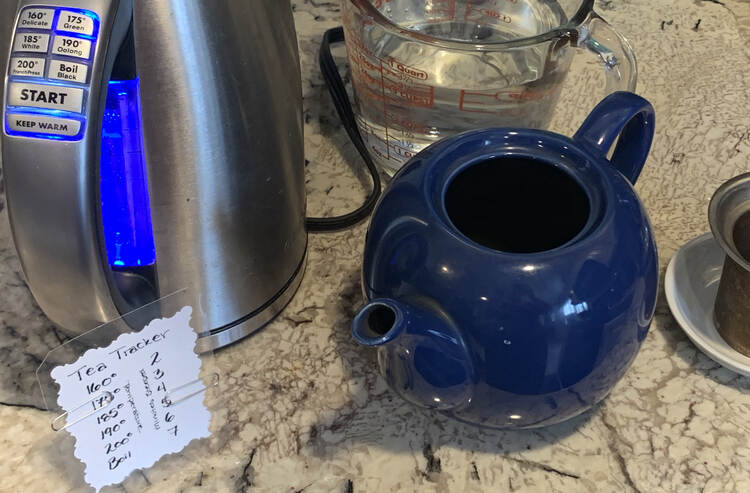
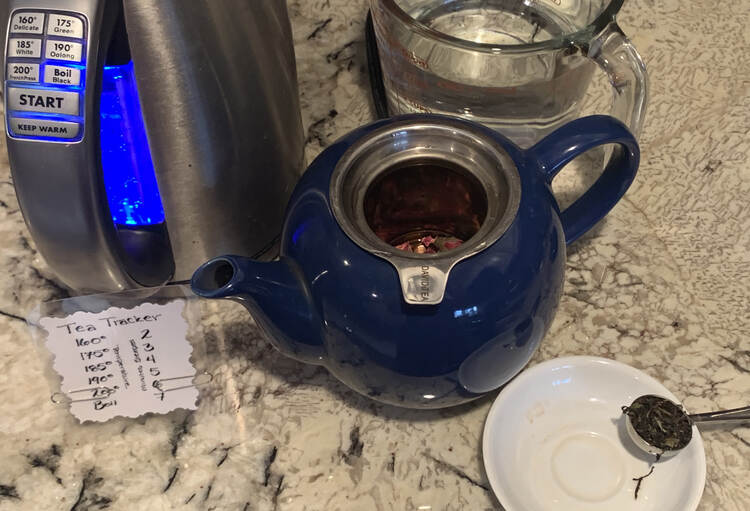
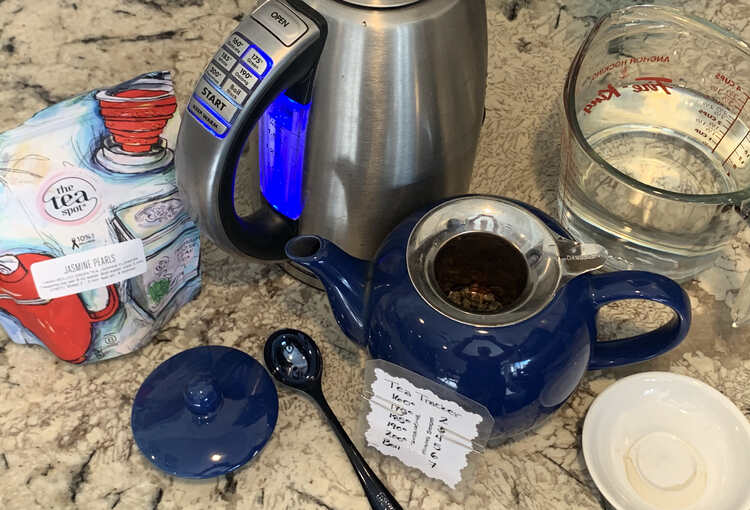
I absolutely love how simple this Tea Tracker is to use. I love that I don’t ever have to pull out my teas to confirm how hot the water needs to be or how long I need to steep the tea as I just need to refer to the Tea Tracker. It makes my life just a bit simpler and so I needed to share it with you in case you also might want something similar. If you want to print and laminate your own I’ve included my image to make it a bit easier on you. That said if you design your own I’d love to hear about it in the comments below.
In case you're interested I included my own version here and you can download it (right below the image) if you want to use it yourself. If you do use it I'd love to hear about it in the comments below.
Let me know if this helps you out. Do you have the same issue when making your tea and, if so, would this help you out? If you do make this I’d love to know if you make it the same way or if you change it up in someway to fit you better? If so how did you change it? Or did you take this idea and use it for something else? Either way I’d love to hear from you in the comments below. I hope you’re having an amazing day.
If you’re interested in getting any of my future blog updates I currently come out with a new one every Wednesday and share them to my Facebook page and Instagram account. You’re also more than welcome to join my email list located right under the search bar or underneath this post.

